Banana Land Preparation: Clearing, Holing, Spacing and Drainage
Good banana land preparation decides how well the mat stands, drains and fruits for years, because a banana is planted once and stays in the same spot. This guide walks through each step: clear the land, plow and harrow, lay out the rows, dig the holes and open drainage canals before any sucker goes in.
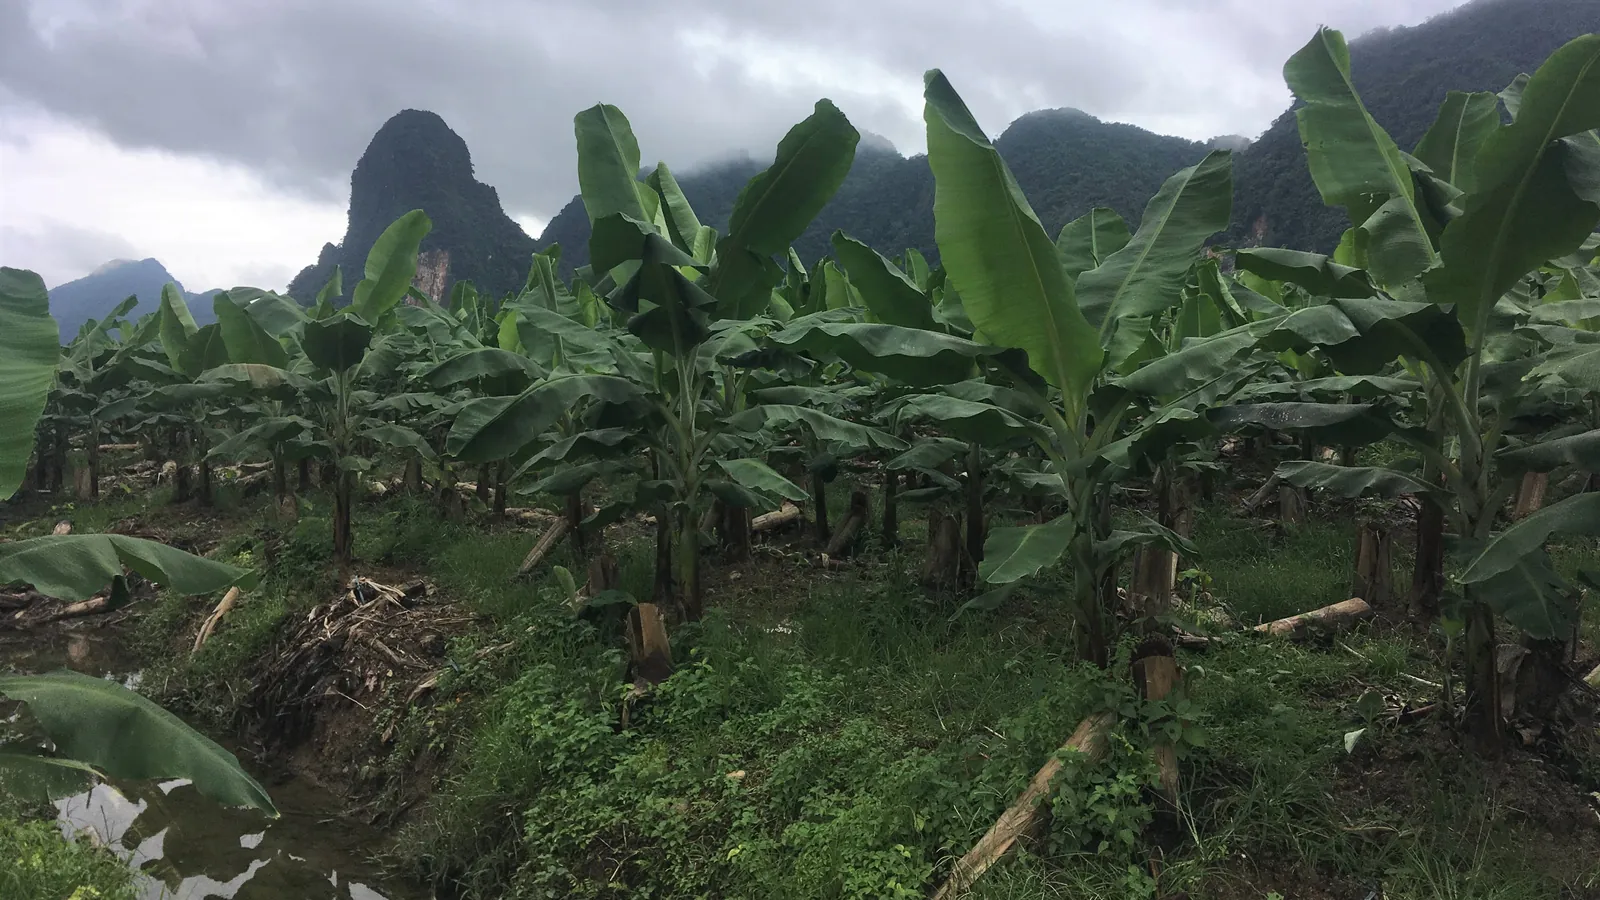
Spacing and hole sizes differ by variety and by farm, so use the numbers below as a starting point and ask your municipal agriculturist about your own soil.
Choose the site before you clear it
Banana wants a deep, rich soil that stays moist yet lets extra water drain away. It grows best in sandy loam or alluvial loam. It can stand a soil pH from 4.5 to 7.5, so test your soil first. Our guides for acidic soil and sodic and alkaline soil cover what to do when the reading falls outside that range.
Flat land is the easiest to manage. Hilly or rolling land can also be used, but plan for erosion and adjust the planting distance and plant population.
Wind matters too. Banana plants are sensitive to strong winds, so farmers in windy places should provide windbreaks. In a typhoon belt, plan the windbreak rows now, because they take time to grow.
Banana land preparation step by step
Clear the land
Remove brush, old stumps and weeds. Manual clearing is best because banana fields are prepared with minimum soil disturbance. Never use a bulldozer, which damages the topsoil. Leave big stumps to decay and leave small branches to rot into organic matter. If the field grew bananas before, check for sick mats first. Fallow an infected area for 6 months to 1 year and burn infected plant parts using rice hull.
Plow and harrow thoroughly
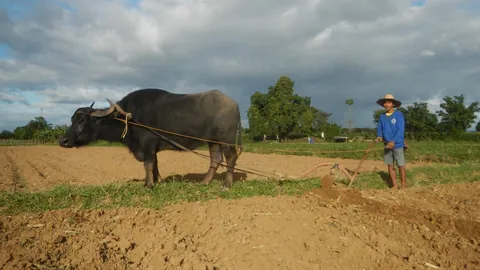
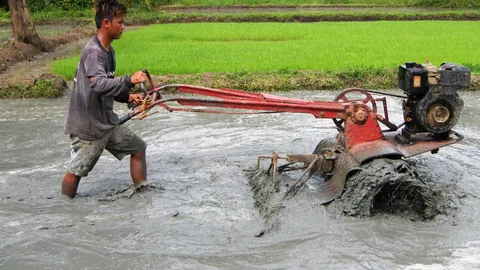
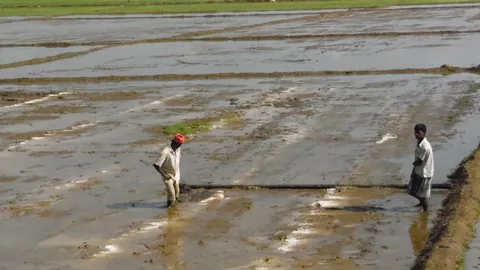
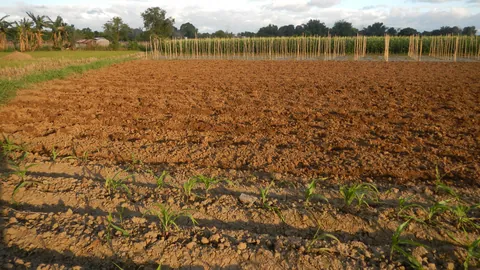
Work the whole field well with the plow and the harrow, so the weeds are gone and the soil breaks into a fine, crumbly tilth. The right plowing depth depends on your soil, so follow what your local technician advises. A disc harrow helps where the topsoil is shallow, and compost can go in at that time.
Lay out the rows
Mark the rows with a measuring rope and stakes before you dig. Rows running east to west give every row an equal share of sunlight. On hills, lay the rows along the contour.
Dig the holes
Dig a hole at every stake, 40 cm wide and 40 cm deep. A larger hole of 50 cm on each side also works. Keep the topsoil apart.
Open the drainage canals
In flood prone areas, a good drainage system should be in place. In heavy rainfall areas, add trenches so water does not stand around the roots, which can rot them. Dig canals so water leaves the field.
Banana planting distance and field layout
Several things set the right banana planting distance: the variety, the slope and soil fertility. Sucker control and the use of machines also count. Close spaced plants must not touch their neighbors. These are the usual distances:
| Variety | Distance in the hill by between rows | Mats per hectare |
|---|---|---|
| Lakatan | 2.0 m by 2.5 m | 2,000 |
| Lakatan, wider | 3.0 m by 3.0 m | 1,111 |
| Cardava | 5 m by 7 m | 286 |
Two layouts are common. In the square method, a plant sits at every corner of a square. In the quincunx system, one more plant sits at the center of each square. Topography, irrigation and equipment shape the layout. East to west rows give each row equal sunlight, and some farms run north to south rows for sunlight instead. So pick the direction that suits your slope, and ask your technician. On hillsides, plant along the contour to cut erosion.
Banana planting hole size and clean planting material
For the banana planting hole size, a hole of 40 cm by 40 cm is common. A larger hole of 50 cm by 50 cm by 50 cm is also used. So 40 to 50 cm on each side is a fair guide for the Philippines. The larger hole suits a tight or poor soil.
Dig the hole right after pegging. Put the topsoil in one pile and the rest of the soil in another. Set the plant upright, then fill the hole with topsoil first and the rest after, so the new roots grow in the most fertile soil. Compost or manure can also be worked into the soil during land preparation.
There are two kinds of planting material: tissue culture plantlets and sword leaf stage suckers. Select planting materials free from diseases. For Fusarium wilt, use tissue culture plants. Clean machines and tools that have been in a sick field as well. For nematodes, use nematode free suckers or tissue culture plants.
Suckers have a rule of their own. Pare the corm, plant within a week and do not keep suckers more than two weeks, because stored suckers yield less. Avoid planting where bananas grew before, unless the land rested for 2 to 3 years.
A banana mat that carries Fusarium wilt, Moko or bunchy top will infect the new field for years. Buy certified clean plantlets or suckers. Read about banana bunchy top and Moko disease before you buy.
Drainage canals protect the mats
Banana needs plenty of water. Yet it needs good drainage in flood prone areas. Drainage canals also help control banana freckles and Sigatoka, because standing water raises humidity and favors leaf disease. Good drainage helps control soil borne diseases too.
Dig the canals before planting, not after the first flood. Slope them so water runs out of the field. Read about black Sigatoka to see what wet, humid fields invite.
Change the work by soil and season
- Sandy loam and alluvial loam: the best soils for banana. Plow, harrow and plant.
- Heavy clay that holds water: spend more effort on canals, because banana needs well drained soil.
- Acidic soil: check the pH, because banana tolerates pH 4.5 to 7.5. Follow the acidic soil guide if you read below that.
- Salty or sodic land: banana is not a salt tolerant crop, so read the saline soil guide first.
- Dry season: banana wants 20 to 22 cm of rain spread evenly each month, and growth suffers below 10 cm a month. Plan irrigation before you plant.
- Wet season or typhoon areas: finish the canals and the windbreak first.
Common mistakes
- Planting suckers from a mat that looks tired or sick.
- Digging holes but skipping the canals.
- Planting too close, so leaves touch and humidity builds up.
- Running the rows with no plan for the slope on a hillside.
- Skipping the soil test, then finding out the pH is far from the range.
Add each lot to anee.io, set its planting date and the cropping calendar dates the clearing, plowing, holing and canal digging back from planting. Hired hands and fertilizer go on the same board.
Start freeQuestions about banana land preparation
How big should the planting hole be for banana?
What is the planting distance for Lakatan?
Which direction should banana rows run?
Do bananas need drainage canals?
Should I use suckers or tissue culture plants?
Get every step of banana land preparation right
Register for free to read every step, then date each one on your own calendar with the Land Prep Planner, counted back from your planting day.
Free to register. No credit card. Works on any phone.