Rice Land Preparation: The 21 Day Plan
Rice land preparation starts weeks before the first seedling goes in. The goal is a well leveled field. This guide walks through the plan for transplanted lowland rice, day by day, and shows how to fix the usual mistakes.
Why rice land preparation pays back
A level field comes first, before good growth and easy care. Level ground makes water, weeds, snails and fertilizer easier to manage, and the crop ripens evenly. It also lets farm machines work well.
The cost of skipping it is clear. A poorly prepared field could yield 5 percent less. On a farm aiming for 100 sacks per hectare, that is about 5 sacks gone before the first seed.
This page covers transplanted lowland rice. If you sow the seed directly, read our guide on direct seeded rice land preparation. For the big picture, see land preparation in the Philippines.
The 21 day plan for rice land preparation
Prepare the field over 21 to 30 days. You plow once and let the soil rest for about a week. Then you harrow three times, 5 to 7 days apart: lengthwise, crosswise, then a final pass with the leveling. The gap between passes is on purpose, because it lets weeds and dropped seeds sprout so that the next pass buries them. Take the longer gap when many weeds or much straw must rot.
| When | Work | Why |
|---|---|---|
| Right after harvest or at the first rains | Shallow dry tillage, also called crack plowing | Do it right after harvest or when the first rains come |
| 21 to 30 days before planting | Plow or rotovate, clean and repair dikes and ditches | Time for weeds and dropped seeds to sprout and for straw and stubble to decompose |
| About 7 days after plowing | First harrowing, lengthwise along the plowing pattern | Breaks clods and buries stubble |
| 5 to 7 days after the first harrowing | Second harrowing, crosswise, for initial leveling | Weed seeds sprout again and the field starts to level |
| 5 to 7 days after the second, just before planting | Third and final harrowing, then leveling with a board under about 5 cm of water | Gives a flat surface for even water depth |
Step 1: Clean and repair the pilapil and ditches
Do this first, before the water comes in. Dikes kept clean give pests fewer places to live, and well packed dikes keep water from seeping out. Build the dikes 15 cm high and 20 cm wide, which discourages rats from burrowing. Clean ditches keep water moving and help the field drain.
Step 2: Plow or rotovate 21 to 30 days before planting
Plowing works the weeds, straw and stubble into the soil and gives them time to decompose. Straw and stubble that have not fully rotted make the soil sour, and then some nutrients are harder for the roots to take up. So you can apply organic fertilizer at this stage to help the soil life break the residue down.
Then leave the field for about 7 days, so the soil dries a little and softens and the buried weeds start to rot.
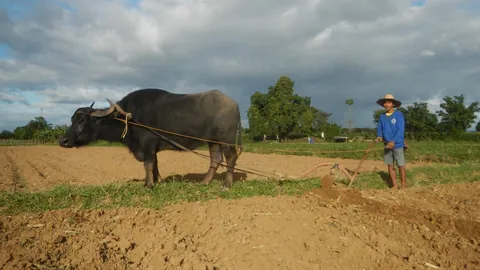
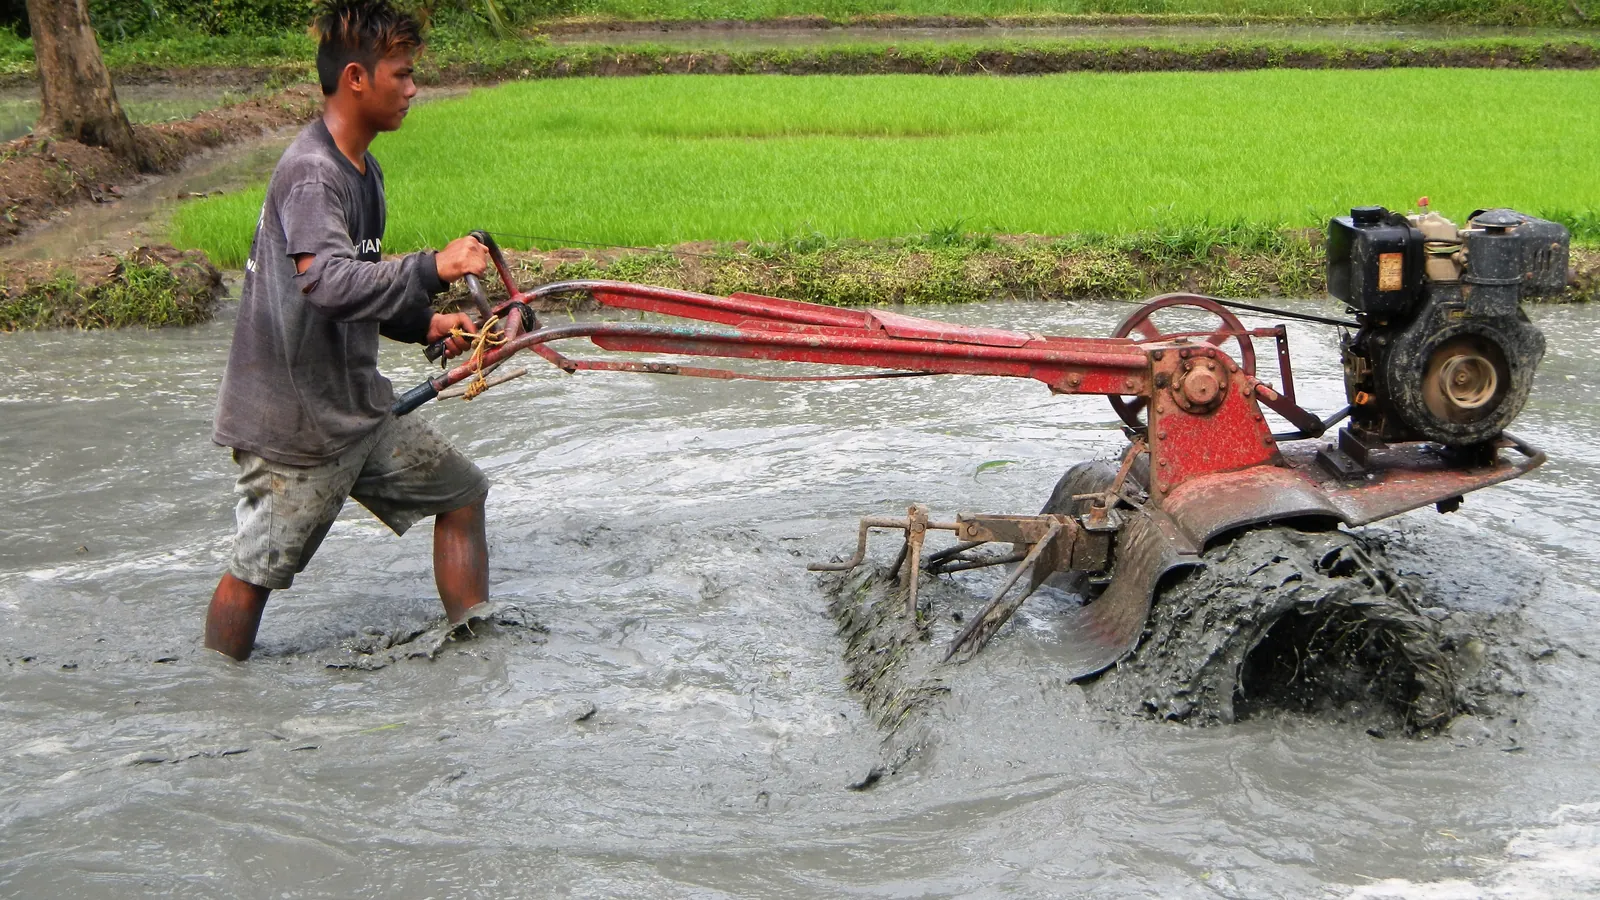
The moldboard plow, disc plow, rotavator and floating tiller are the primary tillage tools. A farm tractor, a hand tractor or an animal can pull them.
Step 3: Harrow three times, 5 to 7 days apart
The first harrowing follows the plowing pattern. The second goes crosswise, and it also acts as the first leveling. Finally, the third pass comes just before planting, with the leveling. Harrowing breaks clods, buries stubble, lets weed seeds sprout, helps reduce the starting pest population and maintains the soil's hard pan.
That last point matters. A firm layer under the mud holds the water and carries the weight of the machines and the people who work the field.
Step 4: Puddle, then level
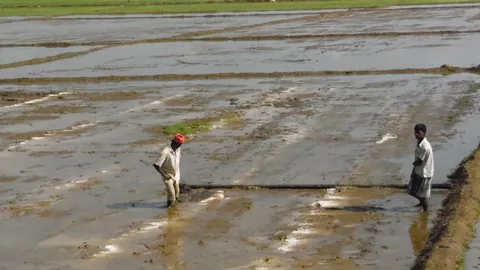
Puddling means working the soil under water until it turns into soft mud. A field is ready and level once the weeds, straw and stubble have rotted away and the soil is worked into an even mud.
For the final harrowing and leveling, use a wooden plank pulled by a carabao or a hand tractor, or a tiller attached leveler. Keep the water at 5 cm, about a thumb length, to make the leveling easier.
After the final leveling, no part of the field should have water deeper than 5 cm, and no mound of soil should show above the 5 cm water surface. If you see high or low spots, level again. This is the simplest way to check for a well leveled field.
Laser leveling and water leveling
Water leveling is the method above. You let the water show where the field is high or low, then you drag a plank to fix it.
Laser guided leveling is the machine option. It raises rice yield by an average of 8 percent in one report and 15 percent in another, so the gain varies by field. In the Philippines, Department of Agriculture regional offices provide laser leveling services. Since the machine is costly, most farmers use it as a hired service.
Preparing the rice seedbed
Transplanting needs seedlings, so the seedbed gets its own preparation. For manual transplanting, use a seedbed area of 400 square meters per hectare and a seeding rate of 20 to 40 kg per hectare. A bed 20 m long and 1 m wide gives the seedlings enough space. Plan on 40 kg of inbred or 20 kg of hybrid seed per hectare.
Before leveling the seedbed, apply organic fertilizer or carbonized rice hull, which loosens the soil and makes pulling the seedlings easier with less root damage. On fine textured soil, use 3 to 4 bags of commercial organic fertilizer. On medium textured soil, you do not need to add any.
Wet bed, seed soaking and sowing
Build the wet bed 1 to 3 days before you sow. Raise each bed about 5 cm, level it well so the seeds sprout evenly, and leave a 40 cm canal between beds so the water can drain.
Next, soak the seed in clean water for 24 hours. Then lift it out and keep it covered for another 24 hours in a shaded, airy spot. Sow once most seeds show a small sprout. Drain the bed first, then spread about 1 kg of sprouted seed on every 10 square meters, evenly and with no piling. That is 40 kg on a 400 square meter bed.
Transplanting into the prepared field
Pull the seedlings at 18 to 21 days for hand transplanting, or at 14 to 18 days for a mechanical transplanter. A 12 day seedling can go in if it already stands 15 cm tall. Plant straight rows at 20 by 20 cm in the wet season or 20 by 15 cm in the dry season. Put 2 to 3 seedlings in each hill for inbred rice, or 1 to 2 for hybrids.
Leave the leaf tips uncut, because the cuts let disease organisms in. Then keep the spare seedlings by the field to replant missing hills within 3 to 5 days, so the crop ripens together.
A rice land preparation checklist for the wall
- 30 to 21 days before transplanting: repair the dikes and canals, then plow.
- 23 days before: build the wet bed. Soak the seed for 24 hours, then keep it covered for 24 hours.
- 21 days before: sow about 1 kg of sprouted seed per 10 square meters of bed.
- 14 days before: first harrowing, lengthwise.
- 7 to 9 days before: second harrowing, crosswise.
- 1 to 2 days before: last harrowing, then level under about 5 cm of water.
- Transplanting day: 2 to 3 seedlings per hill for inbreds, leaf tips uncut.
- 0 to 3 days after: a pre emergence herbicide, by the label.
- 1 day after: snail control, if snails are present.
- 3 to 5 days after: water at 2 to 3 cm, and replant missing hills.
The list assumes hand transplanting of 21 day seedlings. For a mechanical transplanter, sow 14 to 18 days before instead. Better yet, skip the counting: anee.io dates every step back from your planting day for each lot.
Land preparation days go on the cropping calendar, dated back from your transplanting date. Add the lot, set day zero, and the plowing, harrowing and leveling dates fall into place.
Open the cropping calendarAdjust the work by soil and season
Heavy clay holds water and cracks when dry. Harrow it at the right moisture, and give it enough days between passes. Sandy and loamy soil work faster, but they drain quickly and need steady water during puddling.
Some rice soils are problem soils. If your field is acidic, read our guide on acidic soil preparation. If you farm near the coast, see saline soil preparation. For sodic or alkaline fields, see sodic and alkaline soil preparation.
In the dry season, you need to plan your water before you plow, because irrigation turns are fixed. In the wet season, start with crack plowing at the first rains and watch the weather forecast. A typhoon during final leveling undoes the work. The weather forecast in anee.io shows the week for each lot.
Common mistakes in rice land preparation
- Plowing and harrowing back to back with no rest, so no weeds sprout between passes.
- Leveling with no standing water, so you cannot see the low spots.
- Leaving old stubble and straw undecomposed, which turns the soil acidic.
- Ignoring the dikes, which leaves seepage and rat burrows.
- Pulling or transplanting seedlings older than 25 days. Seedlings older than 25 days recover slowly and make fewer tillers.
Questions about land preparation for rice
How long does land preparation for rice take?
Is laser leveling worth it?
How old should seedlings be at transplanting?
Get every step of rice land preparation right
Register for free to read every step, then date each one on your own calendar with the Land Prep Planner, counted back from your planting day.
Free to register. No credit card. Works on any phone.