Paano Magtanim ng Niyog: How to Plant Coconut the Traditional Way
Paano magtanim ng niyog? Here is how traditional Filipino farmers usually plant niyog (coconut), step by step from getting the field ready to the harvest, with the day of each step and what to change for a higher yield.
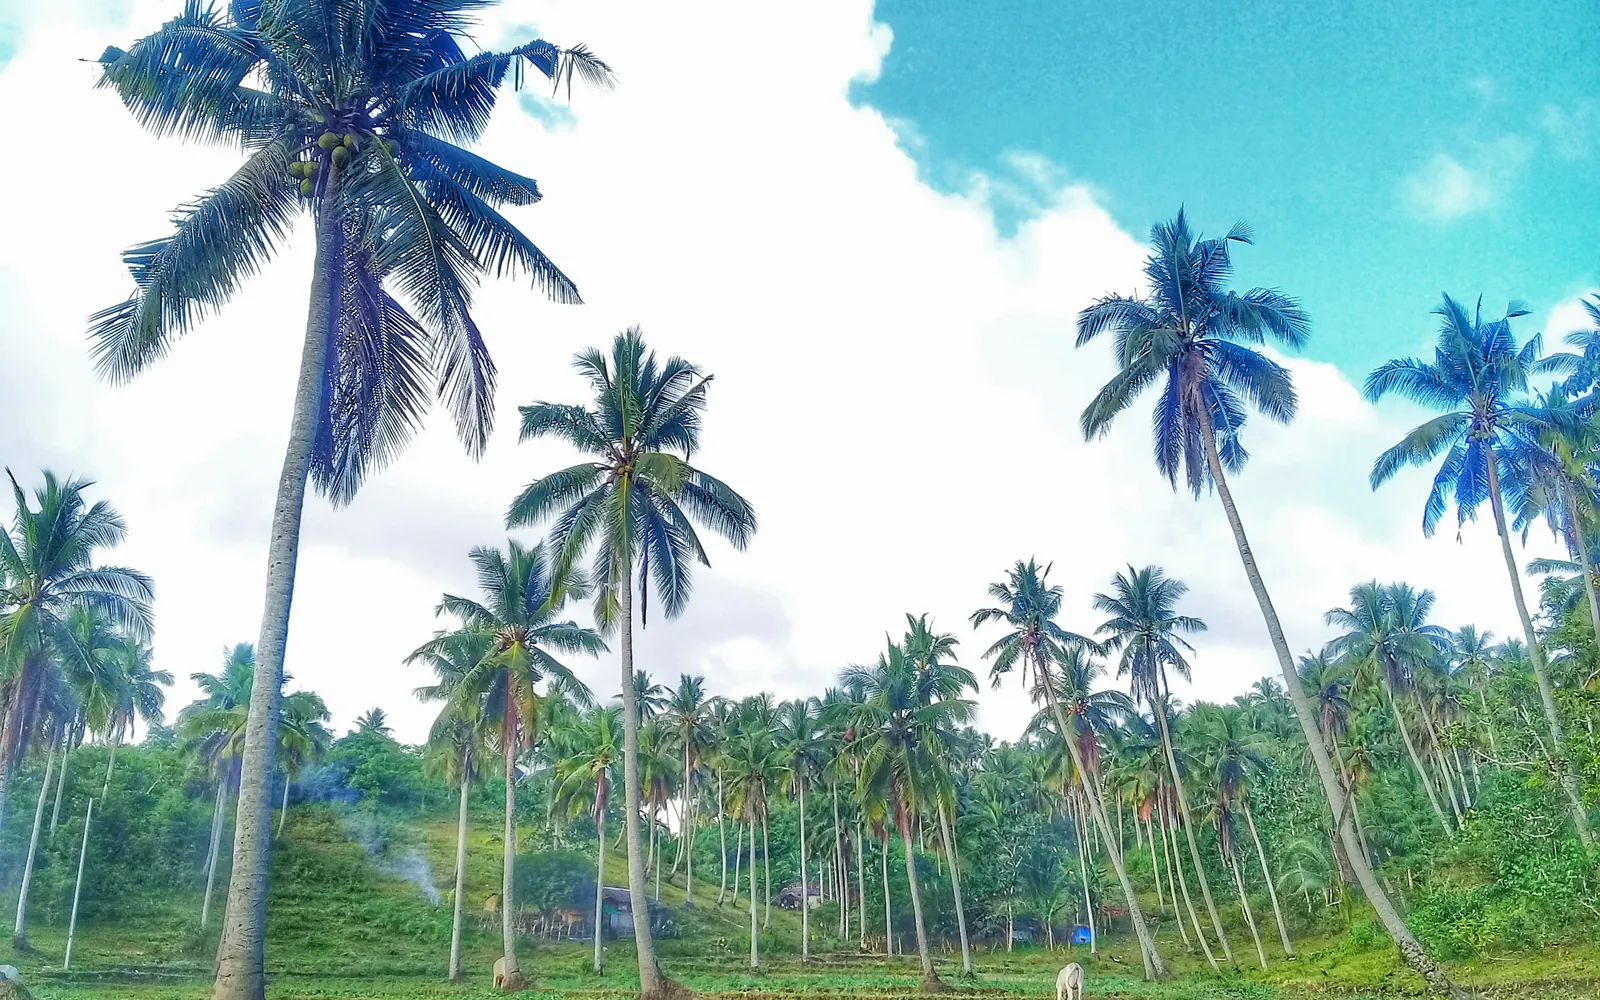
This guide shows how traditional farmers usually plant niyog. Use it as a starting point. For a higher yield, update it: plant certified seed or clean planting material, test your soil, and follow the right spacing and fertilizer.
This guide shows how Filipino farmers usually raise coconut from a ripe seednut to a planted seedling and care for it until the first nuts. It is for small farms and backyards planting tall or dwarf coconut.
Before you plant, get the field ready with our land preparation guide for fruit and plantation trees. Then choose your seed or planting material with the niyog varieties sold here. If the leaves turn pale later on, the niyog nutrient deficiency guide helps you find what is missing. For more on the crop, read fertilizer for coconut trees by age, pagtatanim ng puno.
When to plant niyog
Seedlings go into the field as the rains begin, around May to July in most of Luzon and the Visayas, so they root before the dry months. Where rain falls through most of the year, as in much of Mindanao, farmers plant in any wet month. Seednuts are sown in a shaded bed many months earlier.
What you plant
Ripe seednuts picked from a heavy bearing, healthy mother palm: brown, full sized nuts that slosh when shaken. Farmers lay them in a shaded sprouting bed, then plant the seedling when it is about 8 to 10 months old with several healthy leaves. Many now buy seedlings from accredited seed gardens, since dwarf and tall seedlings look alike.
Paano magtanim ng niyog, step by step
Tall coconut gives the first nuts at about 6 years. Dwarf palms often start in about 3 years (1080 days). Nursery steps are counted back from the planting day. The crop is ready about 6 years after planting.
Before planting (Bago magtanim)
2 months before planting: Clear the land and dig the holes
Clear the field, mark the planting spots and dig holes about 50 cm wide and 50 cm deep at least two months before planting. Set the spots about 7 to 8 m apart on open land, or about 10 m if you will grow other crops between the palms.
The nursery (Punlaan)
10 months before planting: Pick ripe seednuts
Choose nuts from a palm that bears many nuts every year, stands healthy and has no pests. Take only ripe, brown, heavy nuts that slosh when shaken. Tip: Nuts from a weak palm give weak seedlings, however well you care for them.
10 months before planting: Lay the nuts in a sprouting bed
In a shaded spot with loose soil, lay the nuts on their side close together and cover them about two thirds with soil or sawdust. Water the bed in dry weather.
- Sort the nuts firstShake every seednut by the ear. Keep the heavy ones that slosh with water and set aside any that are dry inside, cracked, rotten or bored by insects.
- Pick the bed spotChoose a level spot with loose, sandy soil in light shade, such as under old coconut trees, where water never stands and termites are few. On poorly drained ground, raise the bed.
- Lay them close togetherSet the nuts on their sides in rows, touching or nearly so, and bury each about two thirds deep in soil or sawdust with the top of the husk showing.
- Water and wait6 to 8 weeks to the first sproutsWater the bed in dry weather, about every other day on sandy soil. The first sprouts push through the husk after about six to eight weeks.
7 months before planting: Keep only strong sprouts
Move nuts that sprouted early and strongly to a nursery row or to bags, with space between them. Throw out nuts that sprout late or grow weak, crooked shoots.
- Move the early sproutsLift the nuts that sprout early and strongly and set them upright in nursery rows or in big plastic bags of soil, with room between them. Press the soil firmly around each nut.
- Throw out the late onesafter 5 to 6 monthsDiscard nuts that still have not sprouted after about five to six months, and any whose sprout has died or grown thin and crooked. Late sprouters tend to make poor palms.
- Care for the nurseryKeep the nursery weeded and watered in the dry months, and check the young leaves for beetles. Keep mulch a little away from the seedlings, since insects hide under it.
- Choose the seedlings to plant8 to 10 months in the nurseryPlant out seedlings about 8 to 10 months old that are sturdy, with several healthy leaves. A seedling of 10 to 12 months often has six to eight leaves. Leave behind stunted, yellow or sick ones.
Planting day (Pagtatanim)
Planting day: Plant the seedling
Put about half a sardine can of complete fertilizer (14 14 14) in the hole and cover it with topsoil. Set the seedling with the nut just at or a little below the surface, fill in and firm the soil around it. Tip: Seedlings bought from far away should rest in the shade for 3 to 5 days before planting.
Care while it grows (Pag aalaga)
Day 7: Shade and water the young seedling
Cover the seedling with a few cut fronds for shade during its first dry weeks. Water it when there is no rain until it shows new leaves.
Day 30: Ring weed around each seedling
Keep a clean circle around each seedling by hand or bolo every month or two in the first year. Lay dried weeds or coconut husks as mulch a little away from the stem.
Month 2: Plant crops between the rows
While the palms are small, many farmers grow corn, banana, root crops or vegetables in the open space between rows. Keep these crops out of the cleared circle around each palm.
Month 3: Watch the young leaves for beetles
Check the youngest leaves often for small leaf beetles that scrape the folded fronds, and the base for holes made by the big rhinoceros beetle. Remove beetles by hand and clean away rotting logs and piles where they breed.
Month 6: Feed the young palm
At the start of the next rains, scatter complete fertilizer or ammonium sulfate in a ring around the palm and cover it lightly. Many coconut farmers also give common salt, which coconut needs for chlorine.
Month 12: Replace dead seedlings and keep feeding
After the first year, replace any seedling that died, using one of the same age from the nursery. Keep feeding twice a year at the start and end of the rains, and widen the weeded circle as the palm grows.
Year 3: Dwarf palms begin to flower
Dwarf coconut often flowers at about 3 years, and the first nuts follow within the next year. Tall palms are still growing their trunk at this age.
Harvest (Anihan)
Year 6: First harvest of tall coconut
Cut buko for drinking when the nuts are still green, about 7 to 8 months after the flower opened, and let nuts for copra or seed ripen fully until brown.
Watering niyog, stage by stage
Almost every coconut farm here is rain fed: seedlings go in as the rains begin, get a pail of water and a shade of cut fronds in their first dry months, and are left to the rain after that. Watering grown palms is rare outside a few irrigated farms and backyard trees near a well. Rain is the usual water. Seedlings in the field get pails or a hose into a ring basin around the base, and the few irrigated farms flood basins or run drip lines with three or four drippers a palm. Water in the cool early morning or late afternoon, and never use seawater or salty well water on seedlings and young palms.
The first two dry seasons after planting, when a young palm can die or stall for a year. Flowering and nut setting in bearing palms, since a dry spell makes young nuts fall and gives empty nuts. Long droughts in any year, because the bunches opening later are formed long before and the loss shows as fewer nuts many months on.
| Stage | When | How often | How much |
|---|---|---|---|
| Sprouting bed (nursery) | 10 to 7 months before planting | Every day or every other day when no rain falls | Enough to wet the soil or sawdust around the nuts, with no water standing in the bed |
| Seedlings in the nursery row or bags | 7 months before planting to planting day | Every 2 to 3 days in dry weather | Enough to soak each bag or the row right through |
| Planting to 3 months | Planting day to month 3 | Water on planting day, then every 4 days when no rain falls. Keep the frond shade on | About 45 liters (4 to 5 watering cans) a seedling each time, poured into a basin around the base |
| First and second year | Month 3 to 24 | Every 4 days in the dry months, not needed while the rains are steady | About 45 liters (4 to 5 watering cans) a palm each time |
| Years 3 to 6, before the first nuts | Year 2 to 6 | Every 5 to 7 days in long dry spells where water is near. Dwarf palms that flower at about 3 years follow the bearing palm rhythm below | A deep soak of a basin widened as the palm grows, more than in the first two years |
| Bearing palms, flowering and nut setting all year | Year 6 to 7 | Every 5 to 9 days in the dry months by basin, or every day by drip | About 400 liters a palm each time in a basin about 1.8 m out from the trunk, or 40 to 50 liters a palm a day on drip |
Without irrigation. Plant seedlings as the rains begin so they root before the dry months. Shade them with cut fronds for the first one to two years, keep a mulch of husks and dried weeds a little away from the stem, and bury husks in layers, hollow side up, in trenches between rows about 3 m from the trunk, where they hold water for about 5 to 7 years. On flat land, small trenches between rows catch extra rain.
In the dry season. Young palms need water about every 4 days in the dry months. Bearing palms a deep basin soak every 5 to 9 days where water is at hand. Water when the leaflets fold and the lower fronds droop, when young nuts start to drop, or when the soil a hand deep in the basin is dry.
In the rainy season. Coconut takes heavy rain well but not standing water. On low land plant on slightly raised ground or a mound, keep canals open, and never let water pool around a seedling, which rots the roots and the nut. Watch the spear leaf of young palms after long wet spells: a wilted, rotting spear is bud rot.
- Too little water: Leaflets fold and the lower fronds droop, yellow and dry early. Young nuts and buttons fall. Nuts come small, with little meat or water.
- Too much water: Yellowing fronds and stalled growth on waterlogged ground, rotting roots, and a seedling whose nut and base turn soft.
To water better for a higher yield: Drip with three or four drippers a palm, about 40 to 50 liters a palm a day in the dry months, keeps more female flowers and fewer fallen nuts. Bury husks between the rows and keep the basin mulched. It is the cheapest water store a coconut farm has.
Spacing, water and fertilizer for niyog
Spacing
About 7 to 8 m between palms on open land, roughly 200 palms a hectare. About 10 m when other crops are grown between them, roughly 120 palms a hectare. Many farmers set the palms in a triangle so each one gets more room. One seedling a hole.
Water
Rain fed in most farms. Seedlings are planted at the start of the rains, shaded with cut fronds and watered by pail in the first dry season. Coconut husks and dried weeds around the base keep the soil moist.
Fertilizer
About half a sardine can of complete fertilizer (14 14 14) in the hole at planting. Young palms then get complete fertilizer or ammonium sulfate (21 0 0) in a ring around the base, often twice a year at the start and end of the rains. Many coconut farmers also spread common salt, which coconut uses for chlorine, and some use animal manure or ash. To read what a bag really gives, see our guide to fertilizer for this crop.
Care and harvest
Care while it grows
Ring weeding around each young palm, with mulch of husks and dried weeds kept a little off the stem. Shading the new seedling with fronds. Growing short crops between the rows while the palms are small. Checking young fronds for leaf beetles and the base for rhinoceros beetle holes, and clearing rotting logs where beetles breed. Replacing dead seedlings in the first year.
When and how to harvest
Buko for drinking is cut green, about 7 to 8 months after the flower opened. Nuts for copra and seed are left until fully ripe and brown, about 12 months from the flower, and climbers or long poles with a hooked knife bring the bunches down. Tall palms give the first nuts at about 6 years and dwarf palms at about 3 to 4 years.
Common mistakes when planting niyog
- Using nuts from a weak or poor bearing palm as seed.
- Planting seedlings too close, so the palms shade each other and bear few nuts.
- Planting deep in a soggy spot where water stands after rain.
- Letting grass and vines choke the young seedling in its first year.
- Ignoring beetle damage on the young fronds until the seedling dies.
- Buying seedlings from an unknown seller, so a dwarf turns out to be a tall palm.
How to get a higher yield of niyog
The traditional way gets a crop, but small changes add up. These are the first things to change, one season at a time.
- Get seedlings from an accredited seed garden or a proven high bearing mother palm.
- Test the soil and feed by the result, with salt or another chlorine source each year.
- Keep the right spacing and a clean, mulched circle around every palm.
- Grow crops or keep animals between the rows to earn while the palms grow.
- Scout young palms every month for leaf beetles and rhinoceros beetles and clean breeding spots.
- Water seedlings through the first dry season so fewer die and growth stays even.
anee.io helps with each of these. The NPK Plus calculator checks that your fertilizer plan feeds the yield you want, the pest and disease finders tell you what is on the leaves before you spray, and Anee, the smart farm technician answers your questions in Tagalog or English.
Members open this guide in the How to Plant tool and send every step to the Protocol Builder in one tap, each on its own day. There you can change the seed, the spacing and the fertilizer, then turn it into a cropping calendar for your lots.
Start from the traditional way, make it better, and let anee.io date every task from your own planting day. Free to start.
Start freeQuestions about planting niyog
Paano magtanim ng niyog?
When do farmers plant niyog in the Philippines?
How far apart do you plant niyog?
How long before niyog can be harvested?
How often do you water niyog?
What do you plant to grow niyog?
See every step of planting it the traditional way
Register for free to read every step with its day, the spacing, water and fertilizer, the common mistakes and what to change for a higher yield. Then send it to your Protocol Builder in one tap.
Free to register. No credit card. Works on any phone.