Paano Magtanim ng Kalamansi: How to Plant Calamansi the Traditional Way
Paano magtanim ng kalamansi? Here is how traditional Filipino farmers usually plant kalamansi (calamansi), step by step from getting the field ready to the harvest, with the day of each step and what to change for a higher yield.
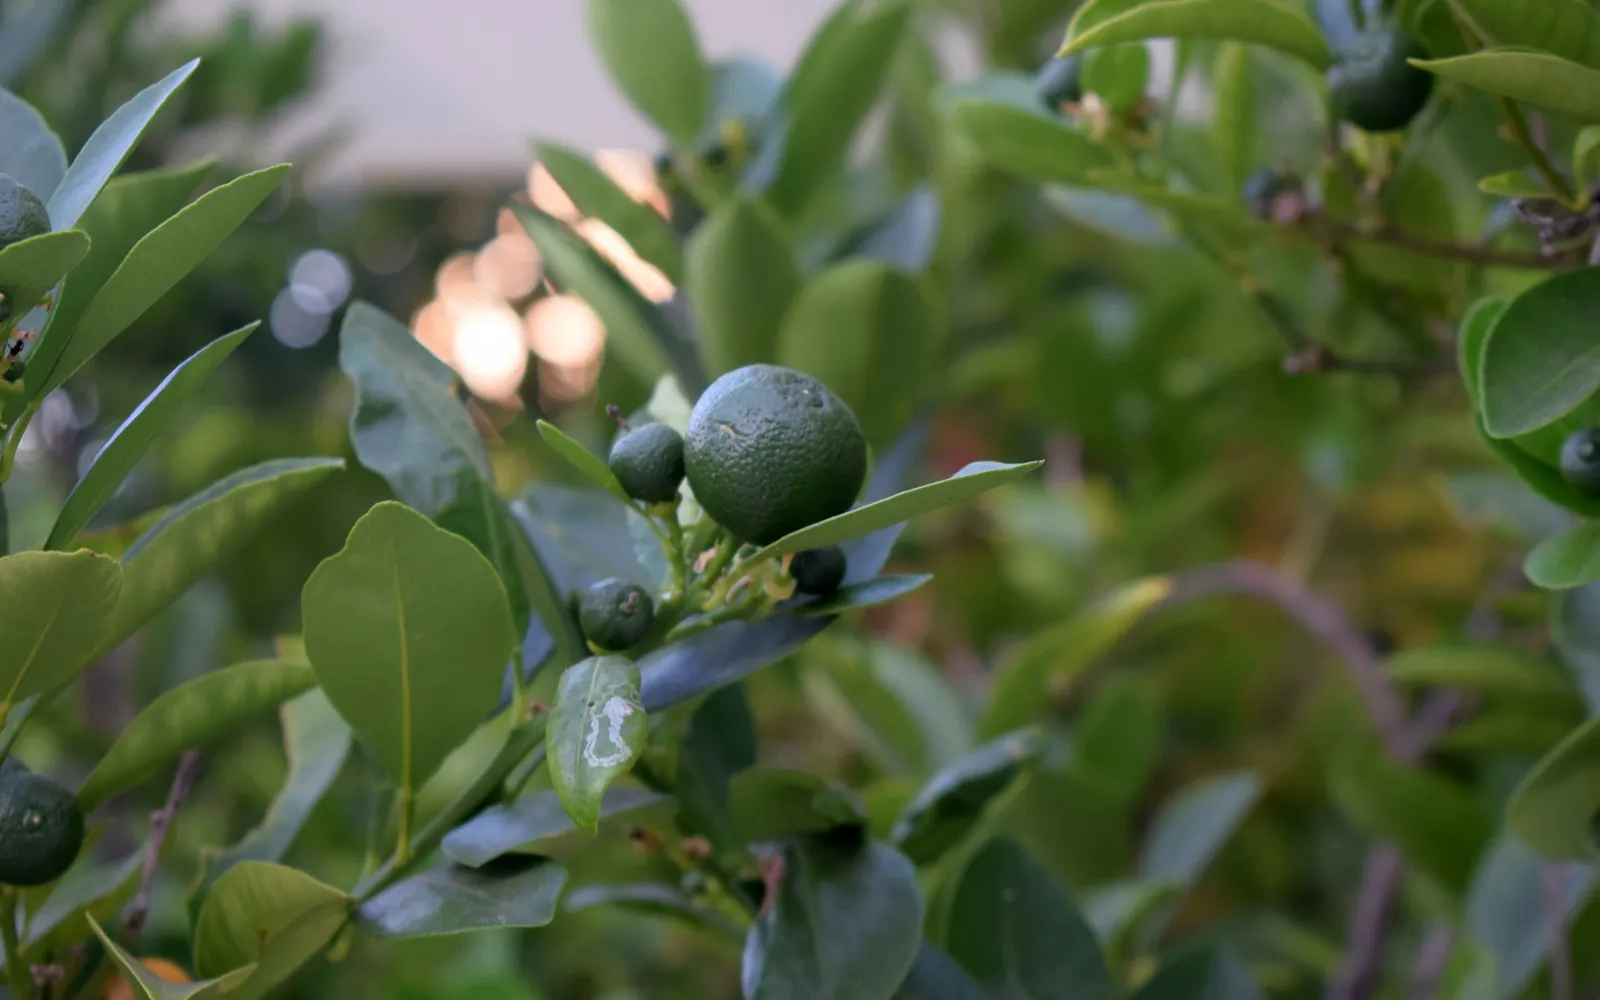
This guide shows how traditional farmers usually plant kalamansi. Use it as a starting point. For a higher yield, update it: plant certified seed or clean planting material, test your soil, and follow the right spacing and fertilizer.
This guide shows how Filipino growers usually plant calamansi from a marcotted or grafted seedling and care for it through the first two years to the first good harvest. It suits backyards and small orchards.
Before you plant, get the field ready with our land preparation guide for fruit and plantation trees. Then choose your seed or planting material with the kalamansi nutrient deficiency guide. For more on the crop, read pagtatanim ng puno.
When to plant kalamansi
Seedlings are planted as the rains begin, around May to July, so they settle in with steady rain. Where there is water for the dry months, planting can be done in other months too.
What you plant
Most growers plant a marcotted (sanga na pinaugat) or grafted seedling from a healthy tree that bears heavily. A good seedling has dark green leaves, no gum on the bark and no curled leaves from pests, and has hardened in the sun for some days. Seeds also grow, but trees from seed are slower and less even.
Paano magtanim ng kalamansi, step by step
Calamansi starts to bear one to two years after planting. The first good harvest is taken here at 24 months or 720 days. The crop is ready about 2 years after planting.
Before planting (Bago magtanim)
30 days before planting: Clear the land and mark the spots
Clear the grass and loosen the soil, working in compost or manure if you can. Mark the planting spots about 4 to 5 m apart, on a slightly raised spot where water drains off.
7 days before planting: Dig the holes
Dig each hole at least 40 cm wide and 40 cm deep, about twice as wide as the seedling bag. Put compost or dried manure at the bottom and cover it with some topsoil.
The nursery (Punlaan)
4 months before planting: Make your own marcots (pagmamarcot)
Many growers root their own planting stock on a heavy bearing tree, in the rainy months. A marcot comes true to the mother tree and bears early, though its roots are shallower than a seedling's and it needs staking against wind.
- Choose the mother tree and the branchPick a tree that bears every year, with good fruit and no pests or disease, and not too old. On it choose a branch about as thick as a pencil or a finger, neither too young nor too old, growing upward in the sun, with no flowers or fruit on it.
- Mix the rooting ballMix garden soil with rice hull, or with mudpress from a sugar mill or coir dust where you can get it. Wet it until it holds together when squeezed but does not drip.
- Peel a ring of barkWith a clean, sharp knife, cut twice around the branch a short distance apart and peel off the bark between the cuts. Scrape off the slippery green layer under the bark too, or the bark heals over instead of making roots.
- Wrap and tieHold a piece of clear plastic around the branch below the ring, pack a ball of the moist mix over the whole ring, close the plastic around it and tie both ends tightly with plastic straw.
- Wait for the rootsLeave the wrap on the tree and look at it every week. The marcot is ready when white roots show plainly all around the ball through the plastic. If the ball dries, open the top and add a little water.
- Cut it and bag itCut the branch just below the ball with sharp shears or a saw. Take off the plastic gently, without breaking the ball, and plant it in a 6 by 8 inch bag of two parts soil, one part compost and one part rice hull.
- Nurse it in the shade2 weeks in the shadeKeep the new plant in the shade, out of the rain, and water it daily. After two weeks move it where it gets some sun, and pick off any flowers so it grows roots and leaves first.
Planting day (Pagtatanim)
Planting day: Plant the seedling
Remove the bag, loosen roots that circle around the soil ball and set the seedling no deeper than it grew in the bag. Fill in with soil mixed with compost, press firmly and water at once. Tip: Planting too deep or leaving the roots coiled can stunt the tree for years.
Care while it grows (Pag aalaga)
Day 1: Water every morning at first
Water the new seedling every morning until it shows new leaves, then whenever the soil is dry. Lay dry leaves around the base to keep the soil moist.
Day 7: Remove flowers and fruits
Pick off any flowers or small fruits on the new seedling. This lets it put its strength into roots and leaves first.
Day 30: First fertilizer
One month after planting, spread about 50 to 100 g of ammonium sulfate (21 0 0) or urea (46 0 0) around each tree, a little away from the stem, and mix it into the soil. Repeat every four months in the first year.
Day 45: Weed around the tree
Pull or slash the weeds around each young tree from time to time so they do not take its food and water. Short crops like vegetables can grow between the rows.
Month 2: Check the new leaves for pests
Look at every new flush for aphids, leaf miners, scale insects and citrus psyllids, and at the bark for gum or borer holes. Cut off and burn badly hit twigs.
Month 6: Shape the young tree
Cut off shoots that grow from the base or below the graft, and thin out weak, crossing or crowded branches. Keep three or four main branches so light reaches the inside.
Month 12: Feed more in the second year
From the second year, raise the dose to about 200 to 300 g a tree every four months. Before the trees start bearing, many growers switch to complete fertilizer with potash for fruit.
Harvest (Anihan)
Year 2: First good harvest
Pick fruits that are full sized and still green or starting to turn yellow, by hand or with small scissors, leaving a bit of stem. Avoid breaking twigs and bruising the skin.
Watering kalamansi, stage by stage
Growers water a new seedling every morning until it shows new leaves, then only when the soil dries, and in the dry months many carry a full pail or more to each tree and keep dry leaves on the ground. Most calamansi then bears on the rains, with the big crop from about July to October, and only farms with water all year get an off season harvest. A pail or a hose into a ring basin around each tree, the usual way on small farms. Some commercial farms lay drip lines. Water in the early morning, on the ring under the leaves and not against the trunk.
The first weeks after planting, when the seedling needs water every morning. Flowering and fruit set, since dry soil then drops flowers and small fruits. Fruit growth in a dry spell, which leaves the fruits small and less juicy.
| Stage | When | How often | How much |
|---|---|---|---|
| Planting to new leaves | Planting day to day 30 | Every morning until new leaves show | Enough to soak the soil ball and the hole around it, with no puddle left standing |
| Rest of the first year | Day 30 to month 12 | When the soil a finger deep is dry. In the dry months that means every few days for a young tree | About half a pail to a full pail a tree, poured into a basin around the stem |
| Second year, before bearing | Month 12 to 18 | Every 7 to 10 days in the dry months, after a deep soak. Not needed in the rains | A full pail or more a tree, wetting the basin out to the edge of the leaves |
| Bearing trees: short dry spell before flowering (each year) | Month 18 to 19 | Where water is at hand, hold back for a few weeks in the dry months, then give a deep soak with the fertilizer | None for a few weeks, then one deep soak of the whole basin |
| Flowering and fruit set | Month 19 to 21 | About once a week in dry weather, keeping the soil evenly moist | A full pail or more a tree each time |
| Fruit growth to harvest | Month 21 to 24 | Every 7 to 10 days in dry weather until picking | A full pail or more a tree each time |
| Main harvest in the rainy months | Month 24 to 27 | Rain does the work. Water only in a long break in the rains | A full pail a tree if the soil dries |
Without irrigation. Plant as the rains begin so the seedling settles with steady rain, and keep a thick layer of dry leaves around each tree, a little off the trunk. Without water in the dry months the trees rest and bear mostly in the rainy months, which is when prices are lowest. Even a drum of stored rainwater carried to young trees in their first dry season saves many of them.
In the dry season. Young trees when the soil a finger deep is dry, about half a pail to a pail a tree. Bearing trees every 7 to 10 days with a full pail or more. Water when leaves curl and lose their shine, or when young shoots droop by midday.
In the rainy season. Calamansi dies in waterlogged soil, so plant on a slightly raised spot or a mound and dig drains out of low places. In long rains the trees turn yellow and give poor fruits, and wet soil around the trunk brings rot of the roots and collar with gum oozing from the bark. Keep mulch and grass off the trunk.
- Too little water: Leaves curl, fold along the middle and lose their shine, young shoots droop by midday, and flowers and small fruits fall.
- Too much water: Leaves yellow all over, roots rot, gum oozes from the lower trunk, and the fruits come small and poor.
To water better for a higher yield: A drip line or a mulched basin watered every week through the dry months keeps trees bearing and lets a farm sell in the off season, when prices are higher. Pair the deep soak after the dry spell with the fertilizer, so the trees flower together and the crop comes in at the time you choose.
Spacing, water and fertilizer for kalamansi
Spacing
About 4 to 5 m between trees, one seedling a hole. Backyard trees are often planted closer or grown in big pots.
Water
Watered every morning after planting until new leaves show, then whenever the soil dries. In the dry months many growers give a full pail or more to each tree and keep a mulch of dry leaves. Calamansi dies in waterlogged soil, so low spots are raised or drained.
Fertilizer
Compost or dried manure in the hole at planting. One month after planting, about 50 to 100 g of ammonium sulfate (21 0 0) or urea (46 0 0) a tree, repeated every four months. In the second year, about 200 to 300 g a tree every four months. Bearing trees get complete fertilizer and potash, given before flowering, after fruit set and after harvest. To read what a bag really gives, see our guide to fertilizer for this crop.
Care and harvest
Care while it grows
Watering and mulching, pulling flowers off young seedlings, weeding around each tree, removing shoots from the base, light pruning to keep three or four main branches, and checking each new flush for aphids, leaf miners, scale and psyllids. Cutting and burning twigs with borer damage or gum.
When and how to harvest
Trees start bearing one to two years after planting, and bearing trees give a heavy crop in the rainy months, about July to October, with smaller picks the rest of the year. Fruits are picked by hand or with small scissors when full sized, green to just turning yellow, with a bit of stem left on so they keep longer. They are packed in net sacks and kept in the shade.
Common mistakes when planting kalamansi
- Planting in a low spot where water stands, which rots the roots.
- Burying the seedling deeper than it grew in the bag, or leaving coiled roots.
- Letting a young seedling fruit before it has grown a good frame.
- Giving all the fertilizer at once instead of small doses through the year.
- Ignoring aphids and psyllids on new leaves, which spread disease.
- Taking marcots from a sick or poor bearing tree.
How to get a higher yield of kalamansi
The traditional way gets a crop, but small changes add up. These are the first things to change, one season at a time.
- Buy clean, healthy seedlings from an accredited nursery or a proven mother tree.
- Test the soil and feed by the result, with complete fertilizer and potash once trees bear.
- Prune every year after the main harvest to keep the tree open and low.
- Scout each new flush for aphids, psyllids and leaf miners and act early.
- Water during long dry spells and mulch, so flowering and fruit set stay even.
- Keep the orchard clean of weeds and fallen fruit to cut pests and disease.
anee.io helps with each of these. The NPK Plus calculator checks that your fertilizer plan feeds the yield you want, the pest and disease finders tell you what is on the leaves before you spray, and Anee, the smart farm technician answers your questions in Tagalog or English.
Members open this guide in the How to Plant tool and send every step to the Protocol Builder in one tap, each on its own day. There you can change the seed, the spacing and the fertilizer, then turn it into a cropping calendar for your lots.
Start from the traditional way, make it better, and let anee.io date every task from your own planting day. Free to start.
Start freeQuestions about planting kalamansi
Paano magtanim ng kalamansi?
When do farmers plant kalamansi in the Philippines?
How far apart do you plant kalamansi?
How long before kalamansi can be harvested?
How often do you water kalamansi?
What do you plant to grow kalamansi?
See every step of planting it the traditional way
Register for free to read every step with its day, the spacing, water and fertilizer, the common mistakes and what to change for a higher yield. Then send it to your Protocol Builder in one tap.
Free to register. No credit card. Works on any phone.