Paano Magtanim ng Tubo: How to Plant Sugarcane the Traditional Way
Paano magtanim ng tubo? Here is how traditional Filipino farmers usually plant tubo (sugarcane), step by step from getting the field ready to the harvest, with the day of each step and what to change for a higher yield.
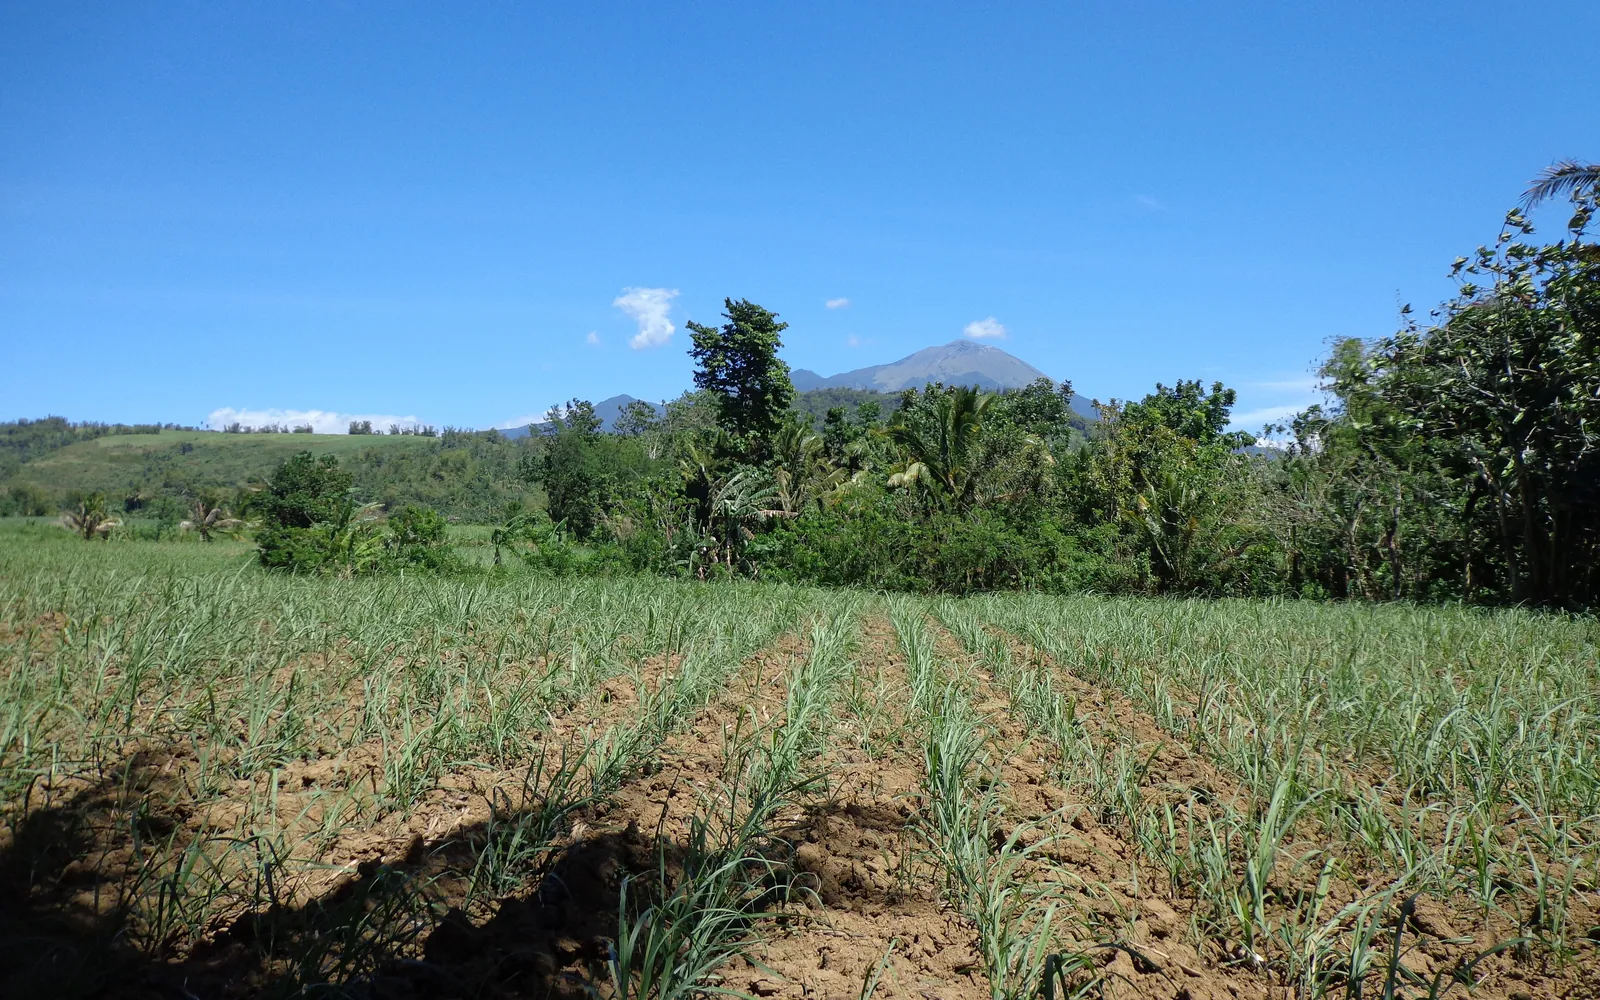
This guide shows how traditional farmers usually plant tubo. Use it as a starting point. For a higher yield, update it: plant certified seed or clean planting material, test your soil, and follow the right spacing and fertilizer.
This guide shows how Filipino cane farmers in Negros, Panay, Tarlac, Batangas and Mindanao usually plant sugarcane from cane points laid in furrows, then care for it until the mill harvest and the ratoon crops after. It is for small and middle sized planters who sell their cane to a sugar mill.
Before you plant, get the field ready with our land preparation guide for sugarcane. Then choose your seed or planting material with the tubo varieties sold here. If the leaves turn pale later on, the tubo nutrient deficiency guide helps you find what is missing.
When to plant tubo
Planting follows the milling season, which runs from about October to May. Most farmers plant right after their field is cut, from about October to January, while the soil still holds water from the rains. Cane planted later in the dry months gets more cane points because fewer of them grow. Some upland farmers with no irrigation wait for the first rains in May or June. In parts of Mindanao where rain comes most of the year, planting is spread over more months.
What you plant
Cane points (patdan): pieces of the stalk with two or three good eyes, taken from the upper part of healthy cane about 8 to 10 months old, or from the tops cut off at harvest. Farmers cut them cleanly with a sharp cane knife, peel off the dry leaf sheaths with care so the eyes are not hurt, throw out pieces with dead eyes or red rot inside, and plant them within a few days. Many soak them in clean water overnight so they sprout faster.
Paano magtanim ng tubo, step by step
The plant cane is cut at about 10 to 12 months. Ratoon crops from the same stubble follow every 11 to 12 months after. The crop is ready about 330 days after planting.
Before planting (Bago magtanim)
30 days before planting: Clear and plow the field
Cut and pull out the stubble of the old crop, then plow two or three times with a carabao or tractor and harrow until the soil is loose and free of big clods. Tip: Plowing across the slope keeps the rain from washing the soil away.
3 days before planting: Open the furrows
Draw straight furrows about 1 to 1.2 m apart and about 20 to 30 cm deep with a furrowing plow. Cane farmers in Negros often keep them close, at about 1 m.
2 days before planting: Cut and sort the cane points
Cut the seed cane into pieces with two or three eyes each and peel off the dry sheaths. Keep only pieces with plump, unbroken eyes and clean white flesh, and keep them in the shade. Tip: Cut ends that show red inside mean red rot. Burn those pieces.
- Choose the seed caneTake seed cane from a healthy, even stand about 8 to 10 months old, with no black smut whips, no stunted clumps and no stalks red inside. The tops cut off at harvest can also be used if they are fresh and sound.
- Cut clean pieces of two or three eyesLay the stalk on a wooden block and cut it with one sharp stroke of the cane knife, so the ends are clean and not crushed. Each piece should carry two or three eyes, with the cut a little away from the nearest eye.
- Peel the sheaths gentlyPull the dry leaf sheaths off by hand, slowly, without rubbing or knocking the eyes, since a bruised eye will not sprout.
- Sort out the bad piecesKeep pieces with plump, whole eyes and white, clean flesh at both cut ends. Throw out pieces with dead or broken eyes, and burn any that show red inside, the sign of red rot.
- Keep them shaded and plant soonPile the sorted pieces in the shade under cane leaves so they stay fresh, and plant them within a few days. Pieces that dry out sprout poorly and unevenly.
1 day before planting: Soak the cane points
Soak the sorted pieces in clean water overnight so the eyes wake up and sprout evenly.
- Soak them overnightovernightPut the sorted pieces in clean water overnight, in a drum or a big tub, so the eyes take up water and sprout together.
- Treat against rot if you canFarmers who want fewer rotten pieces dip the cut ends in a fungicide after soaking, and some mills give seed cane a hot water treatment against diseases carried in the cane.
- Plant them while still wetCarry the soaked pieces to the field and plant them the same day, keeping them covered so they do not dry in the sun on the way.
Planting day (Pagtatanim)
Planting day: Put the first fertilizer in the furrow
Drop complete fertilizer (14 14 14) or mill mud along the bottom of the furrow and mix it in with a little soil so it does not burn the cane points.
Planting day: Lay and cover the cane points
Lay the pieces flat along the furrow, end to end or with a little overlap, eyes facing the sides. Cover them with about 5 cm of soil and press it lightly with the foot. Tip: Plant a few more pieces at the end of each row to use for filling gaps later.
Care while it grows (Pag aalaga)
Day 30: Fill the gaps
Walk the rows and replant spots where nothing came up, using the spare pieces or young shoots dug from thick spots.
Day 30: First weeding
Hoe or hand pull the weeds along the rows and run the carabao plow lightly between rows. Keep the field clean until the cane leaves close over the rows.
Day 45: Off barring and side dressing
Plow the soil away from both sides of each cane row, then put urea (46 0 0) and muriate of potash (0 0 60) along the row while the soil is moist.
Day 90: Hill up the cane
Plow the soil back against the base of the cane to cover the fertilizer and bury young weeds. Many farmers hill up a second time at about four months, when the cane is nearly too tall for the plow to pass. Tip: Good hilling keeps the cane standing through strong winds.
Day 120: Watch for borers, grubs and rats
Look for dead hearts and holes in the stalks, wilting clumps with grubs at the roots, gnawed stalks, and black whips of smut. Pull out and burn smut clumps early.
Harvest (Anihan)
Day 330: Cut the cane
When the lower leaves are dry and the top of the stalk tastes as sweet as the bottom, cut each stalk close to the ground with a cane knife, chop off the green top and strip the leaves.
Day 331: Bundle and haul to the mill
Tie the stalks in bundles, load them on carts or trucks and bring them to the mill within a day or two. Cut cane left lying in the sun loses sugar every day.
Day 345: Start the ratoon crop
Cut off any high stubble near the ground, plow away the soil beside the rows, put fertilizer and hill up again so the stubble grows a new crop. Many farmers keep two or three ratoons before they plow the field and plant again.
Watering tubo, stage by stage
Most cane here is rainfed: farmers plant while the soil still holds water from the rains and count on the wet season for the big growth. The few who water run it down the furrows from a pump or canal in the dry months, which is the usual way in Batangas, Tarlac and Pampanga, while some big farms in Negros use hoses, sprinklers or drip lines. Furrow watering from a pump or canal, letting water run down each furrow until it reaches the far end. A few farms flood the field or use hoses, sprinklers or drip lines. Water in the morning or late afternoon.
Sprouting, the first month: dry soil now gives poor sprouting and gaps in the rows. Tillering, about month 1 to 4: drought now means fewer shoots, so fewer stalks at harvest. Fast stalk growth, about month 4 to 9: a long dry spell gives short joints and light cane.
| Stage | When | How often | How much |
|---|---|---|---|
| Planting | Planting day to day 1 | Plant into moist soil. If the furrow is dry and water is at hand, run water down it once after covering the cane points | A light furrow watering that wets the soil around the cane points, without leaving them under water for long |
| Sprouting | Day 1 to 30 | Keep the soil moist. In the dry months, water the furrows again whenever the topsoil dries out | A furrow watering that soaks the row |
| Tillering | Day 30 to 120 | In dry months, water when the soil a hand deep in the row feels dry, and soon after the side dressing and the hilling up | Fill the furrows and let the water reach the end of the row |
| Fast stalk growth | Day 120 to 270 | Usually the rains do it. Water only in a long dry spell, when the leaves roll by mid morning | A full furrow watering |
| Ripening | Day 270 to 330 | Stop watering about a month before cutting | No water |
| Ratoon start | Day 330 to 360 | After cutting and putting fertilizer on the stubble, water once if the soil is dry | A furrow watering along the stubble rows |
Without irrigation. Plant right after the old cane is cut, from about October to January, while the soil is still wet from the rains, or wait for the first rains in May or June on upland fields. Cover the cane points well, keep the trash from the harvest as mulch between rows, and keep the field weed free so the weeds do not drink the moisture.
In the dry season. Young cane in its first months goes through the dry season, so this is when watering pays most. Water when the soil a hand deep in the row is dry, the leaves roll before noon, or the young shoots look gray. Older ratoon clumps also suffer if a long drought follows the harvest.
In the rainy season. Cane stands short floods but not water that stays for days. On low or heavy soil keep the furrows open at the ends and dig field drains, since waterlogged cane turns yellow, grows slowly and its roots rot. Strong rain and wind on tall cane also make it fall over.
- Too little water: Leaves roll up tight and turn yellow green, the leaf tips and edges dry, young shoots wilt, and the stalks grow short joints. Ratoon clumps die in patches.
- Too much water: Leaves turn yellow and growth stops in the low spots, roots go dark and rot, and the stand thins where water stays.
To water better for a higher yield: Even a few waterings in the first months, during sprouting and tillering, raise the cane harvest a lot over rain alone. Leave the dry leaves from the harvest between the rows as mulch, and on big farms drip lines under the soil save water and labor.
Spacing, water and fertilizer for tubo
Spacing
Furrows about 1 to 1.2 m apart, some farmers up to 1.5 m. Cane points are laid end to end or slightly overlapped in the furrow, about 40,000 pieces a hectare for planting after harvest and up to about 50,000 for late dry season planting.
Water
Mostly rainfed. Farmers plant when the soil is still moist from the rains and count on the wet season for growth. A few farms with pumps or canals run water down the furrows in the dry months, mainly in the first three months.
Fertilizer
A basal dose of complete fertilizer (14 14 14) in the furrow at planting, then urea (46 0 0) and muriate of potash (0 0 60) at off barring, about one to two months after planting. Near the mills, farmers add mill mud (mudpress) and boiler ash when they can get them. Small farmers often put less than the field needs or put it late because of cost. To read what a bag really gives, see our guide to fertilizer for this crop.
Care and harvest
Care while it grows
Gap filling at about one month, weeding by hoe and carabao plow until the canopy closes, off barring then hilling up once or twice to cover the fertilizer and hold the cane against wind. Smut clumps are pulled out and burned. Some farmers strip the dry leaves before cutting.
When and how to harvest
Cane is ready at about 10 to 12 months, when growth slows, the lower leaves dry and the top of the stalk is as sweet as the base. Cutters take it by hand with a cane knife, close to the ground, remove the tops and leaves, bundle it and haul it to the mill within a day or two. Some fields are burned first to make cutting easier, but more farmers now cut it green. The tops are kept as cane points or fed to carabaos and cattle.
Common mistakes when planting tubo
- Planting dried out or damaged cane points whose eyes no longer sprout.
- Covering the cane points too deep, or so thin that they dry out in the sun.
- Putting too little fertilizer, or putting it late after the cane has already slowed.
- Leaving weeds in the rows during the first three months.
- Cutting the cane high, which leaves long stubble that weakens the ratoon.
- Leaving cut cane in the field for days before it reaches the mill.
How to get a higher yield of tubo
The traditional way gets a crop, but small changes add up. These are the first things to change, one season at a time.
- Get cane points from a clean seed cane nursery of a variety the local mill recommends.
- Have the soil tested and split the fertilizer by the result instead of guessing.
- For varieties that tiller a lot, widen the furrows to about 1.2 to 1.5 m so the ratoons stay strong.
- Plant early after harvest so the cane uses the last rains, and keep it weeded until the canopy closes.
- Cut green cane close to the ground and leave the trash as mulch instead of burning it.
- Scout every few weeks for borers, grubs, rats and smut, and plow out fields after the ratoons drop off.
anee.io helps with each of these. The NPK Plus calculator checks that your fertilizer plan feeds the yield you want, the pest and disease finders tell you what is on the leaves before you spray, and Anee, the smart farm technician answers your questions in Tagalog or English.
Members open this guide in the How to Plant tool and send every step to the Protocol Builder in one tap, each on its own day. There you can change the seed, the spacing and the fertilizer, then turn it into a cropping calendar for your lots.
Start from the traditional way, make it better, and let anee.io date every task from your own planting day. Free to start.
Start freeQuestions about planting tubo
Paano magtanim ng tubo?
When do farmers plant tubo in the Philippines?
How far apart do you plant tubo?
How long before tubo can be harvested?
How often do you water tubo?
What do you plant to grow tubo?
See every step of planting it the traditional way
Register for free to read every step with its day, the spacing, water and fertilizer, the common mistakes and what to change for a higher yield. Then send it to your Protocol Builder in one tap.
Free to register. No credit card. Works on any phone.