Paano Magtanim ng Abaka: How to Plant Abaca the Traditional Way
Paano magtanim ng abaka? Here is how traditional Filipino farmers usually plant abaka (abaca), step by step from getting the field ready to the harvest, with the day of each step and what to change for a higher yield.
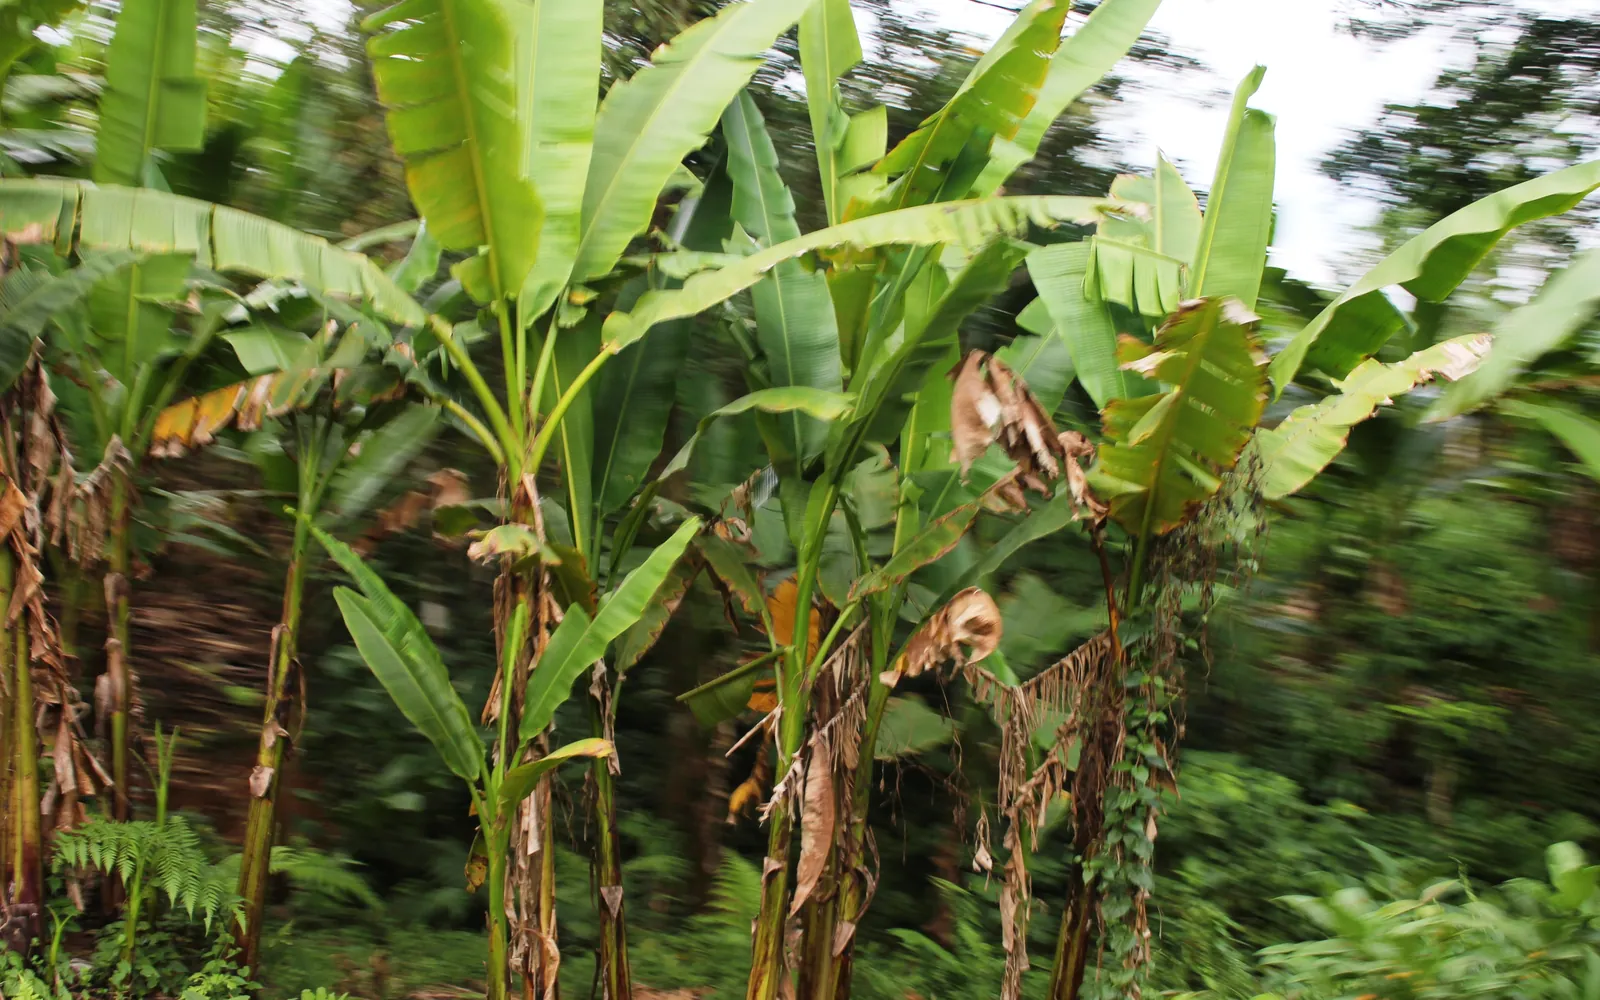
This guide shows how traditional farmers usually plant abaka. Use it as a starting point. For a higher yield, update it: plant certified seed or clean planting material, test your soil, and follow the right spacing and fertilizer.
This guide shows how Filipino abaca farmers in Bicol, Eastern Visayas, Davao, Caraga and other uplands usually set up an abaca farm from suckers or corm pieces and care for it until the first stalks are stripped for fiber. It also shows where the usual small farm differs from a well kept one.
Before you plant, get the field ready with our land preparation guide for banana and abaca. Then choose your seed or planting material with the abaka varieties sold here. If the leaves turn pale later on, the abaka nutrient deficiency guide helps you find what is missing.
When to plant abaka
Plant as the rains begin so the young plants get steady water. Where rain falls well through the whole year, as on the Pacific side of Bicol, Samar and eastern Mindanao, planting can go on in any month. Clearing is best done in the dry months before.
What you plant
Most farmers dig suckers from healthy old mats: immature suckers about 9 to 11 months old and at least 1 m tall take best, while small sword suckers about half a meter tall die more often. Others plant corm pieces (seedpieces) with at least three good eyes, single eye pieces, or tissue culture plantlets bought from a nursery and hardened for about three months. Farmers trim the roots, clean off rotten parts, cut back the leaves and throw out any corm with weevil tunnels, and never take material from a mat with bunchy top or mosaic.
Paano magtanim ng abaka, step by step
The first stalks are cut at about 16 to 24 months. After that the same mat is harvested every 3 to 4 months for many years. The crop is ready about 20 months after planting.
Before planting (Bago magtanim)
2 months before planting: Clear the land and keep the shade
In the dry months, cut the shrubs and grass close to the ground and pile them to rot instead of burning. Keep or plant shade trees such as katuray, anii, dapdap, ipil ipil or coconut, since abaca wants about half shade. Tip: Under coconuts, the coconut trees should stand at least 10 m apart or the abaca gets too dark.
30 days before planting: Plow where you can
Where a plow can get in, as on open land or under coconuts, plow deep one or two times so the soil turns loose and the mat of coconut roots is broken up. On steep land, just clear and dig.
14 days before planting: Lay out and stake the hills
Run straight lines east to west and push a stick about 1 m long where each hill will go, usually in squares of 2.5 m by 2.5 m. Varieties that make few suckers go closer, at 1.5 m by 1.5 m.
7 days before planting: Dig the holes
Dig a hole deep enough for the sucker or corm, putting the dark topsoil on one side and the paler subsoil on the other.
2 days before planting: Dig and clean the planting material
Dig suckers or corms from healthy mats only. Trim the roots, cut away rotten parts and cut back the leaves so the plant loses less water. Tip: Leave out any mat with yellow streaks, bunched leaves or a shrunken top. Those carry virus.
- Go only to healthy matsTake planting material only from mats of strong, healthy mother plants in a farm free of virus. Walk the mats first and pass by any with yellow streaks, bunched leaves or a stunted top.
- Choose immature suckersThe best suckers are immature ones about 9 to 11 months old and at least 1 m tall. Leave the small sword suckers of about half a meter, which die often after planting.
- Or cut corm piecesWhere suckers are few, dig a healthy corm and cut it into seedpieces that each carry at least three good eyes, or into single eye pieces with one plump bud each.
- Trim and cleanCut off the old roots and every rotten or dark part, and cut back the leaves so the plant loses less water. Throw out any corm with weevil tunnels in it.
- Guard against corm weevilWhere corm weevil is a problem, many farmers soak the seedpieces or suckers in an insecticide dip before planting.
- Keep your tools cleanWash and wipe the bolo, knife and spade between mats, since dirty tools carry disease from one hill to the next.
Planting day (Pagtatanim)
Planting day: Plant and press the soil
Put a little fertilizer, with compost if you have it, in the bottom of the hole and cover it with some topsoil. Set the sucker or corm in, fill first with topsoil then with subsoil, and press the soil firm so water does not pool in the hole. Tip: Leave a stick beside every corm or eye piece so you can find it before it sprouts.
Care while it grows (Pag aalaga)
Day 21: Replace the missing hills
Visit the field two to three weeks after planting and plant again where nothing grew, using immature suckers from healthy mats.
Day 30: Ring weed every month or two
Clear the weeds in a ring around each young plant so you can see the hills, and leave the cut weeds to rot as mulch.
Month 2: First fertilizer
Between one and three months after planting, scatter fertilizer mixed with compost a little away from the base of each plant, on moist soil.
Month 3: Watch for virus and weevils
Walk the farm every month looking for bunchy top, mosaic and bract mosaic, and for aphids on the young leaves. Dig out a sick hill whole, corm and all, and chop it into small pieces so it cannot spread.
Month 6: Hill up and clean the mats
Pull soil against the base of each mat with a hoe or spade so it sends up more suckers. Cut off dry leaves and clear the brush between rows.
Month 8: Second fertilizer
At about eight months, ring weed first, then spread the fertilizer about 60 to 90 cm away from the plants at the start of the rains, never on dry soil.
Harvest (Anihan)
Month 20: Cut the mature stalks
Cut only stalks whose flag leaf, the last small leaf before the flower, has come out. Cut the leaves first with a sickle tied to a bamboo pole, then fell the stalk with a bolo in a slanting cut about 8 cm above the ground so rain does not sit on the stump. Tip: Stalks that already show fruit are past their best and give weaker fiber.
Month 20: Peel the tuxies the same day
Slip a thin knife between the outer and middle layers at the base of each leaf sheath and pull off the outer strips (tuxies), two or three fingers wide, keeping the layers from different sheaths apart.
- Tuxy within a day of fellingwithin 24 hoursPull the felled stalk apart into its leaf sheaths and take off the tuxies the same day, or within 24 hours at most, before the sheaths turn dark and the fiber loses grade.
- The locnit wayWith the sheath still on the stalk, slip the thin tuxying knife between the outer and middle layers at the bottom end, grip the loosened strip and pull it off along the whole length, in two or three strips per sheath.
- The bacnis wayOr first peel the whole sheath off the stalk and split it into two or three pieces as wide as you can handle. Make a slanting cut through the inner layer about 2 feet from the butt end, hold it and pull the inner layer away from the tuxy.
- Keep the layers apartPile the tuxies by where their sheath sat on the stalk, outer, middle and inner, since each gives a different grade of fiber.
Month 20: Strip, dry and bundle the fiber
Pull the tuxies under the stripping knife within a day. Dry the fiber in the sun for a day or in the air for two to three days, keeping it off the ground, then tie it in bundles and store it dry and raised.
- Strip under the knifePlace each tuxy under the stripping knife on its block, press the knife down and pull the tuxy through with a pulling aid. A knife with no teeth gives the cleanest, best paid fiber, and toothed knives give coarser grades. Tip: Keep the knife teeth even by redenting it now and then, or the grade drops.
- Hang it in thin layersHang the wet fiber thinly over bamboo poles on sturdy posts, or lay it on a clean cement floor, keeping the tips off the soil. Turn it over after about two hours.
- Dry it a day, not longer1 day of sun or 2 to 3 days in airA day of sun, or two to three days of air drying, brings the fiber dry enough to keep, at about 15 percent moisture or less. Drying much longer makes the fiber brittle and weak.
- Sort by sheath and colorBefore bundling, sort the dry fiber by the part of the stalk it came from, how clean it is and its color, and never mix grades in one bundle.
- Tie the bundlesLay two or three twists of abaca fiber side by side on a clean floor, lay the hanks across them and fold them in half until the bundle is the size you can carry, then tie it tight. Use a twist of the same grade as the bundle.
- Store it dry and raisedKeep the bundles on pallets in a cool, dry shed, away from leaves, twigs and trash. Wrap them in plastic bags when hauling them in the rainy season.
Year 2: Keep cutting every few months
Come back every 3 to 4 months to cut the next mature stalks from each mat, so none grows too old and weeds have no room.
Watering abaka, stage by stage
Abaca is grown on rain alone, on land with rain spread through the year and soil that drains. Farmers keep the soil damp with shade trees and mulch, and some water young plants once or twice a month in the summer. Rain only on most farms. Young plants in summer are watered by hand with a pail or a hose at the base, in the morning or late afternoon.
The first year: young plants need moisture in the summer months.
| Stage | When | How often | How much |
|---|---|---|---|
| Planting | Planting day to day 30 | Plant as the rains begin. If a dry spell follows, water each new hill | A good soaking around the sucker or corm |
| Young plants, the first year | Day 30 to month 12 | Once or twice a month in the summer months. No watering in the rains | A good soaking around each hill, then mulch with the cut weeds |
| Grown mats | Month 12 to 20 | No regular watering. Keep the mulch and the shade | None |
| Harvest years | Month 20 to 24 | No regular watering. Lay the cut leaves and sheaths around the mats | None |
Without irrigation. This is the usual way. Plant at the start of the rains, keep or plant shade trees, and lay cut weeds and leaves around each hill as mulch. Do not plant where the soil stays wet.
In the dry season. Water young plants once or twice a month in the summer, and watch older mats for drying leaves. Pseudostem rot and leaf spot also spread in dry weather on stressed plants.
In the rainy season. Abaca does not like waterlogged soil. Plant on slopes or land that drains, dig drains where water collects, and never plant in a low, wet spot.
- Too little water: Leaves fold, dry at the edges and break, the new leaves come out slowly, and suckers stop coming.
- Too much water: Yellow leaves, rotting corms and stalks, and stunted mats in the low spots.
To water better for a higher yield: Keep shade trees and a thick mulch of cut leaves around the mats to hold the soil moisture. Plant only on land with rain spread through the year and good drainage.
Spacing, water and fertilizer for abaka
Spacing
Square planting, usually 2.5 m by 2.5 m (about 1,600 hills a hectare). 2 m by 2 m to 3 m by 3 m depending on the variety, and 1.5 m by 1.5 m (about 4,000 hills) for varieties that make few suckers. In coconut farms many plant in triangles about 2 m apart. Rows run east to west.
Water
Rainfed, on land with rain spread through the year and good drainage. Abaca does not like waterlogged soil. Shade trees and mulch keep the soil damp in the dry months, and some farmers water young plants once or twice a month in summer.
Fertilizer
On the usual small farm, little or none: farmers leave dry leaves, cut weeds and stripping waste to rot around the mats. Where they do put fertilizer, it is ammonium sulfate (21 0 0) or complete (14 14 14), a little in the hole at planting, more at about 8 months, and complete fertilizer later on, always spread 60 to 90 cm from the plants after ring weeding. To read what a bag really gives, see our guide to fertilizer for this crop.
Care and harvest
Care while it grows
Ring weeding about half a meter around each hill, strip weeding along the rows, and underbrushing every month or two on a well kept farm, but only now and then on most farms. Hilling up for more suckers, cutting dry leaves, keeping the shade at about half, and digging out hills sick with bunchy top or mosaic.
When and how to harvest
The first stalks are ready at about 16 to 24 months, when the flag leaf appears. After that each mat gives stalks every 3 to 4 months, though many farmers cut only about twice a year. Stalks are topped with a sickle on a pole, felled with a slanting cut, peeled into tuxies the same day, hand stripped with a serrated knife, dried off the ground, bundled with abaca twine and kept dry until sold.
Common mistakes when planting abaka
- Taking suckers from mats with bunchy top or mosaic, which spreads the virus to the new farm.
- Planting abaca next to corn or beans, which carry the aphids that spread virus.
- Planting too few hills a hectare and leaving gaps where mats died.
- Weeding and cutting only now and then, so stalks grow too old and the fiber is weak.
- Leaving stalks or tuxies overnight before stripping, which spoils the fiber color.
- Drying fiber on the bare ground where it gets dirty and moldy.
How to get a higher yield of abaka
The traditional way gets a crop, but small changes add up. These are the first things to change, one season at a time.
- Plant clean suckers or tissue culture plantlets of a good variety from a trusted nursery.
- Fill every missing hill and keep the full number of hills a hectare.
- Have the soil tested and fertilize on moist soil after ring weeding.
- Check the mats every month and dig out virus sick hills at once.
- Harvest every 3 to 4 months, cutting only stalks with the flag leaf out.
- Strip within a day, dry the fiber well and store it raised in a dry shed.
anee.io helps with each of these. The NPK Plus calculator checks that your fertilizer plan feeds the yield you want, the pest and disease finders tell you what is on the leaves before you spray, and Anee, the smart farm technician answers your questions in Tagalog or English.
Members open this guide in the How to Plant tool and send every step to the Protocol Builder in one tap, each on its own day. There you can change the seed, the spacing and the fertilizer, then turn it into a cropping calendar for your lots.
Start from the traditional way, make it better, and let anee.io date every task from your own planting day. Free to start.
Start freeQuestions about planting abaka
Paano magtanim ng abaka?
When do farmers plant abaka in the Philippines?
How far apart do you plant abaka?
How long before abaka can be harvested?
How often do you water abaka?
What do you plant to grow abaka?
See every step of planting it the traditional way
Register for free to read every step with its day, the spacing, water and fertilizer, the common mistakes and what to change for a higher yield. Then send it to your Protocol Builder in one tap.
Free to register. No credit card. Works on any phone.