Paano Magtanim ng Atis: How to Plant Sugar Apple the Traditional Way
Paano magtanim ng atis? Here is how traditional Filipino farmers usually plant atis (sugar apple), step by step from getting the field ready to the harvest, with the day of each step and what to change for a higher yield.
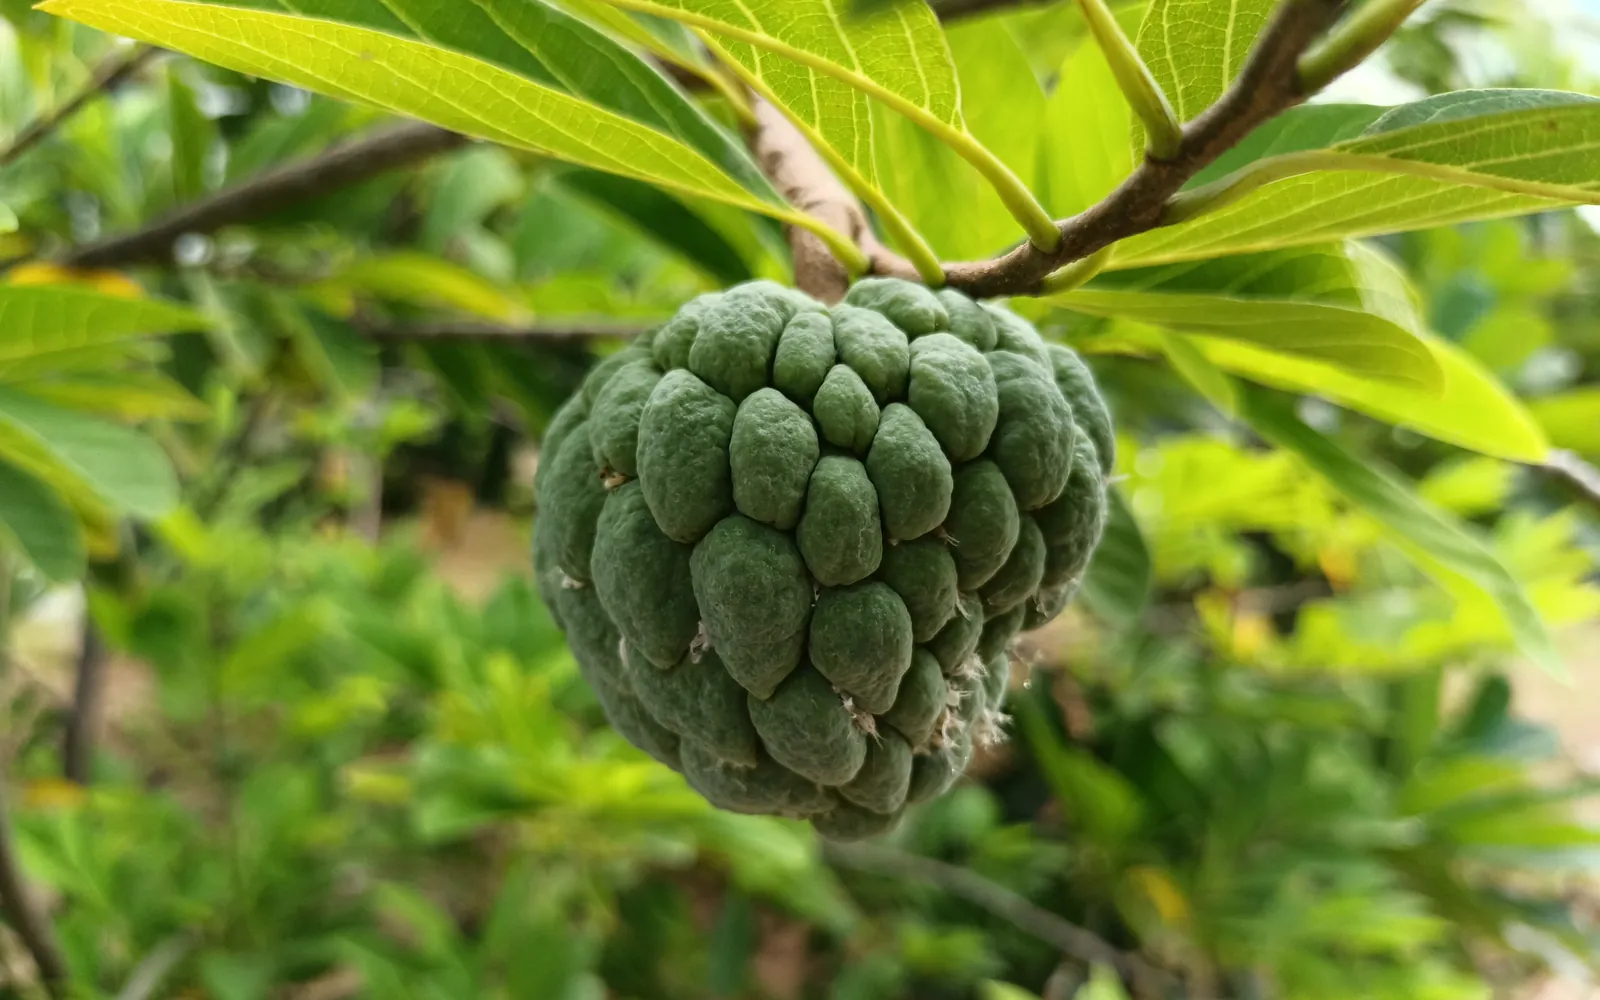
This guide shows how traditional farmers usually plant atis. Use it as a starting point. For a higher yield, update it: plant certified seed or clean planting material, test your soil, and follow the right spacing and fertilizer.
This guide shows how Filipino growers usually raise atis from the seed of a good fruit, plant it out and care for it until the first fruits. Atis is mostly a backyard tree here, though some farms grow it in rows with vegetables between.
Before you plant, get the field ready with our land preparation guide for fruit and plantation trees. Then choose your seed or planting material with the atis varieties sold here. If the leaves turn pale later on, the atis nutrient deficiency guide helps you find what is missing. For more on the crop, read pagtatanim ng puno.
When to plant atis
Seedlings are planted as the rains begin, around May to July. Atis flowers from about February to April and the fruits mature from about July to September. It grows well in warm places below about 1,000 m and in most soils that drain well.
What you plant
Most growers sow seeds from big, sweet fruits of a heavy bearing tree. The seeds are washed, air dried and sown in sand or a sand and soil mix, and they come up in about 25 days. Seedlings go into bags when they have 4 to 6 leaves. Atis can also be grown from marcots, grafts or buds of a good tree.
Paano magtanim ng atis, step by step
Atis starts to bear 2 to 4 years after planting. The nursery steps are counted back from the planting day. The crop is ready about 3 years after planting.
Before planting (Bago magtanim)
14 days before planting: Dig and fill the holes
Clear and loosen the land and mark the spots about 4 to 6 m apart. Dig holes about 40 cm wide and deep and refill them with two parts soil to one part manure or compost.
The nursery (Punlaan)
4 months before planting: Sow seeds from a good tree
Take seeds from big, sweet fruits of a tree that bears well, wash them in water and let them dry in the air. Sow them in a bed of fine river sand, or two parts sand to one part garden soil. They sprout in about 25 days.
3 months before planting: Move seedlings to bags
When the seedlings have 4 to 6 leaves, move them into bags of soil rich in compost. Cut the leaves in half and pinch the tip of the main root so more side roots grow, and do not crowd the bags.
Planting day (Pagtatanim)
Planting day: Plant the seedling
Remove the bag, set the seedling in the hole at the same depth and press the soil around it. Water right after planting and lay mulch around the base.
Care while it grows (Pag aalaga)
Day 30: First fertilizer
About a month after planting, give each plant about 50 to 100 g of ammonium sulfate (21 0 0) around the base and mix it in. Give the same again as the rains end, a little more each year.
Day 30: Ring weed and mulch
Weed a circle around each young tree and loosen the soil lightly. Mulch well in the dry season to keep moisture in and weeds down.
Day 45: Replant dead seedlings
Replace any seedling that died as early as you can, so the trees grow evenly. Vegetables or legumes can be grown between the rows while the trees are small.
Month 4: Water in the dry season
Water the young trees in dry months, especially when new shoots are coming out. Steady moisture helps them grow and later hold their fruits.
Month 6: Watch for borers and fruit flies
Check twigs for borer holes and wilting tips and cut and burn infested twigs. Keep the ground clean of fallen and rotten fruit.
Harvest (Anihan)
Year 3: First fruits
Pick the fruits while still firm, when the bumps spread apart and the skin between them turns greenish yellow to creamy yellow. Pick by hand or with a hooked pole and basket. The fruits soften in 2 to 5 days.
Watering atis, stage by stage
Atis here is grown on rain: seedlings are watered at planting and mulched, and grown trees drop many leaves in the dry months and wake up with new shoots and flowers when the first rains or a watering come. Backyard growers with a well water in the dry season when new shoots appear, which helps the tree hold its fruits. A pail or hose into a ring basin around the tree, the usual way in backyards and small orchards. Water in the early morning, wetting the mulch and the soil under it.
The first weeks after planting, until the seedling is growing. Flowering and fruit set, when drought cuts the few fruits atis sets. Fruit growth, when a dry spell gives small, hard fruits that split after rain.
| Stage | When | How often | How much |
|---|---|---|---|
| Seedbed | 4 to 3 months before planting | Every day or every other day in dry weather | A light sprinkle, enough to keep the sand damp |
| Seedlings in bags | 3 months before planting to planting day | Every day or two in dry weather, less in cloudy weeks | Enough to wet each bag through, never soggy |
| Planting to the first week | Planting day to day 7 | Soak at planting, then on alternate days through the first seven days | A good soak of a ring basin around the stem |
| First months | Day 7 to month 4 | About twice a week until the rains are steady. Skip it after a good rain | A soak of the mulched ring around the stem |
| Young tree, years 1 to 3 | Month 4 to 30 | A deep soak now and then in long dry spells, most of all when new shoots are coming out | A deep soak of the ring, widened as the tree grows |
| Bearing trees: leafless rest in the dry months (each year) | Month 30 to 32 | Do not water a tree that has dropped most of its leaves | None |
| New shoots and flowering (about February to April) | Month 32 to 34 | Start watering in dry weather when the buds break, then about once a week if no rain falls | A deep soak of the ground under the crown |
| Fruit set and growth to harvest | Month 34 to 37 | Every week or two in dry weather, keeping the soil moist but not wet | A deep soak under the crown |
Without irrigation. Plant as the rains begin, mulch the ring and keep weeds off. Atis is very drought hardy: it drops leaves and rests through the dry months and comes back with the rains, so rain fed trees flower late and fruit mostly in the rainy months. A few deep waterings when the buds break and while fruits grow give a bigger, earlier crop.
In the dry season. Young trees: a deep soak now and then when the soil a hand deep is dry. Bearing trees: rest without water while leafless, then about once a week from bud break through fruit growth. Water when leaves droop and fall early on a tree that should be in leaf.
In the rainy season. Atis cannot stand waterlogged soil: a week or so of standing water can rot the roots and kill the tree. Plant on ground that drains or on a low mound, open drains from low spots, and never water a leafless tree in wet soil. Heavy rain on ripening fruits makes them split.
- Too little water: Leaves droop, yellow and drop early, the tree goes bare before its time, few fruits set, and fruits stay small with a hard skin.
- Too much water: Yellow leaves, short, stunted shoots, leaves that wilt and brown, leaf drop and twigs dying back from the tips.
To water better for a higher yield: Prune and start watering together at the end of the dry rest. New shoots and flowers come sooner, and the fruits are more and bigger. Keep the soil moist, never soggy, from bud break to harvest, and let the tree rest dry when its leaves are down.
Spacing, water and fertilizer for atis
Spacing
About 4 to 6 m between trees, often 4 m by 4 m in small orchards, one seedling a hole. Holes about 40 cm wide and deep.
Water
Mostly rain fed. Seedlings are watered after planting and mulched. Trees do better with extra water in the dry months, especially when new shoots come out, and steady moisture helps them keep their fruits.
Fertilizer
Two parts soil to one part manure or compost in the hole. About 50 to 100 g of ammonium sulfate (21 0 0) a plant a month after planting and again as the rains end, more each year. When the trees start fruiting, about 200 to 300 g of complete fertilizer (14 14 14) a tree twice a year, spread in a ring or dropped in shallow holes about 50 cm from the trunk. To read what a bag really gives, see our guide to fertilizer for this crop.
Care and harvest
Care while it grows
Ring weeding and loosening the soil, mulching in the dry season, replanting dead seedlings early, growing vegetables or legumes between rows, cutting and burning twigs with borers, and keeping fallen fruit cleaned up. Some growers hand pollinate the flowers with a soft brush to set more fruit.
When and how to harvest
Fruits are picked while still firm, when the bumps spread far apart and the skin between them turns greenish yellow to creamy yellow. They are picked by hand, from a ladder or with a hooked pole and basket, packed in bamboo baskets or crates, and wrapped in newspaper for long trips. Ripe fruits keep only about a day at room temperature.
Common mistakes when planting atis
- Taking seed from small or sour fruits.
- Crowding the seedlings in the nursery so they grow thin and weak.
- Planting in low ground where water stands.
- Picking fruits too early, before the bumps spread and the skin turns yellow.
- Letting fallen, rotten fruits pile up under the trees.
- Leaving twig borer damage on the tree.
How to get a higher yield of atis
The traditional way gets a crop, but small changes add up. These are the first things to change, one season at a time.
- Use seed, marcots or grafts from a proven sweet, heavy bearing tree or an accredited nursery.
- Test the soil and feed by the result, with complete fertilizer once the trees bear.
- Hand pollinate flowers with a soft brush for more and bigger fruits.
- Water in the dry months when new shoots come out.
- Scout for borers, fruit flies and mealybugs and keep the orchard clean.
- Prune lightly after harvest to keep the trees low and easy to pick.
anee.io helps with each of these. The NPK Plus calculator checks that your fertilizer plan feeds the yield you want, the pest and disease finders tell you what is on the leaves before you spray, and Anee, the smart farm technician answers your questions in Tagalog or English.
Members open this guide in the How to Plant tool and send every step to the Protocol Builder in one tap, each on its own day. There you can change the seed, the spacing and the fertilizer, then turn it into a cropping calendar for your lots.
Start from the traditional way, make it better, and let anee.io date every task from your own planting day. Free to start.
Start freeQuestions about planting atis
Paano magtanim ng atis?
When do farmers plant atis in the Philippines?
How far apart do you plant atis?
How long before atis can be harvested?
How often do you water atis?
What do you plant to grow atis?
See every step of planting it the traditional way
Register for free to read every step with its day, the spacing, water and fertilizer, the common mistakes and what to change for a higher yield. Then send it to your Protocol Builder in one tap.
Free to register. No credit card. Works on any phone.