Paano Magtanim ng Peras: How to Plant Pear the Traditional Way
Paano magtanim ng peras? Here is how traditional Filipino farmers usually plant peras (pear), step by step from getting the field ready to the harvest, with the day of each step and what to change for a higher yield.
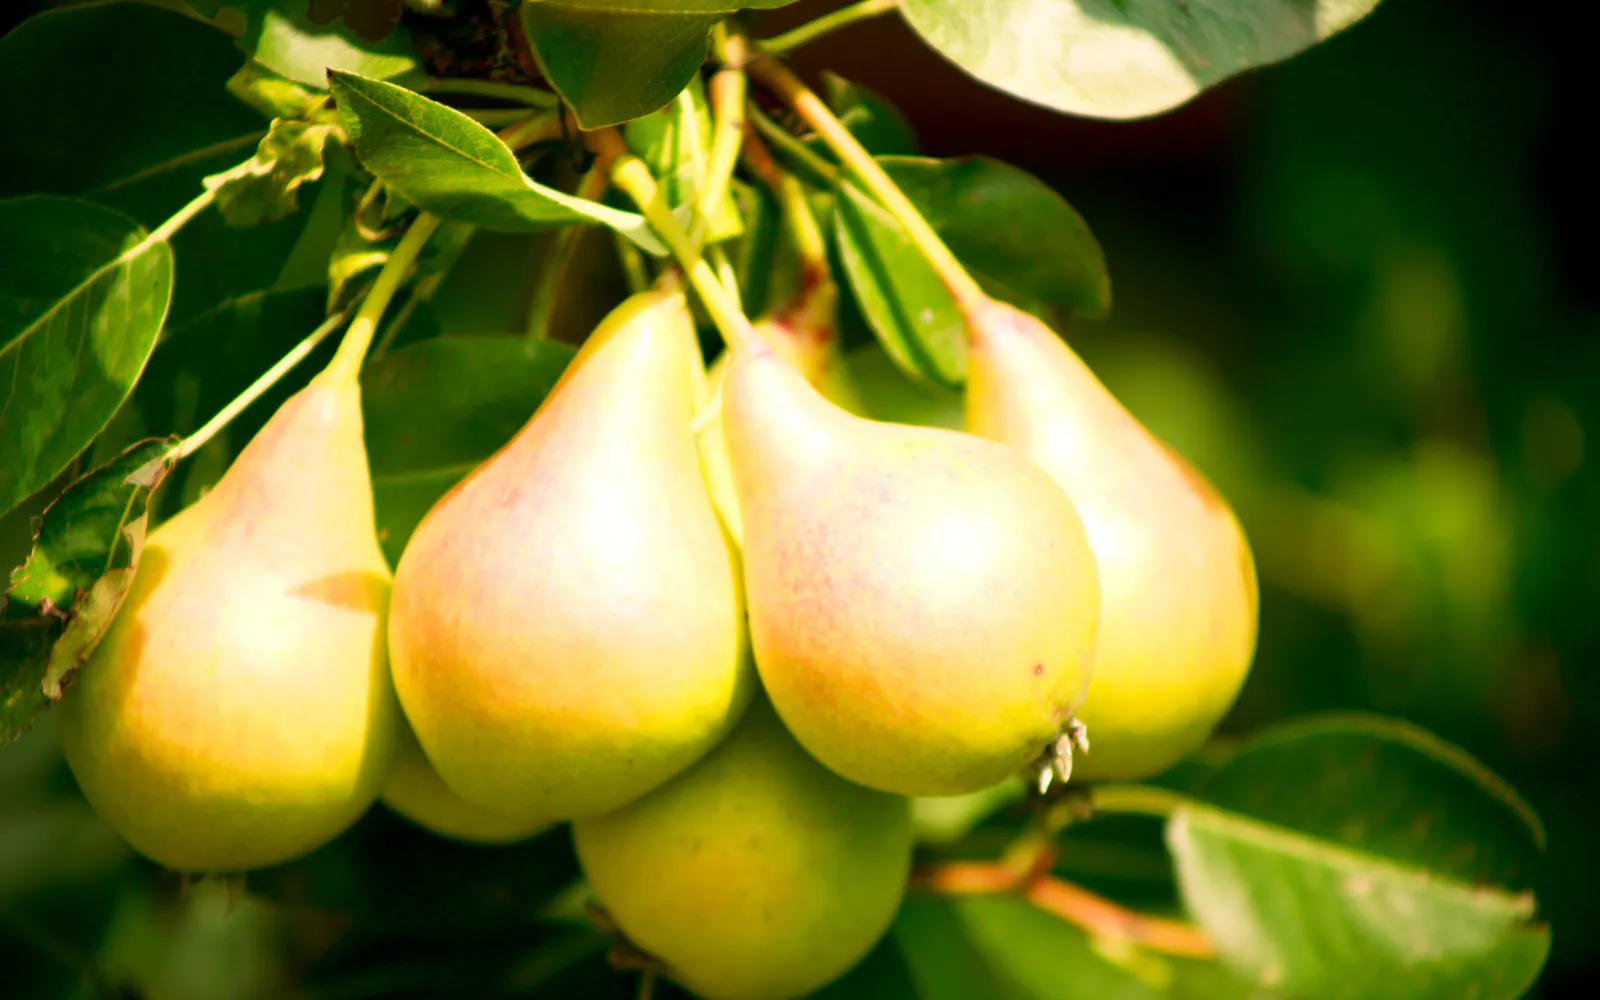
This guide shows how traditional farmers usually plant peras. Use it as a starting point. For a higher yield, update it: plant certified seed or clean planting material, test your soil, and follow the right spacing and fertilizer.
Pear is rare in the Philippines: there are no pear farms, only a few hobby trees in cool highland gardens in Baguio and Benguet and some trees raised from seed elsewhere that seldom fruit. This short guide is for highland growers trying low chill pear types.
Before you plant, get the field ready with our land preparation guide for fruit and plantation trees. For more on the crop, read pagtatanim ng puno.
When to plant peras
Trees are planted at the start of the rains, about May to July, in the highlands. Without a winter, growers use the same tricks as for apple: stripping leaves and bending branches to bring on flowers.
What you plant
Grafted trees of low chill pear types from a specialty nursery. Trees from the seeds of store pears grow but take many years and seldom bear good fruit.
Paano magtanim ng peras, step by step
We count the first harvest at about 48 months (1,440 days). Many trees here bear little. The crop is ready about 4 years after planting.
Before planting (Bago magtanim)
14 days before planting: Choose cool, sunny ground
Pick the coolest sunny spot you have, where water drains. Dig holes about 50 cm wide and deep with rotted manure or compost.
- Lay out the holesStake the planting spots about 4 by 4 m apart, wider for big, spreading types.
- Dig and keep the soils apartDig each hole about 50 cm square and 60 cm deep, piling the dark topsoil on one side and the paler subsoil on the other. Break up the hard bottom with an iron bar.
- Mix the subsoilInto the subsoil, mix about 500 g of agricultural lime, chicken manure or compost, about half a kerosene can, and about 500 g of complete fertilizer (14 14 14).
- Fill the hole in two layersPut the mixed subsoil into the hole first and the topsoil over it, then open a small hole in the middle for the tree.
- Keep the bud union highWhen you plant, trim off broken roots, bury the tree only as deep as it sat in its bag, and keep the graft joint at least 15 cm above the soil. Crumble fine soil around the roots and tramp it firm.
Planting day (Pagtatanim)
Planting day: Plant at the start of the rains
Set the grafted tree at the same depth, graft joint above the soil, about 4 m apart. Firm, water, stake and mulch.
Care while it grows (Pag aalaga)
Month 6: Bend the long branches
Tie long upright branches down toward level so they form flower buds. Feed compost and a little complete fertilizer (14 14 14) every few months.
- Choose young branches full of budsPick branches one to two years old that carry many sleeping buds along their length.
- Pull them down levelBend each one gently out to the side until it lies flat, at a right angle to the trunk, and tie its tip with straw rope to a peg driven into the ground.
- Let the spurs formBuds on the upper side of the bent branch push out shoots, and most of them stay short as fruiting spurs that flower the following year.
Month 12: Strip leaves after growth stops
Pick off the mature leaves by hand to push new flowers and leaves, and repeat after each crop.
- Strip every leaf from the bent branchesWhen growth has stopped and the leaves are mature, pick off all the leaves on the bent branches by hand. It takes the place of the cold the highlands do not give.
- Watch for flowers in about three weeksabout 3 weeksAbout three weeks after bending and stripping, the flower buds at the branch tips open and new shoots start from the sleeping buds.
Harvest (Anihan)
Year 4: Pick mature fruit
We count the first crop at about 48 months. Pick when the fruit lifts off easily with a twist and the skin color lightens.
Watering peras, stage by stage
The few pear trees here, in the highlands, live on rain with a pail of water in dry spells, on ground where water never stands. A pail or hose into a ring basin around the tree, in the morning.
Flowering to about four weeks after bloom. The last weeks of fruit growth before picking.
| Stage | When | How often | How much |
|---|---|---|---|
| Planting to 3 months | Planting day to month 3 | Soak at planting, then whenever the soil dries in a dry spell, until the tree is clearly growing | A good soak of the mulched ring around the stem |
| Rest of the first year | Month 3 to 12 | Only in dry spells, when the soil a hand deep is dry | A deep soak of the ring, never leaving water standing |
| Leaf stripping to new shoots and flowers (each crop cycle) | Month 12 to 13 | Keep the soil moist after stripping the leaves. Water if a dry spell comes | A deep soak of the ring under the leaves |
| Flowering to four weeks after bloom | Month 13 to 14 | Never let the soil dry out | A deep soak whenever the soil a hand deep is dry |
| Fruit growth to harvest (first real crop) | Month 45 to 48 | Steady water in dry spells up to picking | A deep soak of the ring |
Without irrigation. Plant as the rains begin on cool, sunny, well drained high ground and mulch the ring. Rain carries the tree, with a pail of water in dry spells while it flowers and fills fruit.
In the dry season. Water when the soil a hand deep is dry, most of all from leaf stripping to fruit growth.
In the rainy season. Pears must never stand in water: plant on slopes or mounds and keep drains open.
- Too little water: Leaves droop and brown at the edges, few fruits set, and fruits stay small.
- Too much water: Yellow leaves and rotting roots on soggy ground.
To water better for a higher yield: Keep the soil steadily moist from leaf stripping until four weeks after bloom, and in the last weeks before picking.
Spacing, water and fertilizer for peras
Spacing
About 4 m between trees.
Water
Rain fed, with watering in dry spells. Never in standing water.
Fertilizer
Compost, rotted manure and small amounts of complete fertilizer (14 14 14). To read what a bag really gives, see our guide to fertilizer for this crop.
Care and harvest
Care while it grows
Branch bending, leaf stripping after each crop, light pruning, bagging fruit against flies.
When and how to harvest
Fruit is picked when it lifts off with a twist. Asian types ripen on the tree, other types soften after picking.
Common mistakes when planting peras
- Growing pears from store seeds and waiting for fruit that seldom comes.
- Planting high chill types that need a cold winter.
- Planting in the hot lowlands.
How to get a higher yield of peras
The traditional way gets a crop, but small changes add up. These are the first things to change, one season at a time.
- Buy grafted low chill types and plant only in cool highlands.
- Bend branches and strip leaves on a schedule, and keep notes.
- Test the soil and feed by the result.
anee.io helps with each of these. The NPK Plus calculator checks that your fertilizer plan feeds the yield you want, the pest and disease finders tell you what is on the leaves before you spray, and Anee, the smart farm technician answers your questions in Tagalog or English.
Members open this guide in the How to Plant tool and send every step to the Protocol Builder in one tap, each on its own day. There you can change the seed, the spacing and the fertilizer, then turn it into a cropping calendar for your lots.
Start from the traditional way, make it better, and let anee.io date every task from your own planting day. Free to start.
Start freeQuestions about planting peras
Paano magtanim ng peras?
When do farmers plant peras in the Philippines?
How far apart do you plant peras?
How long before peras can be harvested?
How often do you water peras?
What do you plant to grow peras?
See every step of planting it the traditional way
Register for free to read every step with its day, the spacing, water and fertilizer, the common mistakes and what to change for a higher yield. Then send it to your Protocol Builder in one tap.
Free to register. No credit card. Works on any phone.