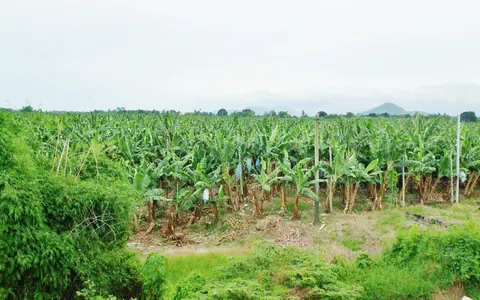
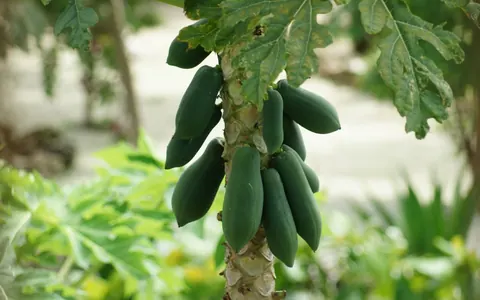
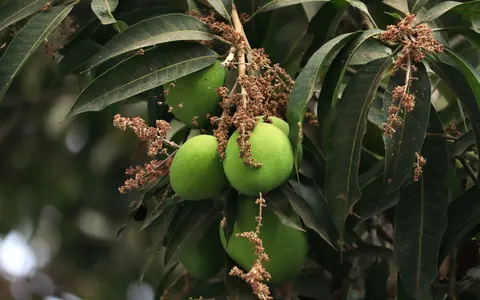
Paano Magtanim ng Dragon Fruit: How to Plant Dragon Fruit the Traditional Way
Paano magtanim ng dragon fruit? Here is how traditional Filipino farmers usually plant dragon fruit, step by step from getting the field ready to the harvest, with the day of each step and what to change for a higher yield.
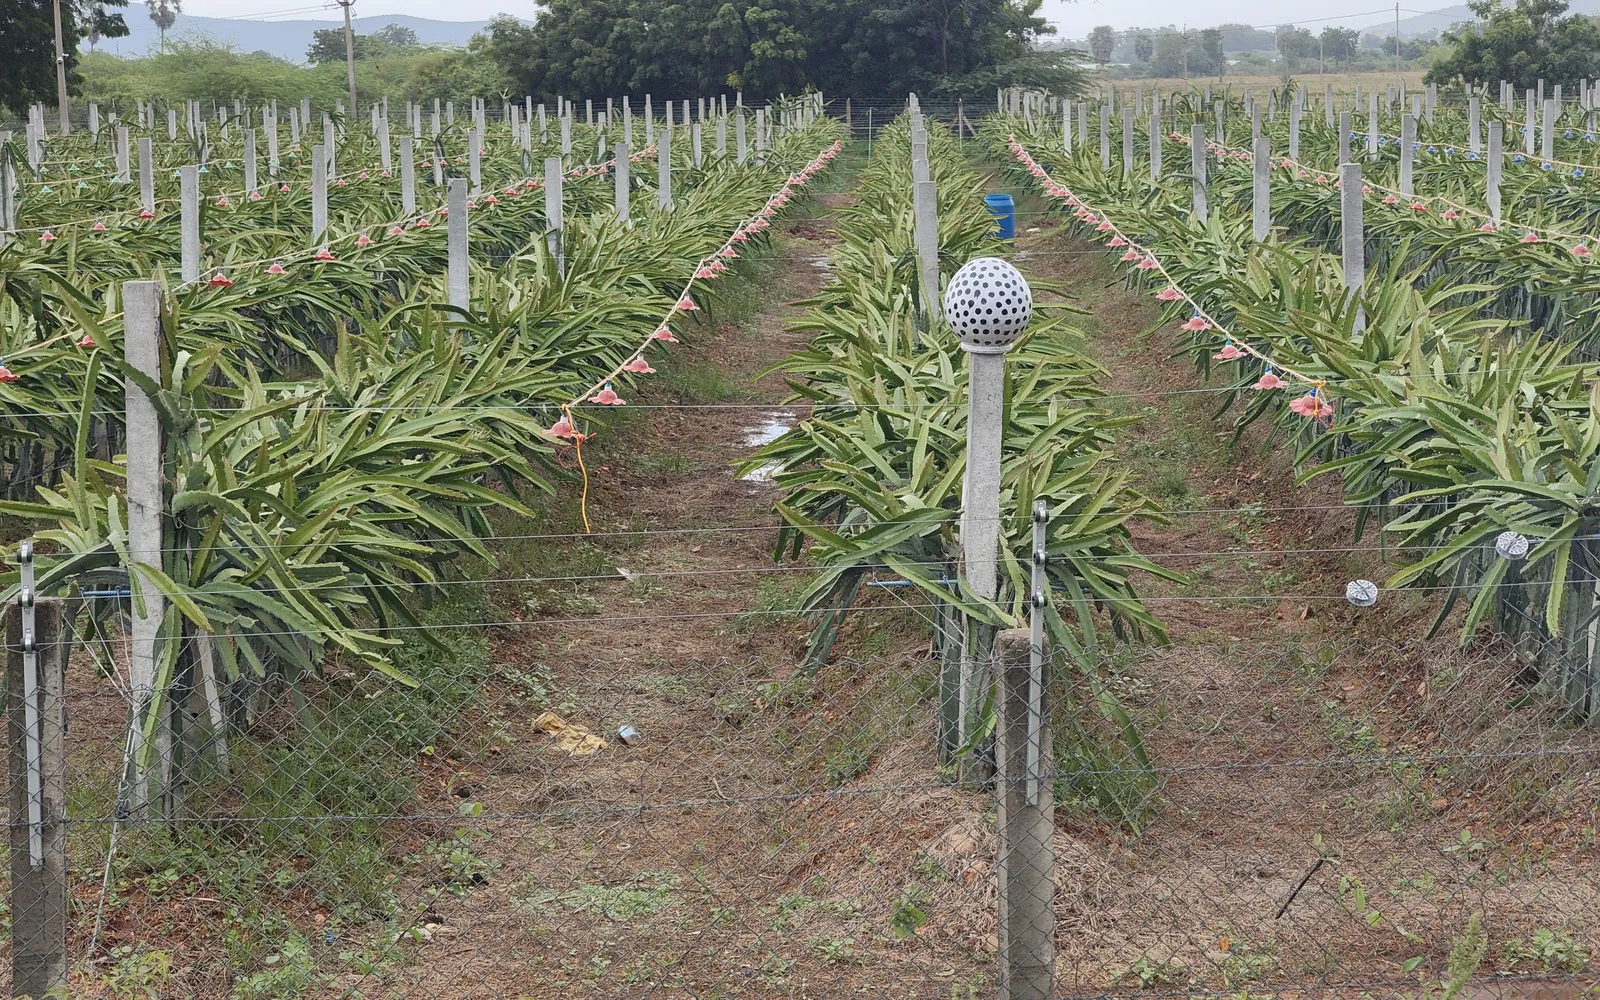
This guide shows how traditional farmers usually plant dragon fruit. Use it as a starting point. For a higher yield, update it: plant certified seed or clean planting material, test your soil, and follow the right spacing and fertilizer.
How Filipino growers, from the big farms of Ilocos and Pangasinan to backyard planters, raise dragon fruit from stem cuttings on posts until the first fruit. It covers the post, the cuttings, training the stems over the top, and picking the fruit in the rainy months.
Before you plant, get the field ready with our land preparation guide for fruit and plantation trees. Then choose your seed or planting material with the dragon fruit nutrient deficiency guide. For more on the crop, read pagtatanim ng puno.
When to plant dragon fruit
Most farmers plant at the start of the rains, about May to June, so the cuttings root fast. On low or heavy ground some wait until the heaviest rains ease, because wet soil rots new cuttings. Bearing plants flower and fruit through the rainy months, about May to October, with the peak around June to August.
What you plant
Stem cuttings about 30 to 45 cm long from healthy, mature plants that already bear well, cut from older green stems, not soft new tips. The cut end is left to dry in the shade for several days until it seals, so it does not rot. Some farmers first root the cuttings in bags of soil and compost for a few weeks before setting them at the post.
Paano magtanim ng dragon fruit, step by step
Cuttings usually give their first fruit at about 12 to 18 months. We count the first real harvest at 18 months (540 days). The crop is ready about 18 months after planting.
Before planting (Bago magtanim)
30 days before planting: Set up the posts
Plant a concrete post, or a strong hardwood or live post, about 1.5 to 2 m above the ground with about half a meter buried, and fix an old tire, a concrete ring or a bamboo frame on top for the branches to hang over. Space posts about 2 to 3 m apart in rows about 3 m apart. Tip: Concrete lasts. Soft wooden posts rot and fall once the plant gets heavy.
- Cast or buy strong postsConcrete lasts the longest. One Cagayan farm cast its own posts about 5 inches square and 7 feet long, with four iron bars left sticking out of the top to hold the ring.
- Set them deep and in lineStretch a line along the row and stand each post straight about 2 feet deep in the ground. Many farms set posts about 2 m apart in rows about 2.5 to 3 m apart.
- Fix the ring on topSlip an old motorcycle or tricycle tire over the iron bars and hold it with two crossing slats of wood or anahaw, so the branches can hang over it later.
14 days before planting: Make a mound and feed it
Around each post, loosen the soil and raise a low mound so rain drains away quickly. Mix in a few kilos of rotted chicken or animal manure or compost.
- Dig a hole for each cuttingDig about four holes around each post, each about 6 inches out from the post and about 2 feet wide and deep.
- Fill with a loose, fed mixFill the holes back with topsoil mixed with old sawdust and dried chicken manure, which holds some water for the new roots but still drains.
- Heap it toward the postPile the loose soil a little higher at the post so rain runs off and never stands at the base of the cuttings.
The nursery (Punlaan)
7 days before planting: Cure the cuttings
Cut the stems, trim the bottom end, and lay the cuttings in a shaded, airy place for several days until the cut end dries and seals.
- Take stems from good plantsCut from plants that bear well and show no stem rot, or buy from a farm you trust, since sick cuttings carry the disease into a new field. Use mature green stems, not soft new tips.
- Cut pieces to lengthFarms here plant pieces about 8 to 12 inches long, and some use longer ones. Cut the bottom end at a slant so you know which end goes into the soil.
- Dry the cut end in the shadeabout 7 daysLay the pieces in a dry, shaded, airy spot for about a week, until the cut end dries and closes over. Many growers dip the cut end in a fungicide first.
- Or root them in bags firstSome farmers set the cured pieces in bags of soil and compost for a few weeks and move them to the post only once they have rooted.
Planting day (Pagtatanim)
Planting day: Plant three or four cuttings a post
Set three or four cuttings around each post, the flat side against it, burying only the lower few centimeters, and tie each one loosely to the post with soft string or cloth strips. Water lightly once. Tip: Plant the cutting the right way up: the end that was nearer the mother plant goes into the soil.
- Plant them shallow and leaningSet each cured piece about 3 inches deep in its hole, leaning in so its flat side rests against one face of the post.
- Tie each one onTie the cutting loosely to the post with soft string, cloth strips or plastic straw so wind cannot rock it while it roots.
- Water only a littleabout 15 days to rootIn soil with some clay the cuttings need very little water while they root. New growth usually shows after about two weeks.
Care while it grows (Pag aalaga)
Day 3: Mulch the mound
Cover the mound with rice straw, rice hull or dry grass to keep the soil damp and cool and the weeds down.
Day 14: Water sparingly until rooted
Water once or twice a week if no rain falls, only enough to keep the soil slightly moist. The cuttings root in a few weeks. Soggy soil makes them turn soft and yellow.
Day 30: Replace the ones that rotted
Pull out cuttings that turned soft, yellow or black at the base and plant fresh cured ones in their place.
Month 2: Tie the stem up the post
Keep one or two strong shoots per cutting and tie them to the post every so often as they climb. Break off the side shoots that come out low on the stem.
Month 3: Feed every few months
Every two to three months, spread compost or chicken manure around the mound, and farmers who buy fertilizer add a small amount of complete fertilizer (14 14 14) away from the stems.
Month 4: Weed the mounds
Pull weeds by hand around the posts, since the roots are shallow and a hoe cuts them. Slash the grass between rows.
Month 6: Cut the tip at the top
When the stem passes the ring on top, cut its tip so it branches out. Guide the new branches over the ring so they hang down on all sides, which is where the flowers come.
Month 11: Watch the night flowers
Flowers open at night and last only one night. Some farmers dust pollen from one flower onto another with a soft brush at night or early morning, which helps fruit set, especially on types that do not set well alone. Look out for ants, mealybugs and stem rot.
Harvest (Anihan)
Month 18: Pick the fully colored fruit
The first real harvest comes at about 18 months, though some plants fruit at 12. Fruit is ready about a month after the flower opens, when the skin turns fully red or pink and the green flaps start to change color at the tips. Cut it off with shears, leaving a short stalk. Tip: Handle gently and keep in the shade. Bruised fruit spoils fast.
Month 19: Prune after the season
After the last fruit of the season, cut out old, crowded, broken and diseased branches, keeping the healthy young ones that hang down. Burn or bury rotten stems away from the field.
Watering dragon fruit, stage by stage
Dragon fruit here is mostly rain fed: cuttings get a light watering until they root, and growers on sandy soil water about once a week by can or hose in long dry spells. Most of the work goes into keeping water away, with mounds around each post and canals between the rows. A watering can or hose on the mound around each post on small farms, and drip lines with an emitter at each post on bigger farms in the drier provinces. Water early in the morning, on the mound and not over the stems.
From the first flower buds to harvest, about a month after each flower opens, when a dry spell drops buds and gives small or split fruit. The first months after the cuttings root, when young shoots shrivel and stop climbing in long dry weather.
| Stage | When | How often | How much |
|---|---|---|---|
| Curing the cuttings | 7 days before planting to planting day | No water. Keep them dry in an airy, shaded place | None |
| Planting to rooting | Planting day to day 30 | Water lightly once at planting, then once or twice a week if no rain falls, letting the mound dry a little in between | A light sprinkle on the mound, never a soaking |
| Young shoots climbing the post | Day 30 to month 6 | About once a week in dry weather. Skip it when it rains | One to two watering cans a post, enough to wet the mound without making it soggy |
| Branching over the ring | Month 6 to 10 | About once a week in dry spells, every two weeks in cooler weeks | One to two watering cans a post |
| Short dry rest before flowering | Month 10 to 11 | Many growers hold back water for a few weeks before the flowering season | None, unless the stems shrivel badly |
| Flowering and fruit growth (each season) | Month 11 to 18 | Twice a week in dry spells, once a week when some rain falls, keeping the mound evenly moist | About 2 to 4 watering cans (20 to 40 liters) a post a week, split into two waterings |
| After the season, pruning and rest | Month 19 to 23 | About every two weeks in dry months, not at all in the rains | One to two watering cans a post |
Without irrigation. Plant as the rains begin, on a raised mound around each post, and keep it covered with rice straw, rice hull or dry grass so the soil stays cool and damp. The plant stores water in its stems and lives through the dry months on rain alone, but it bears less. The flowers come with the rains, from about May to October, so rain fed plants still give a fair crop.
In the dry season. Plants not in flower: about every two weeks, or once a week on sandy soil. Plants in flower or with fruit: twice a week in a dry spell. Feel the mound and water when it is dry a finger deep, or when the stems start to look thin and wrinkled.
In the rainy season. Never let water stand around the posts: raise the mounds, dig canals between the rows and keep them open. Too much rain drops flowers and rots fruit, and soft rot of the stems spreads in wet weather, so cut out and bury rotten stems away from the field.
- Too little water: Stems turn thin, flat and wrinkled and lose their color, new shoots stop, and flower buds dry and fall.
- Too much water: Stems turn soft and yellow, then brown or black from the base. Roots rot. Flowers drop. And fruits split or rot.
To water better for a higher yield: A drip line with an emitter at each post, run twice a week through flowering and fruit growth in dry spells, keeps the moisture even, gives bigger fruit and stops splitting. Hold water back for a few weeks before the flowering season, then water steadily once the buds show.
Spacing, water and fertilizer for dragon fruit
Spacing
Posts about 2 to 3 m apart in the row, with about 3 m between rows, a little over 1,100 to about 1,600 posts a hectare. Three to four cuttings around each post. Backyard growers often plant along a fence or wall.
Water
Mostly rain fed. Cuttings get light watering until they root, and plants on sandy soil are watered about once a week in long dry spells. Water must never stand around the posts. Raised mounds and canals keep the roots dry in the rains.
Fertilizer
Rotted chicken manure and compost are the base, a few kilos per post at planting and every few months. Farmers who buy fertilizer use complete fertilizer (14 14 14) every two to three months, and some give muriate of potash (0 0 60) before flowering for sweeter fruit. To read what a bag really gives, see our guide to fertilizer for this crop.
Care and harvest
Care while it grows
Mulching the mounds, hand weeding, tying the young stems up the post, removing low side shoots, cutting the tip at the top so it branches over the ring, and pruning crowded and old branches after each season. Some farmers hand pollinate at night.
When and how to harvest
Fruits are cut when the skin is fully colored and the green flaps start turning, about a month after flowering, through the rainy months. Harvest goes every few days in the peak months. The fruit is cut with shears, kept in the shade, packed in crates without stacking too deep, and sold within a few days.
Common mistakes when planting dragon fruit
- Planting in low spots where water stands, so the stems rot at the base.
- Planting fresh cuttings without curing the cut end.
- Burying the cutting too deep.
- Using soft wooden posts that rot and fall under the weight.
- Letting every side shoot grow, so the plant never reaches the top or flowers late.
- Picking the fruit before it is fully colored, so it stays sour.
How to get a higher yield of dragon fruit
The traditional way gets a crop, but small changes add up. These are the first things to change, one season at a time.
- Plant cuttings from a high yielding, self fruiting variety, and mix varieties for better fruit set.
- Use concrete posts with a ring on top and raised beds with good drainage.
- Test the soil and feed by the result, with more potash before flowering.
- Hand pollinate at night when bees and moths are few, and keep pruning after every season.
- Scout weekly for ants, mealybugs, stem rot and fruit rot, and use integrated pest management.
- Some growers light the field at night in the cool months to get fruit out of season. Ask experienced growers before trying it.
anee.io helps with each of these. The NPK Plus calculator checks that your fertilizer plan feeds the yield you want, the pest and disease finders tell you what is on the leaves before you spray, and Anee, the smart farm technician answers your questions in Tagalog or English.
Members open this guide in the How to Plant tool and send every step to the Protocol Builder in one tap, each on its own day. There you can change the seed, the spacing and the fertilizer, then turn it into a cropping calendar for your lots.
Start from the traditional way, make it better, and let anee.io date every task from your own planting day. Free to start.
Start freeQuestions about planting dragon fruit
Paano magtanim ng dragon fruit?
When do farmers plant dragon fruit in the Philippines?
How far apart do you plant dragon fruit?
How long before dragon fruit can be harvested?
How often do you water dragon fruit?
What do you plant to grow dragon fruit?
See every step of planting it the traditional way
Register for free to read every step with its day, the spacing, water and fertilizer, the common mistakes and what to change for a higher yield. Then send it to your Protocol Builder in one tap.
Free to register. No credit card. Works on any phone.