Paano Magtanim ng Goma: How to Plant Rubber the Traditional Way
Paano magtanim ng goma? Here is how traditional Filipino farmers usually plant goma (rubber), step by step from getting the field ready to the harvest, with the day of each step and what to change for a higher yield.
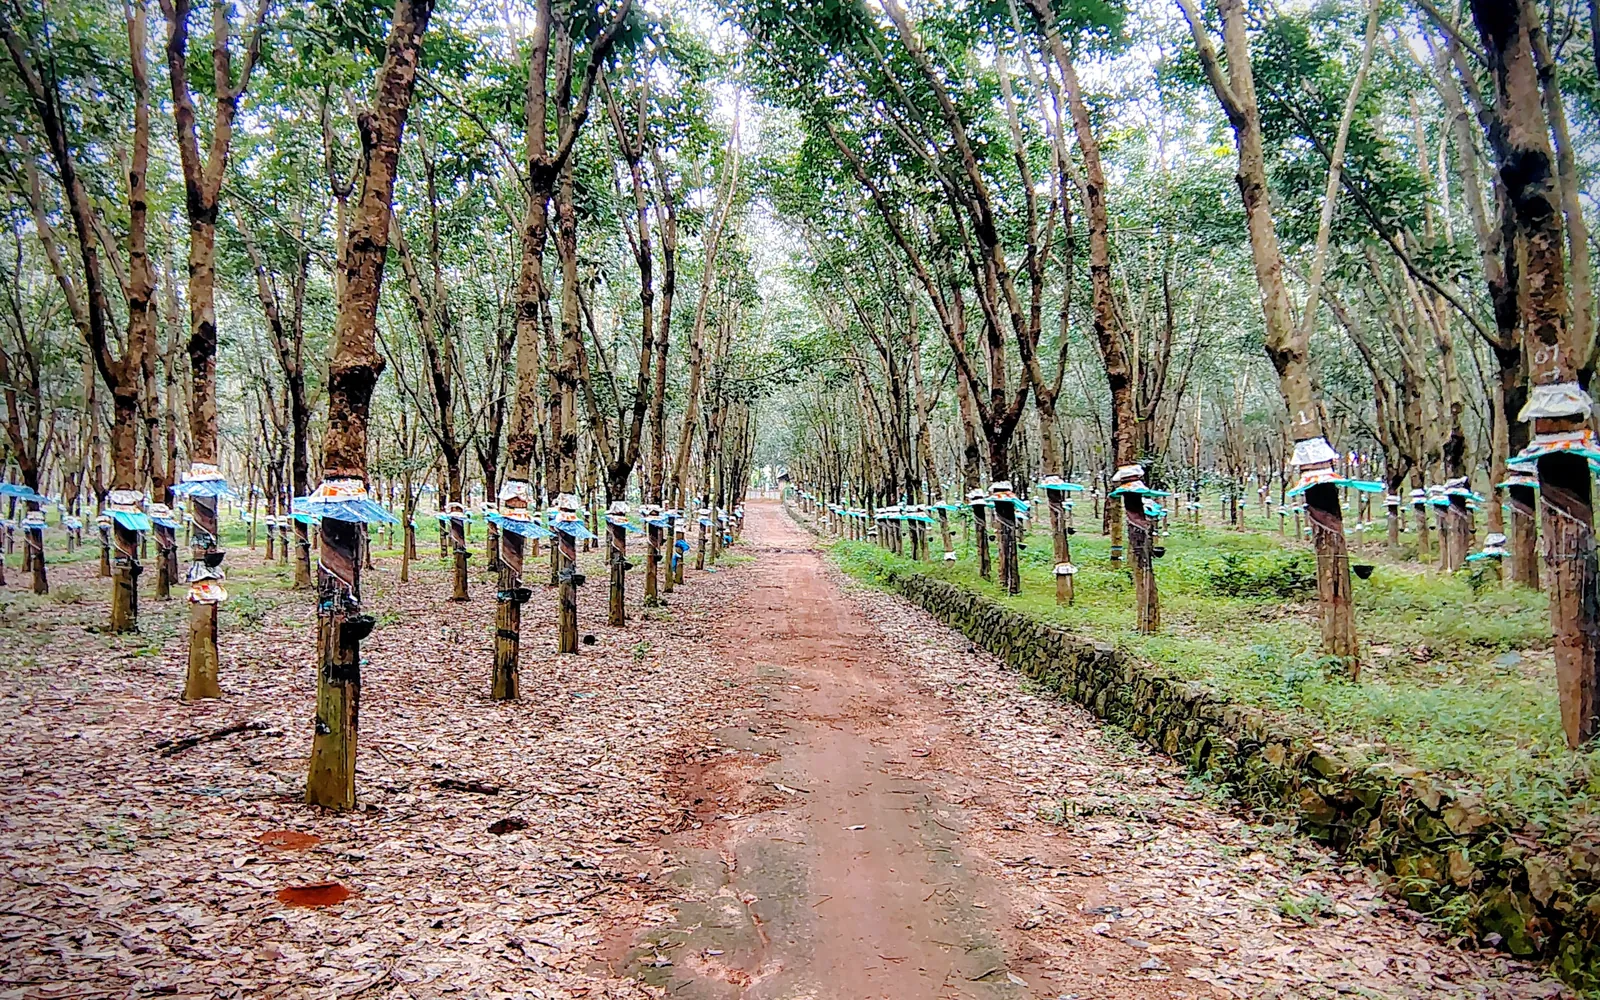
This guide shows how traditional farmers usually plant goma. Use it as a starting point. For a higher yield, update it: plant certified seed or clean planting material, test your soil, and follow the right spacing and fertilizer.
This guide shows how Filipino rubber growers, most of them in Mindanao (Cotabato, Zamboanga, Basilan and Davao), usually plant budded rubber seedlings, care for the young trees for about six years and start tapping them for cup lumps. It is for smallholders setting up a new rubber lot or filling an old one.
Before you plant, get the field ready with our land preparation guide for fruit and plantation trees. Then choose your seed or planting material with the goma varieties sold here. If the leaves turn pale later on, the goma nutrient deficiency guide helps you find what is missing.
When to plant goma
Plant when steady rain is coming, as the rains begin, so the young trees root before any dry spell. In much of Mindanao, where rain falls through most of the year, planting can go on in most months as long as the soil stays moist.
What you plant
Budded seedlings grown in plastic bags: a bud from a high yielding clone is grafted onto a seedling grown from rubber seed. They are ready to plant when the leaves of the second top flush are fully open, dark green and hard. Some small growers still plant ordinary seedlings grown from fallen seed, which cost less but give far less latex.
Paano magtanim ng goma, step by step
Small growers usually open the first trees for tapping at about 6 to 7 years. Trees are then tapped for many years. The crop is ready about 6 years after planting.
Before planting (Bago magtanim)
3 months before planting: Clear the land
Cut the undergrowth, take out useful trees as logs and pile the rest along the future rows to rot. Burn as little as you can, and dig out cogon grass completely, since it stunts young rubber. On flat farm land, plow twice. Tip: On hills where plowing is hard, clear the cogon at least along the rows.
30 days before planting: Lay out the rows
On flat land, run the rows east to west using two long ropes and bamboo stakes. On slopes, mark level lines with an A frame and cut small terraces about 1 to 1.5 m wide where each tree will stand.
14 days before planting: Dig the holes
Dig a hole at each stake a little bigger than the bag. Hard, packed soil needs bigger holes than loose loam, and big seedlings need bigger holes than small ones.
- Size the hole to the soilIn soft, fertile soil, a hole about 25 to 30 cm wide and 40 to 45 cm deep is enough. In ordinary or hard soil, dig wider and deeper, about 40 to 45 cm across and 50 to 60 cm deep, so the young roots can push out quickly.
- Clear out old tree rootsOn land that grew gmelina, falcata, acacia, mangium or other trees, dig or plow deep and pull out the old roots, which harbor the fungus of root disease. Keep root pieces out of the soil you will put back.
Planting day (Pagtatanim)
Planting day: Plant the budded seedling
On a rainy day, cut off the bottom of the bag and slit its side without hurting the roots. Lower the seedling into the hole, pull the plastic up and off, fill with topsoil and press it firm, keeping the plant at the same depth it stood in the bag. Tip: A seedling set too deep or too high can grow a swollen foot that is hard to tap later.
- Choose ready seedlingsPlant only healthy budded seedlings whose newest flush of leaves has matured to dark green. Plant the bigger seedlings first and the smaller ones later.
- Bring out only a day's plantingSet beside the holes only as many seedlings as you can plant that day, and carry them by the bag. A bruised or broken seedling can stand still for about three months.
- Measure the fertilizer with a sardine canAn empty sardine can holds about 150 g. Use one can of rock phosphate (0 30 0) or another fertilizer high in phosphorus for each tree: half in the bottom of the hole and half after filling. Tip: Phosphorus at planting helps the new roots grow fast and strong.
- Cut, set and fillSlit the bottom of the bag with a blade, set the seedling in the hole on the first half of the fertilizer, and pull the plastic halfway up. Fill in topsoil, pour in the rest of the fertilizer, then pull the plastic off completely and finish filling.
- Keep the soil below the bud unionFinish with the soil about 5 to 10 cm below the bud union, the joint of the bud and the rootstock. Soil piled higher makes the base swell into an elephant foot that is hard to tap.
- Check after two weeksfrom 2 weeks, up to 6 monthsTwo weeks after planting, walk the rows and replace seedlings that did not take. Keep replacing for up to six months.
Care while it grows (Pag aalaga)
Day 30: Ring weed and plant a cover crop
Slash or pull the weeds in a ring around each young tree and along the rows. Sow a creeping legume between rows to hold the soil and keep weeds down.
Month 2: First year fertilizer
Give each tree about 125 g of complete fertilizer (14 14 14) in its first year, in two equal doses six months apart, spread about 30 cm from the base.
Month 3: Plant crops between the rows
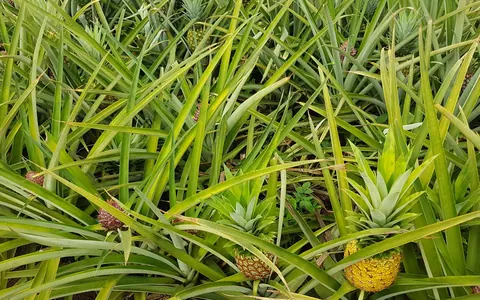
While the trees are small, grow corn, peanut, upland rice, mungbean, sweet potato, pineapple or banana between the rows for food and cash. This works best with wide avenue spacing.
Month 12: Replace the dead trees
Fill missing spots with bagged budded seedlings of the same age, and only until the second year, so the new trees catch up before the shade closes.
Month 12: Prune to a clean trunk
Snap off side shoots until the trunk is clean up to about 2 to 2.5 m, then let 4 to 5 well spaced branches form the crown so the tree stands up to wind.
Year 2: Feed more each year
Raise the complete fertilizer to about 250 g a tree in the second year at about 60 cm from the base, then about 500 g in the third and fourth years at 90 to 120 cm, always split in two doses.
Year 3: Keep weeds and fire out
Slash, line weed or ring weed until the trees shade the ground. Clear dry grass in summer, because cogon fires can kill a young rubber lot.
Harvest (Anihan)
Year 6: Open the tapping panel
When the trunk measures about 46 cm around at about 1.1 m above the ground, mark a half spiral cut on the bark and fix the spout, wire hanger and cup below it.
Year 6: Tap early in the morning
Shave a thin strip of bark along the cut with a sharp tapping knife, every other day, early in the morning when latex flows best. Do not cut into the wood, and skip tapping when the bark is wet.
Year 6: Gather the cup lumps
Let the latex set in the cups into cup lumps, collect them, keep them free of leaves, soil and bark, and sell them to the buyer or processor.
Watering goma, stage by stage
Rubber is rainfed. Growers plant the budded seedlings on a rainy day when steady rain is coming, keep the soil damp with a cover crop and mulch, and almost never water the grown trees. Rain only. Young trees in a dry spell are watered by hand with a pail or a hose at the base.
Planting and the first dry season: a young tree that dries out before its roots are deep can die.
| Stage | When | How often | How much |
|---|---|---|---|
| Planting | Planting day to day 30 | Plant on a rainy day. If a dry spell follows, water each young tree | A good soaking around the base, then mulch |
| The first year | Day 30 to month 12 | No regular watering. In a long dry spell, water the young trees and keep the ring around them weeded and mulched | A good soaking around the base |
| Young trees, years 2 to 6 | Month 12 to 72 | No watering. Keep the cover crop and the mulch | None |
| Tapping trees | Year 6 to 7 | No watering. In the wettest months tap less often and only once the bark has dried | None |
Without irrigation. This is the usual way. Plant as the rains begin, plant a creeping legume cover between rows, mulch the tree circle, and on slopes keep the terraces that hold the rain.
In the dry season. Grown trees need no water. Water young trees in their first dry season if they wilt, clear dry grass around them, and watch for fire in the summer.
In the rainy season. Dig drains where water stands, since rubber roots rot in waterlogged soil. In very wet months tap less often, as rain on the panel washes out the latex.
- Too little water: Young trees drop their leaves, the top leaves wilt and the new flush stops.
- Too much water: Yellow leaves, slow growth and rotting roots in low spots, and a wet tapping panel that gives little latex.
To water better for a higher yield: Plant only when steady rain is coming, and mulch the tree circle so young trees get through their first dry season. A legume cover crop between rows keeps the soil moist and the weeds down.
Spacing, water and fertilizer for goma
Spacing
On flat or rolling land, rectangles of 5 m by 4 m or 6 m by 3 m, about 500 to 555 trees a hectare. Where crops will be grown between the rows, wide avenues of 8 m by 2.25 m, 10 m by 2 m, 12 m by 2 m, or double rows 2 m apart with 24 m between pairs, about 416 to 555 trees. On hills the trees follow the contour. Many small growers plant closer, as close as 3 m by 3 m.
Water
Rainfed. Trees are planted when steady rain is expected, and cover crops, mulch and the terraces on slopes keep the soil damp. Tapping is lighter in very wet months because rain on the panel washes out the latex.
Fertilizer
Complete fertilizer (14 14 14) every year while the trees are young, split in two doses six months apart: about 125 g a tree in year one at 30 cm from the base, 250 g in year two at 60 cm, and 500 g in years three and four at 90 to 120 cm. Tapping trees get complete fertilizer about twice a year, after the new leaves come out following the dry season leaf fall, put in small holes around each tree. To read what a bag really gives, see our guide to fertilizer for this crop.
Care and harvest
Care while it grows
Weeds are kept down by slashing, by weeding along the rows or in a ring around each tree, with special care to keep cogon out, and legume cover crops between rows. Replanting gaps up to the second year, pruning to a clean trunk with 4 to 5 branches, crops between the rows in the early years, and fire lines in summer.
When and how to harvest
Tapping starts at about 6 to 7 years, when the trunk is about 46 cm around at about 1.1 m. Most growers tap a half spiral cut every other day, about 15 days a month, early in the morning. The latex sets in the cups as cup lumps, which small growers gather and sell to traders or processors.
Common mistakes when planting goma
- Planting ordinary seedlings from fallen seed instead of budded seedlings of a good clone.
- Leaving cogon around the young trees, which stunts them and invites fire.
- Starting to tap before the trunk is big enough.
- Cutting too deep into the wood, which wounds the panel for good.
- Tapping when the bark is wet, which wastes latex and invites panel disease.
- Letting soil, leaves and bark get into the cup lumps.
How to get a higher yield of goma
The traditional way gets a crop, but small changes add up. These are the first things to change, one season at a time.
- Plant budded seedlings of a high yielding clone from a trusted nursery.
- Have the soil tested and fertilize every year while the trees are young.
- Use avenue spacing if you want to earn from crops between the rows.
- Keep the young lot weeded and the trunks pruned clean until the shade closes.
- Train tappers to cut thin and even, and tap less often, such as every third day, in the rainiest months.
- Keep cup lumps clean and sell them by grade for a better price.
anee.io helps with each of these. The NPK Plus calculator checks that your fertilizer plan feeds the yield you want, the pest and disease finders tell you what is on the leaves before you spray, and Anee, the smart farm technician answers your questions in Tagalog or English.
Members open this guide in the How to Plant tool and send every step to the Protocol Builder in one tap, each on its own day. There you can change the seed, the spacing and the fertilizer, then turn it into a cropping calendar for your lots.
Start from the traditional way, make it better, and let anee.io date every task from your own planting day. Free to start.
Start freeQuestions about planting goma
Paano magtanim ng goma?
When do farmers plant goma in the Philippines?
How far apart do you plant goma?
How long before goma can be harvested?
How often do you water goma?
What do you plant to grow goma?
See every step of planting it the traditional way
Register for free to read every step with its day, the spacing, water and fertilizer, the common mistakes and what to change for a higher yield. Then send it to your Protocol Builder in one tap.
Free to register. No credit card. Works on any phone.