Paano Magtanim ng Mani: How to Plant Peanut the Traditional Way
Paano magtanim ng mani? Here is how traditional Filipino farmers usually plant mani (peanut), step by step from getting the field ready to the harvest, with the day of each step and what to change for a higher yield.
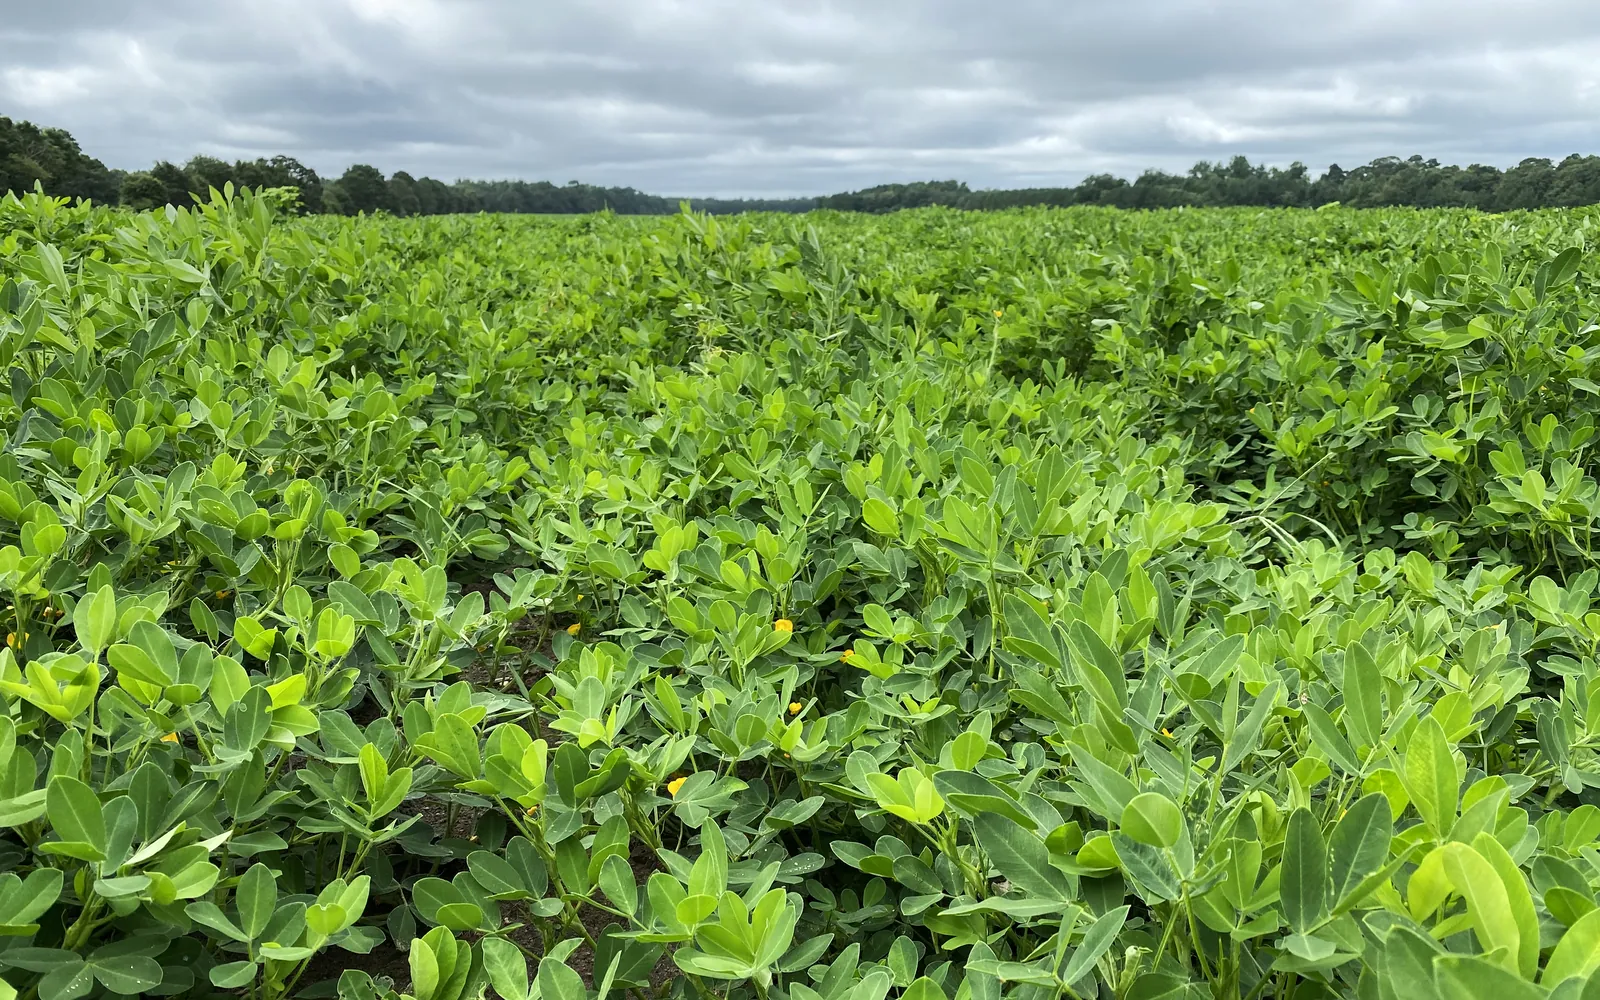
This guide shows how traditional farmers usually plant mani. Use it as a starting point. For a higher yield, update it: plant certified seed or clean planting material, test your soil, and follow the right spacing and fertilizer.
How Filipino farmers grow mani on loose, sandy fields, as a dry season crop after rice and as a wet season crop on uplands. It follows the plow and furrow habits of corn, with care not to disturb the soil once the pods start forming.
Before you plant, get the field ready with our land preparation guide for legumes. Then choose your seed or planting material with the mani varieties sold here. If the leaves turn pale later on, the mani nutrient deficiency guide helps you find what is missing.
When to plant mani
The dry season crop is planted after the rice harvest, from about November to January, on the moisture left in sandy fields (pang tag araw). The wet season crop is planted at the start of the rains, around May to June, on well drained upland fields. Cagayan Valley and Pangasinan are among the big peanut areas.
What you plant
Seed from pods kept from the last crop. The pods are shelled by hand only a few days before planting, and only full, unbroken kernels with their skins intact are planted.
Paano magtanim ng mani, step by step
The crop is ready about 100 days after sowing.
Before planting (Bago magtanim)
21 days before sowing: Plow
Plow once when the soil is moist enough. Peanut does best on loose, sandy or light soil.
10 days before sowing: Harrow to loose soil
Harrow two times to break every clod. The pods form underground, so the soil must be loose and crumbly.
3 days before sowing: Shell the seed pods
Seed peanuts are kept in their shells until a few days before planting, then shelled by hand and sorted, kernel by kernel.
- Take out the seed podsBring out the dry pods that were set aside from the best plants at the last harvest. Use full, clean pods and leave aside any that look moldy, stained or empty.
- Shell by handa few days before plantingCrack each pod between the fingers and roll the kernels out gently. A sheller or a stick cracks and skins the seed, and a skinned or split kernel seldom comes up.
- Keep only whole kernelsPlant only plump, unbroken kernels whose thin skin is still whole. Shriveled, split or bare kernels go to the kitchen, and moldy ones are thrown away.
- Keep them cool until plantingHold the sorted kernels in a dry container in the shade until planting day. Kernels left in the sun or in a damp sack lose their life fast.
1 day before sowing: Open the furrows
Open shallow furrows about 50 to 60 cm apart.
Planting day (Pagtatanim)
Sowing day: Fertilizer in the furrow
Drop a little complete fertilizer (14 14 14) or dried manure in the furrow and cover it with soil. After a well fed rice crop many farmers give little.
Sowing day: Plant the kernels
Drop one or two kernels every 10 to 20 cm and cover them with 3 to 5 cm of soil.
Care while it grows (Pag aalaga)
Day 7: Replant the misses
Replant spots where nothing came up within the first week.
Day 14: Off barring and weeding
Plow lightly along the rows with the soil thrown away from the plants, then hand pull the weeds in the row.
Day 25: Hill up before pegging
Plow back toward the rows to pile loose soil around the plants, before the flower stalks (pegs) bend down into the soil. After this, keep the plow and the hoe away from the plants.
Day 30: Watch the leaves
Check for leaf spots, rust, leaf eating caterpillars and leafhoppers. Hand pull the big weeds without digging near the plants.
Day 45: Water during pod filling
In the dry season crop, run water into the furrows if the soil dries out while the pods are filling.
Harvest (Anihan)
Day 100: Pull the plants
Pull up a few plants to check. It is ready when the leaves are yellowing and most pods show dark marks inside the shell, with kernels that have colored skins. Pull the plants by hand while the soil is moist and shake off the soil.
Day 101: Strip and dry the pods
Strip the pods and sun dry them for several days until the kernels rattle inside. Throw out moldy pods and store the rest in dry sacks off the floor.
- Shake and turn the plantsShake the soil off the pulled plants and lay them in rows or small heaps with the pods turned up, so the pods start to dry while still on the plant.
- Strip the podsPull the pods off the plants by hand, leaving the stems and leaves for feed or compost.
- Sun dry the podsseveral sunny daysSpread the pods thinly on mats, nets or a clean floor and turn them now and then. They are dry when the kernels rattle inside the shell when you shake a pod.
- Throw out the bad podsPick out pods that are moldy, rotten, cracked or bored by insects. Moldy peanuts can make people and animals sick and are never eaten, sold or planted.
- Store them in the shellKeep the pods in their shells in dry sacks on a raised floor or pallets in an airy room. Set aside the best pods for seed and shell them only just before planting.
Watering mani, stage by stage
The wet season crop lives on the rains. The dry season crop after rice lives on the moisture left in the sandy fields, and farmers with a pump run water into the furrows during dry spells, most of all when the plants flower and fill their pods. Furrow watering from a pump or a canal, letting water run between the ridges and soak in. Water in the morning or late afternoon.
Flowering and pegging, about day 25 to 50: dry, hard topsoil stops the pegs from going in. Pod filling, about day 50 to 85: a dry spell gives empty pods and small kernels.
| Stage | When | How often | How much |
|---|---|---|---|
| Planting and coming up | Sowing day to day 10 | Plant into moist soil. If the soil is dry, water the furrows lightly a day before planting | Enough to moisten the seed row, never soggy |
| Early growth | Day 10 to 25 | Usually no watering. Water only if the plants wilt in the morning | A light furrow watering |
| Flowering and pegging | Day 25 to 50 | In dry weeks, water soon after the hilling up and whenever the topsoil turns dry and hard | Fill the furrows and let the water soak into the ridge |
| Pod filling | Day 50 to 85 | Keep the soil moist. In the dry season water the furrows whenever the soil a few centimeters down is dry | A full furrow watering, without water standing around the plants |
| Maturing | Day 85 to 100 | Stop watering about two weeks before harvest. If the ground is too hard to pull, a light watering a day or two before pulling loosens it | None, or one light watering for pulling |
Without irrigation. For the wet season crop, plant at the start of the rains on well drained, sandy fields, so the pods fill before the heaviest rains. For the dry season crop, plant soon after the rice harvest while the field is still wet, so the pods fill before the soil dries out.
In the dry season. The dry season crop after rice usually needs one to a few furrow waterings, mostly at flowering and pod filling. Water when the topsoil is dry and crusted or the leaves fold up and wilt before noon.
In the rainy season. Peanut needs loose, well drained soil. In the wet season plant on ridges and keep the furrows draining, since standing water rots the roots and pods and spreads leaf diseases. Plants in very wet soil grow leaves at the cost of pods.
- Too little water: Leaflets fold up and turn dull gray green by mid morning, the topsoil cracks and hardens, and few pegs reach the soil.
- Too much water: Leaves yellow, the plants grow tall with few pods, and pods rot or the kernels sprout in the ground.
To water better for a higher yield: Save your water for flowering, pegging and pod filling, the weeks that decide the number of full pods. Rice straw between the rows keeps the topsoil soft and moist for the pegs and cuts the number of waterings.
Spacing, water and fertilizer for mani
Spacing
Rows about 50 to 60 cm apart, with one or two kernels every 10 to 20 cm.
Water
The wet season crop is rainfed. The dry season crop lives on the moisture left after rice, with furrow watering during dry spells, most of all at flowering and pod filling.
Fertilizer
Little: a small dose of complete fertilizer (14 14 14) or manure in the furrow at planting. Many farmers count on what is left from the rice crop. To read what a bag really gives, see our guide to fertilizer for this crop.
Care and harvest
Care while it grows
Off barring at about two weeks and hilling up at about three to four weeks, before pegging. After that, weeds are hand pulled without disturbing the soil near the plants.
When and how to harvest
Ready at about 90 to 110 days, when the leaves yellow and the inside of most shells is dark. Plants are pulled by hand, the pods stripped and sun dried until the kernels rattle.
Common mistakes when planting mani
- Planting on heavy, sticky soil, where pods form poorly and are hard to dig.
- Shelling seed weeks ahead, so the kernels lose strength before planting.
- Hilling up late or digging near the plants after pegging, which breaks the pegs.
- Harvesting too early or too late: early gives shriveled kernels, late leaves pods in the ground.
- Storing pods before they are fully dry, which brings mold.
How to get a higher yield of mani
The traditional way gets a crop, but small changes add up. These are the first things to change, one season at a time.
- Use clean, fresh seed of a good variety and plant only full, unbroken kernels.
- Test the soil, lime acid soil, and give calcium where the soil is poor in it.
- Coat the seed with a legume inoculant on fields that have not grown peanut before.
- Keep weeds out in the first month, then leave the soil around the plants alone.
- Dry pods quickly and throw out moldy ones to keep the crop safe to eat.
anee.io helps with each of these. The NPK Plus calculator checks that your fertilizer plan feeds the yield you want, the pest and disease finders tell you what is on the leaves before you spray, and Anee, the smart farm technician answers your questions in Tagalog or English.
Members open this guide in the How to Plant tool and send every step to the Protocol Builder in one tap, each on its own day. There you can change the seed, the spacing and the fertilizer, then turn it into a cropping calendar for your lots.
Start from the traditional way, make it better, and let anee.io date every task from your own planting day. Free to start.
Start freeQuestions about planting mani
Paano magtanim ng mani?
When do farmers plant mani in the Philippines?
How far apart do you plant mani?
How long before mani can be harvested?
How often do you water mani?
What do you plant to grow mani?
See every step of planting it the traditional way
Register for free to read every step with its day, the spacing, water and fertilizer, the common mistakes and what to change for a higher yield. Then send it to your Protocol Builder in one tap.
Free to register. No credit card. Works on any phone.