Paano Magtanim ng Kamote: How to Plant Sweet Potato the Traditional Way
Paano magtanim ng kamote? Here is how traditional Filipino farmers usually plant kamote (sweet potato), step by step from getting the field ready to the harvest, with the day of each step and what to change for a higher yield.
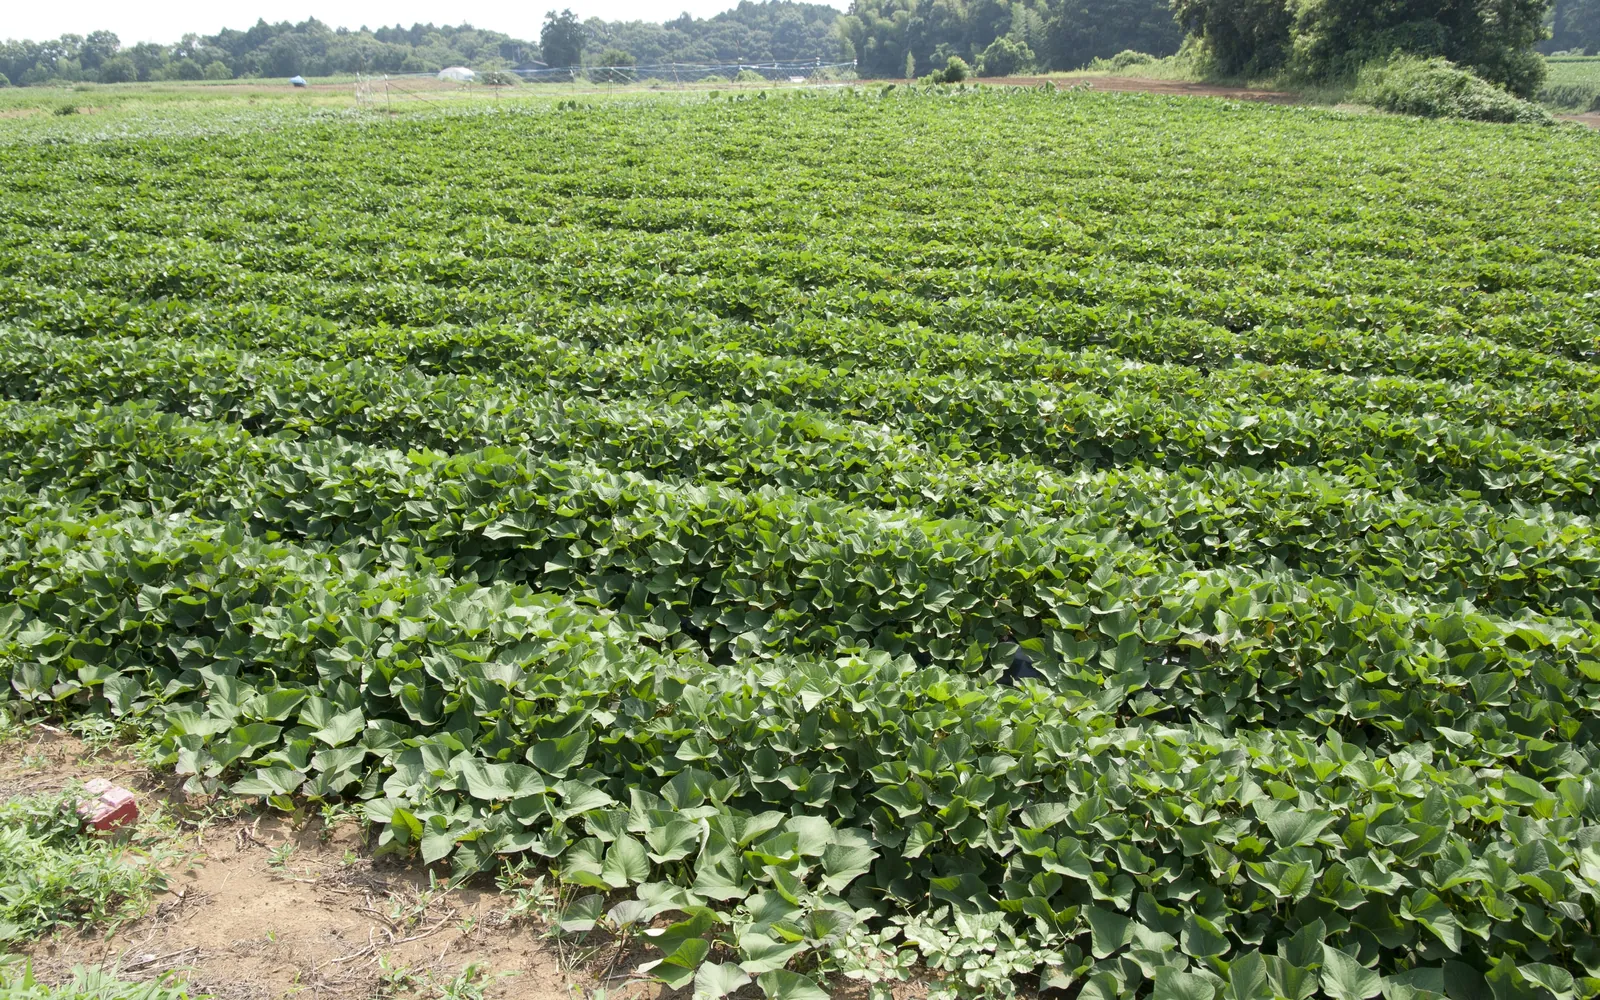
This guide shows how traditional farmers usually plant kamote. Use it as a starting point. For a higher yield, update it: plant certified seed or clean planting material, test your soil, and follow the right spacing and fertilizer.
How most Filipino farmers grow kamote from vine tip cuttings on ridges, from cutting the tops to digging the roots three to four months later. For small farms and backyard growers who want the usual way first, then the changes that raise the harvest.
Before you plant, get the field ready with our land preparation guide for root crops. Then choose your seed or planting material with the kamote varieties sold here. If the leaves turn pale later on, the kamote nutrient deficiency guide helps you find what is missing.
When to plant kamote
Kamote can go in any month the soil holds enough moisture. Most farmers plant at the start of the rains (May to July) on upland fields, and toward the end of the rains or right after the rice harvest (October to January) in the lowlands, so the crop grows on stored moisture. Avoid fields that flood in the typhoon months.
What you plant
Vine tip cuttings (talbos) cut from a healthy kamote field, usually the top 25 to 35 cm with 6 to 8 nodes. Farmers strip most of the leaves, keep 2 or 3 at the tip, tie the cuttings in bundles and keep them in the shade for 1 to 3 days so they start rooting. Cuttings should be planted within about 5 days.
Paano magtanim ng kamote, step by step
The crop is ready about 110 days after planting.
Before planting (Bago magtanim)
21 days before planting: Plow and harrow the field
Plow deep with a carabao or tractor when the soil is moist, not soggy and not dry. Harrow once for sandy soil and twice for clay loam to break clods and kill the weeds. Tip: Pick a field that drains fast, because cuttings rot when water stands for a day.
7 days before planting: Mix in manure or compost
If you have animal manure or compost, spread it before the last harrowing so it mixes into the soil.
3 days before planting: Make the ridges
Raise ridges about 15 to 20 cm high and 75 to 100 cm apart. On loose sandy soil many farmers skip the ridges and plant in shallow furrows.
The nursery (Punlaan)
2 days before planting: Cut and ready the tops
Cut the tips of healthy vines 25 to 35 cm long, take off most leaves and keep the bundles standing upright in the shade until planting. Tip: Use only the young tip. Older vine pieces root slowly and may carry weevil eggs.
- Choose the mother vinesTake cuttings only from a strong, healthy kamote field with no curled, yellow or mottled leaves and no weevil holes in the vines. Use the tender tip end of each vine, because weevils seldom lay eggs there and the tip roots faster than old stem.
- Cut each tip to lengthCut 25 to 35 cm back from the tip, long enough to carry at least 6 to 8 nodes. If the bundles must travel far, cut them longer, about 35 to 50 cm, so there is room to tie them. Tip: Cutting a little shorter lets one long vine give a second and even a third cutting below the first.
- Strip the leavesPull off the leaves along the cutting and keep only two or three at the tip. A cutting with fewer leaves wilts less and is not crushed in the bundle.
- Tie them and stand them in the shade1 to 3 daysTie the cuttings in bundles with straw or string and stand them upright, cut ends down, in a cool shaded place. Most farmers cut one to two days before planting, and in the shade the lower nodes start to form small roots. Tip: Plant them within about five days of cutting. Older cuttings weaken and catch slowly.
- Dip them if pests were a problemWhere weevils or leaf scab troubled the last crop, some farmers dip the bundles in an insecticide and then in a fungicide, a few minutes in each, following the label, just before planting.
Planting day (Pagtatanim)
Planting day: Plant one cutting a hill
Push each cutting into the ridge at a slant, or bent in an L or U shape, burying about half of it, or two thirds if the soil is a bit dry. Space the hills 25 to 30 cm apart along the ridge.
- Ridge in the rains, furrow in the dryIn the rainy season set the cuttings slanting on top of the ridges so standing water cannot reach them. In the dry months many farmers plant down in the furrows instead, where the soil keeps more moisture.
- Bury it to the right depthPush the cutting in about 10 to 15 cm deep when the soil is moist, and 15 to 20 cm deep when it is a little dry. Leave the top two or three leaves out in the air. Tip: Laying the buried part flat in an L or U shape puts more nodes under the soil, and more buried nodes means more places for roots to form.
- Keep spare bundles for the gapsLeave a few extra bundles standing in the shade after planting. Cuttings that have already rooted catch up quickly when you fill the missing hills.
Planting day: Put the first fertilizer
If you use complete fertilizer, drop it in small holes 10 to 15 cm from the cutting and about 5 to 10 cm deep, then cover it with soil.
Care while it grows (Pag aalaga)
Day 10: Replace missing hills
Walk the rows one to two weeks after planting and fill the gaps with fresh cuttings so the stand stays full.
Day 14: Off bar and weed
Run the plow or a hoe along the sides of the ridges to loosen the soil and bury the young weeds. Water first if the field is very dry.
Day 28: Hill up before the vines close
Pull soil back onto the ridges around the plants before the vines cover the ground. This keeps the soil loose for the roots and closes cracks where weevils enter.
Day 30: Second fertilizer if split
Farmers who split their fertilizer put the second half about a month after planting, beside the ridge, then cover it.
Day 60: Watch for weevil and curled leaves
Look for small holes and tunnels in the vine base and exposed roots, and for yellow, curled or mottled leaves. Pull out badly sick plants and fill soil cracks.
Day 111: Sort and pack in the shade
Do not wash the roots and do not leave them in the sun. Throw out weevil damaged roots, sort the rest by size and pack them in sacks or crates lined with leaves or vines.
Harvest (Anihan)
Day 100: Dig a sample hill
From about three months, dig one or two hills to see if the roots are big enough for your market. Many farmers dig a little at a time for the home table.
Day 110: Harvest on a sunny day
Lift the roots with a fork, a bolo or an animal drawn plow, taking care not to cut or bruise them. Shake off the soil. Tip: Keep a corner unharvested or save healthy tops as cuttings for the next planting.
- Cut and roll the vinesBefore digging, cut the vines at the base of each hill and roll them back off the ridges like a long mat, so the hills are open and easy to see.
- Loosen the ridge and pick by handLoosen the ridge using a hoe or a spading fork, or pass a plow just under the ridge, then lift the roots out by hand. Dig wide of the hill so the blade does not slice the roots.
- Handle them like eggsLay the roots down gently and never throw them into the basket. Keep them in the shade as you work, since roots left in the sun and bruised roots spoil quickly.
Watering kamote, stage by stage
Most kamote is grown on rain alone, planted at the start of the rains on upland fields or right after the rice harvest in the lowlands so the crop lives on the water left in the soil. Where a canal, creek or small pump is near, farmers run water down the furrows between the ridges when a dry spell hits, mostly before hilling up. Furrow watering from a canal, a creek or a small pump is the usual way: water runs along the furrows between the ridges and is drained the same day. Small plots are watered with a hose or a watering can at the base of the hills. Water in the early morning or late afternoon.
The first two weeks after planting, while the cuttings put out roots. The first month to six weeks, when the storage roots begin. A dry spell or a flooded ridge now means fewer roots a hill. At any stage, water must never stand around the hills for more than a day.
| Stage | When | How often | How much |
|---|---|---|---|
| Cuttings in the shade | 2 days before planting to planting day | Keep the bundles standing in a cool, shaded spot. On hot dry days cover them with a damp sack | Only enough to keep the leaves from wilting, never soak the bundles |
| Planting and rooting | Planting day to day 14 | Plant into moist soil. If the soil is dry, water the furrows on the planting day or the day after, then about once a week in dry weather until new leaves show | One furrow watering that wets the ridge, then let the furrow drain the same day |
| Vines running and roots starting | Day 14 to 45 | In a dry spell, water by furrow about every 7 to 14 days. Water the day before off barring or hilling up if the field is very dry | Run water along the furrows until the ridges are moist, then drain |
| Roots filling | Day 45 to 100 | On sandy soil keep watering about every 7 to 14 days when no rain falls. On lowland fields after rice the stored moisture is often enough | Even waterings that wet the ridge, never a long dry spell followed by a flood |
| Before digging | Day 100 to 110 | Stop watering about a week before the harvest | No water |
Without irrigation. Plant as the rains begin on upland fields, or right after the rice harvest in the lowlands while the soil is still moist. In the drier months set the cuttings down in the furrows instead of on the ridges and bury them deeper, so they sit in the moist soil. Keep the weeds down early so they do not drink the moisture, and lay rice straw between the rows if you have it.
In the dry season. On sandy or light soil, water by furrow about every 7 to 14 days from planting until about a week before harvest. A trial on sandy fields in Zambales gave clearly more large roots this way than rain alone. On heavier lowland soil after rice, one good watering at or right after planting is often enough. Water when the leaves are still limp in the early morning or when the soil a finger deep is dry.
In the rainy season. Plant on top of high ridges and keep the furrows open to a drain at the field edge. Cuttings rot when the soil stays soaked for more than a day, and older roots rot or stop forming in waterlogged ground. Raise the ridges higher on heavy clay and skip fields that flood in the typhoon months.
- Too little water: Leaves wilt and stay limp into the late afternoon, the vines stop running, the plants look small and pale, and the roots come out short, thin or crooked.
- Too much water: Lower leaves turn yellow, the vines grow slowly, few storage roots form, and roots rot or smell sour at harvest.
To water better for a higher yield: In dry season plantings on light soil, a furrow watering every 7 to 14 days instead of rain alone raises the number of large roots. Keep the moisture even with lighter, regular waterings and a straw mulch, rather than letting the field dry hard and then flooding it, which cracks the roots.
Spacing, water and fertilizer for kamote
Spacing
Ridges 75 to 100 cm apart and hills 25 to 30 cm apart, one cutting a hill. That is about 33,000 to 44,000 cuttings a hectare.
Water
Mostly rainfed. Planting is timed so the soil is moist for the first weeks, and some farmers water by furrow if it turns dry before hilling up. Standing water is the bigger danger: cuttings and roots rot when the field stays flooded.
Fertilizer
Many traditional farmers put little or nothing and rely on the soil, or mix urea and complete fertilizer at less than the advised amount. The common guide without a soil test is 6 to 8 bags of 14 14 14 a hectare at planting, placed in holes beside the hill. Farmers with manure spread 5 to 10 tons a hectare before the last harrowing. To read what a bag really gives, see our guide to fertilizer for this crop.
Care and harvest
Care while it grows
One cultivation or off barring about two weeks after planting, hand weeding while the vines are young, and hilling up at two to four weeks before the vines close over the rows. After that the vines shade out most weeds.
When and how to harvest
Most kamote is ready in three to four months, earlier or later by variety. Farmers dig a test hill, then harvest the field on a dry day with a fork, bolo or plow. Roots are brushed clean, never washed, kept out of the sun, sorted by size and handled gently because bruised roots spoil fast.
Common mistakes when planting kamote
- Using old, thick vine pieces instead of young tips, so the cuttings root slowly and bring weevil eggs.
- Planting where water stands after rain, so cuttings and roots rot.
- Skipping the hilling up, which leaves soil cracks for weevils to reach the roots.
- Taking cuttings from the same sick field season after season until the yield keeps dropping.
- Washing the roots or leaving them in the sun after digging.
- Harvesting late, when roots crack and weevil damage climbs.
How to get a higher yield of kamote
The traditional way gets a crop, but small changes add up. These are the first things to change, one season at a time.
- Start with clean, healthy cuttings of a good yielding variety from a trusted nursery, and renew your planting stock every few seasons.
- Have the soil tested and fertilize by the result. Split the dose into planting and one month after when the need is large.
- Keep the right spacing and fill missing hills within two weeks so every meter of ridge yields.
- Hill up on time, rotate kamote with other crops, and burn or bury weevil infested vines and roots after harvest.
- Use pheromone traps for the weevil where they are sold.
- Harvest on time at three to four months and handle roots gently to cut losses.
anee.io helps with each of these. The NPK Plus calculator checks that your fertilizer plan feeds the yield you want, the pest and disease finders tell you what is on the leaves before you spray, and Anee, the smart farm technician answers your questions in Tagalog or English.
Members open this guide in the How to Plant tool and send every step to the Protocol Builder in one tap, each on its own day. There you can change the seed, the spacing and the fertilizer, then turn it into a cropping calendar for your lots.
Start from the traditional way, make it better, and let anee.io date every task from your own planting day. Free to start.
Start freeQuestions about planting kamote
Paano magtanim ng kamote?
When do farmers plant kamote in the Philippines?
How far apart do you plant kamote?
How long before kamote can be harvested?
How often do you water kamote?
What do you plant to grow kamote?
See every step of planting it the traditional way
Register for free to read every step with its day, the spacing, water and fertilizer, the common mistakes and what to change for a higher yield. Then send it to your Protocol Builder in one tap.
Free to register. No credit card. Works on any phone.