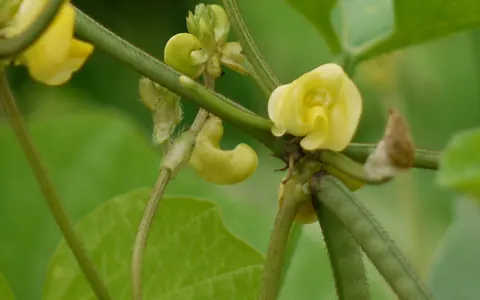
Paano Magtanim ng Patani: How to Plant Lima Bean the Traditional Way
Paano magtanim ng patani? Here is how traditional Filipino farmers usually plant patani (lima bean), step by step from getting the field ready to the harvest, with the day of each step and what to change for a higher yield.
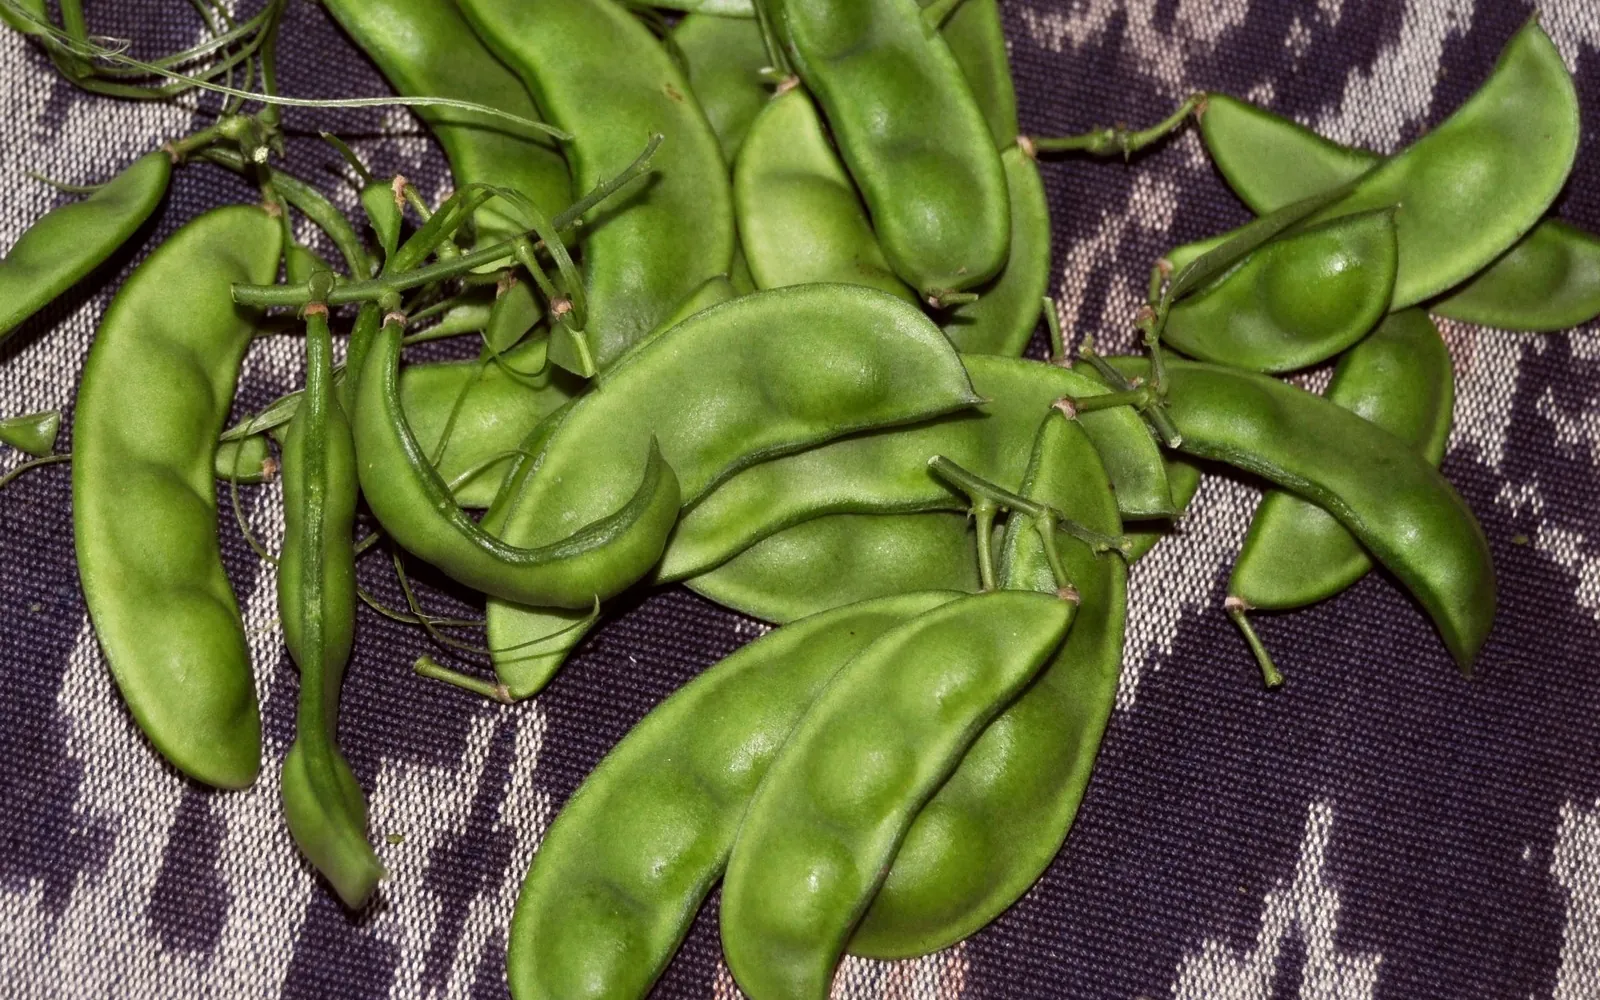
This guide shows how traditional farmers usually plant patani. Use it as a starting point. For a higher yield, update it: plant certified seed or clean planting material, test your soil, and follow the right spacing and fertilizer.
How Filipino growers raise patani, the climbing lima bean grown along fences and on poles for its green seeds, a staple of pinakbet and ginataang gulay. It is seeded direct and bears for months.
Before you plant, get the field ready with our land preparation guide for legumes. Then choose your seed or planting material with the patani varieties sold here. If the leaves turn pale later on, the patani nutrient deficiency guide helps you find what is missing.
When to plant patani
Planted at the start of the rains, around May to June, or from October to November. It is often grown along fences and backyard frames.
What you plant
Dry seed from fully mature pods. The big seed is planted direct, sometimes after a short soak.
Paano magtanim ng patani, step by step
Day 85 is about the first picking of green pods. The vine keeps bearing for months. The crop is ready about 85 days after sowing.
Before planting (Bago magtanim)
14 days before sowing: Dig and add manure
Dig the plot or spots along the fence and mix in dried manure or compost.
Planting day (Pagtatanim)
Sowing day: Plant the seed
Plant 2 to 3 seeds a hill, with hills about a meter apart, and cover them with 3 to 5 cm of soil.
Care while it grows (Pag aalaga)
Day 14: Thin and put up poles
Leave the strongest one or two plants and set up poles, a frame or strings to the fence for the vines.
Day 21: Weed
Hoe out the weeds around the hills.
Day 30: Feed
Side dress complete fertilizer (14 14 14) or more manure around the plants.
Day 50: Watch for pests
Check the flowers and pods for pod borers and the leaves for aphids.
Harvest (Anihan)
Day 85: Pick the green pods
Pick the pods when they are plump and the seeds inside are full but still green, every few days.
Day 120: Keep seed pods
Leave some pods on the vine to dry for seed.
- Leave pods on the best vinesStop picking some full, well shaped pods on the strongest, healthiest vines and let them hang until they turn dry and papery.
- Pick and dry the podsPick the dry pods before they split, spread them on a mat in the sun until brittle, then break them open and take out the big seeds.
- Sort and dry the seedKeep the big, plump, unspotted seeds and throw out wrinkled or holed ones. Sun dry them once more, turning them, until they are hard.
- Store it sealedKeep the seed in a sealed jar or can in a cool, dry place until the next planting. A little dry wood ash mixed in keeps weevils off.
Watering patani, stage by stage
Patani grows along fences and backyard frames, planted with the rains and watered by hand only in long dry spells. Old vines with deep roots bear for months on the rain alone. Hand watering with a can or a hose at the base of each hill, in the early morning or late afternoon.
Coming up, the first two weeks: keep the hill moist. Flowering and pod filling: drought drops the flowers and leaves empty pods.
| Stage | When | How often | How much |
|---|---|---|---|
| Planting and coming up | Sowing day to day 14 | Water at planting if the soil is dry, then every day or two until the seedlings are up | Enough to keep the hill moist, never soggy |
| Vine growth | Day 14 to 60 | Usually the rains are enough. In a dry spell, water when the topsoil dries | A watering can of about 10 liters shared among a few hills |
| Flowering and pods | Day 60 to 120 | In dry weeks, water every few days | Soak the soil around each hill |
Without irrigation. Plant at the start of the rains or from October to November, near a fence or frame where the roots can go deep. Mulch the base of the vine.
In the dry season. Bearing vines in the dry months need a watering every few days. Water when the leaves droop in the morning or the soil is dry a finger deep.
In the rainy season. Plant on a mound or raised spot so rain drains away, since standing water rots the roots.
- Too little water: Leaves droop and pale, flowers drop and pods fill poorly.
- Too much water: Yellow leaves and rotting roots and stem base.
To water better for a higher yield: Mulch the base of the vine so the soil stays moist between waterings. Water steadily while the vine flowers and fills its pods.
Spacing, water and fertilizer for patani
Spacing
Hills about a meter apart along poles, a frame or a fence.
Water
Rainfed, with hand watering in long dry spells.
Fertilizer
Dried manure or compost at planting, with a side dressing of complete fertilizer (14 14 14) or more manure after about a month. To read what a bag really gives, see our guide to fertilizer for this crop.
Care and harvest
Care while it grows
Support for the vines, weeding around the hills, and checking for pod borers and aphids.
When and how to harvest
Green pods are picked when the seeds are full but still green, every few days for months. Dry pods give next season's seed.
Common mistakes when planting patani
- Planting the big seed too deep in wet soil, where it rots.
- Giving the vines no support.
- Letting the pods dry on the vine when green seeds are wanted.
How to get a higher yield of patani
The traditional way gets a crop, but small changes add up. These are the first things to change, one season at a time.
- Plant fresh, whole seed into moist soil, not soggy soil.
- Set up strong supports early.
- Feed with compost and a side dressing and pick often.
- Scout for pod borers at flowering.
anee.io helps with each of these. The NPK Plus calculator checks that your fertilizer plan feeds the yield you want, the pest and disease finders tell you what is on the leaves before you spray, and Anee, the smart farm technician answers your questions in Tagalog or English.
Members open this guide in the How to Plant tool and send every step to the Protocol Builder in one tap, each on its own day. There you can change the seed, the spacing and the fertilizer, then turn it into a cropping calendar for your lots.
Start from the traditional way, make it better, and let anee.io date every task from your own planting day. Free to start.
Start freeQuestions about planting patani
Paano magtanim ng patani?
When do farmers plant patani in the Philippines?
How far apart do you plant patani?
How long before patani can be harvested?
How often do you water patani?
What do you plant to grow patani?
See every step of planting it the traditional way
Register for free to read every step with its day, the spacing, water and fertilizer, the common mistakes and what to change for a higher yield. Then send it to your Protocol Builder in one tap.
Free to register. No credit card. Works on any phone.