Paano Magtanim ng Alfalfa: How to Plant Alfalfa the Traditional Way
Paano magtanim ng alfalfa? Here is how traditional Filipino farmers usually plant alfalfa, step by step from getting the field ready to the harvest, with the day of each step and what to change for a higher yield.
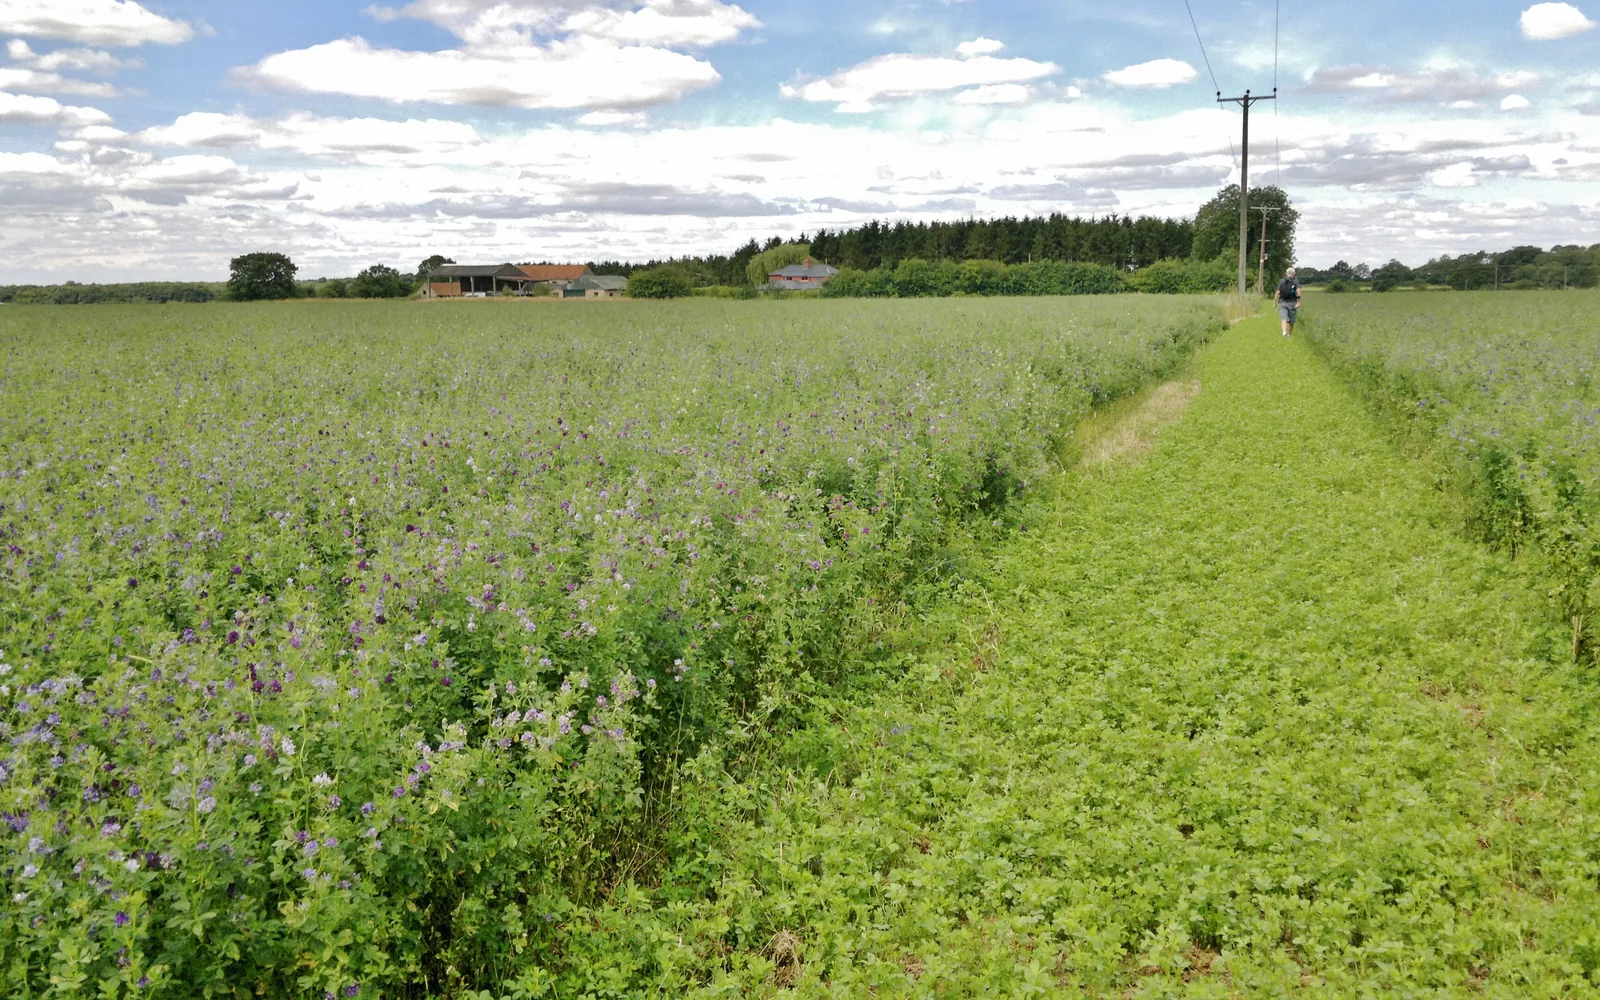
This guide shows how traditional farmers usually plant alfalfa. Use it as a starting point. For a higher yield, update it: plant certified seed or clean planting material, test your soil, and follow the right spacing and fertilizer.
Alfalfa is rarely grown in the Philippines: it is a cattle feed crop of temperate countries, and here it is mostly tried on a few dairy and trial farms in cooler uplands, such as in northern Mindanao, with imported seed of subtropical kinds. This short guide is for those few growers. Most Filipinos know alfalfa only as sprouts.
Before you plant, get the field ready with our land preparation guide for legumes.
When to plant alfalfa
There is no settled local season. Trial growers sow at the end of the heavy rains so the young stand is not drowned, on high, well drained ground, and irrigate through the dry months.
What you plant
Seed, all of it imported, since no local seed is produced. The tiny seed is coated with an alfalfa inoculant, a live root bacteria powder, just before sowing so the plants can make their own nitrogen. Some trial growers raise seedlings in trays and transplant them instead of sowing straight.
Paano magtanim ng alfalfa, step by step
The first cut is taken when the stand starts to flower, about two months or more after sowing in warm places. After that the regrowth is cut each time it begins to flower again, which in hot weather can be about once a month. The crop is ready about 70 days after sowing.
Before planting (Bago magtanim)
30 days before sowing: Test and lime the soil
Alfalfa wants well drained soil that is close to neutral. Have the soil tested and work in agricultural lime well ahead of sowing if it is acid.
7 days before sowing: Make a fine, firm seedbed
Plow and harrow until the soil is fine and level, then firm it so the tiny seed sits in close contact with moist soil. Avoid low spots where water stands.
1 day before sowing: Inoculate the seed
Just before sowing, mix the seed with alfalfa inoculant in the shade, with a little water so it sticks. Keep the treated seed out of the sun and sow it the same day.
Planting day (Pagtatanim)
Sowing day: Sow shallow
Drill the seed thinly in rows or broadcast it evenly, and cover it only very lightly, since seed buried deep will not come up. Water gently.
Care while it grows (Pag aalaga)
Day 3: Keep the soil moist
Water lightly and often until the seedlings are well rooted. Later water deeply but less often, as alfalfa grows a long taproot, and never let water stand.
Day 14: Weed the young stand
Hand weed often in the first weeks, since young alfalfa grows slowly and weeds can smother it. Mulch between rows where you can.
Day 30: Scout for insects
Check the tops for aphids, leafhoppers and caterpillars, which stunt the plants and yellow the leaves.
Harvest (Anihan)
Day 70: Take the first cut
Cut the stand when it begins to flower, leaving a short stubble so it can regrow. Cutting in strips leaves some cover for helpful insects.
Day 71: Feed, dry or store
Feed the cut alfalfa fresh, chopped, to cattle, goats or rabbits, or dry it into hay, or pack it tightly to ferment as silage.
Day 100: Cut the regrowth
Cut again each time the regrowth starts to flower, and water and weed between cuts. Do not sow new alfalfa into an old stand, since old plants hold back new seedlings.
Watering alfalfa, stage by stage
Alfalfa is rare in the Philippines and grown mostly in small trial and dairy plots. Growers sow it at the end of the heavy rains on high, well drained ground and irrigate through the dry months, lightly while the seedlings are young and deeply but less often once the stand is rooted. Small plots are watered by hose, sprinkler or furrow. Water in the morning, and plan the watering around the cutting days.
Sowing to rooting, when the top soil must stay damp. The days right after each cut, when the regrowth starts.
| Stage | When | How often | How much |
|---|---|---|---|
| Sowing to coming up | Sowing day to day 7 | Water gently right after sowing, then lightly every day or two if the soil dries | A fine spray that keeps the top soil damp without washing the tiny seed |
| Seedlings rooting | Day 7 to 30 | Light, frequent waterings until the seedlings are well rooted | Keep the top few cm moist, never puddled |
| Stand growing to first cut | Day 30 to 70 | Deep waterings, less often, in dry weather. Stop a few days before cutting so the field is dry | Soak the soil deeply each time, then let it drain |
| After each cut | Day 70 to 100 | Water soon after the cut forage is off the field and the regrowth starts, then deep and less often again. Stop a few days before the next cut | A deep soaking, drained off |
Without irrigation. On rain alone, sow at the end of the heavy rains so the young stand roots on the moisture left in the soil without being drowned. The deep taproot later carries the stand through short dry spells, but cutting slows in the dry months without water.
In the dry season. Water deeply but not often once the stand is rooted, and always right after each cut once the forage is off the field. Water when the soil a hand span down is dry or the regrowth stalls.
In the rainy season. Alfalfa cannot stand waterlogged soil: the roots rot and the stand dies out. Grow it only on high, well drained ground, keep drains open and skip watering in the rains.
- Too little water: The stand turns dull and bluish, the leaves fold and the regrowth after cutting is short and slow.
- Too much water: Plants yellow and thin out, roots rot in low spots, and weeds take over the gaps.
To water better for a higher yield: Time the watering to the cuts: stop a few days before cutting and water again soon after the forage is off. Pick high, well drained ground and level it so no water stands anywhere in the field.
Spacing, water and fertilizer for alfalfa
Spacing
Sown thickly in rows or broadcast. Trial growers here have not settled on a spacing.
Water
Light, frequent watering until the seedlings root, then deep, less frequent irrigation in the dry months. Alfalfa cannot stand waterlogged soil.
Fertilizer
Lime to bring acid soil close to neutral, and inoculant on the seed so the plant makes its own nitrogen. Phosphorus and potash are given by soil test. Little or no nitrogen is needed once the roots carry nodules. To read what a bag really gives, see our guide to fertilizer for this crop.
Care and harvest
Care while it grows
Frequent hand weeding while the stand is young, mulch between rows, steady irrigation in the dry months and checks for aphids, leafhoppers and caterpillars.
When and how to harvest
Cut when the stand begins to flower, leaving stubble to regrow, and cut again each time the regrowth flowers. It is fed fresh, dried as hay or made into silage.
Common mistakes when planting alfalfa
- Sowing on acid soil without lime, so the plants stay yellow and stunted.
- Skipping the inoculant, so the roots make no nitrogen.
- Burying the tiny seed too deep, so it never comes up.
- Planting on low, wet ground, where the roots rot.
- Reseeding into an old alfalfa stand, which holds back the new seedlings.
How to get a higher yield of alfalfa
The traditional way gets a crop, but small changes add up. These are the first things to change, one season at a time.
- Start with a small trial plot of a subtropical variety before planting more.
- Test the soil and lime well ahead of sowing.
- Buy fresh seed with a matching alfalfa inoculant and keep both cool.
- Plant on raised, well drained ground with irrigation for the dry months.
- Compare it with forages that already do well here before relying on it for feed.
anee.io helps with each of these. The NPK Plus calculator checks that your fertilizer plan feeds the yield you want, the pest and disease finders tell you what is on the leaves before you spray, and Anee, the smart farm technician answers your questions in Tagalog or English.
Members open this guide in the How to Plant tool and send every step to the Protocol Builder in one tap, each on its own day. There you can change the seed, the spacing and the fertilizer, then turn it into a cropping calendar for your lots.
Start from the traditional way, make it better, and let anee.io date every task from your own planting day. Free to start.
Start freeQuestions about planting alfalfa
Paano magtanim ng alfalfa?
When do farmers plant alfalfa in the Philippines?
How far apart do you plant alfalfa?
How long before alfalfa can be harvested?
How often do you water alfalfa?
What do you plant to grow alfalfa?
See every step of planting it the traditional way
Register for free to read every step with its day, the spacing, water and fertilizer, the common mistakes and what to change for a higher yield. Then send it to your Protocol Builder in one tap.
Free to register. No credit card. Works on any phone.