How to Plant Corn in the Philippines: Mais the Traditional Way, Step by Step
How to plant corn in the Philippines the traditional way: here is how most Filipino farmers plant mais, step by step from getting the field ready to the harvest, with the day of each step and what to change for a higher yield.
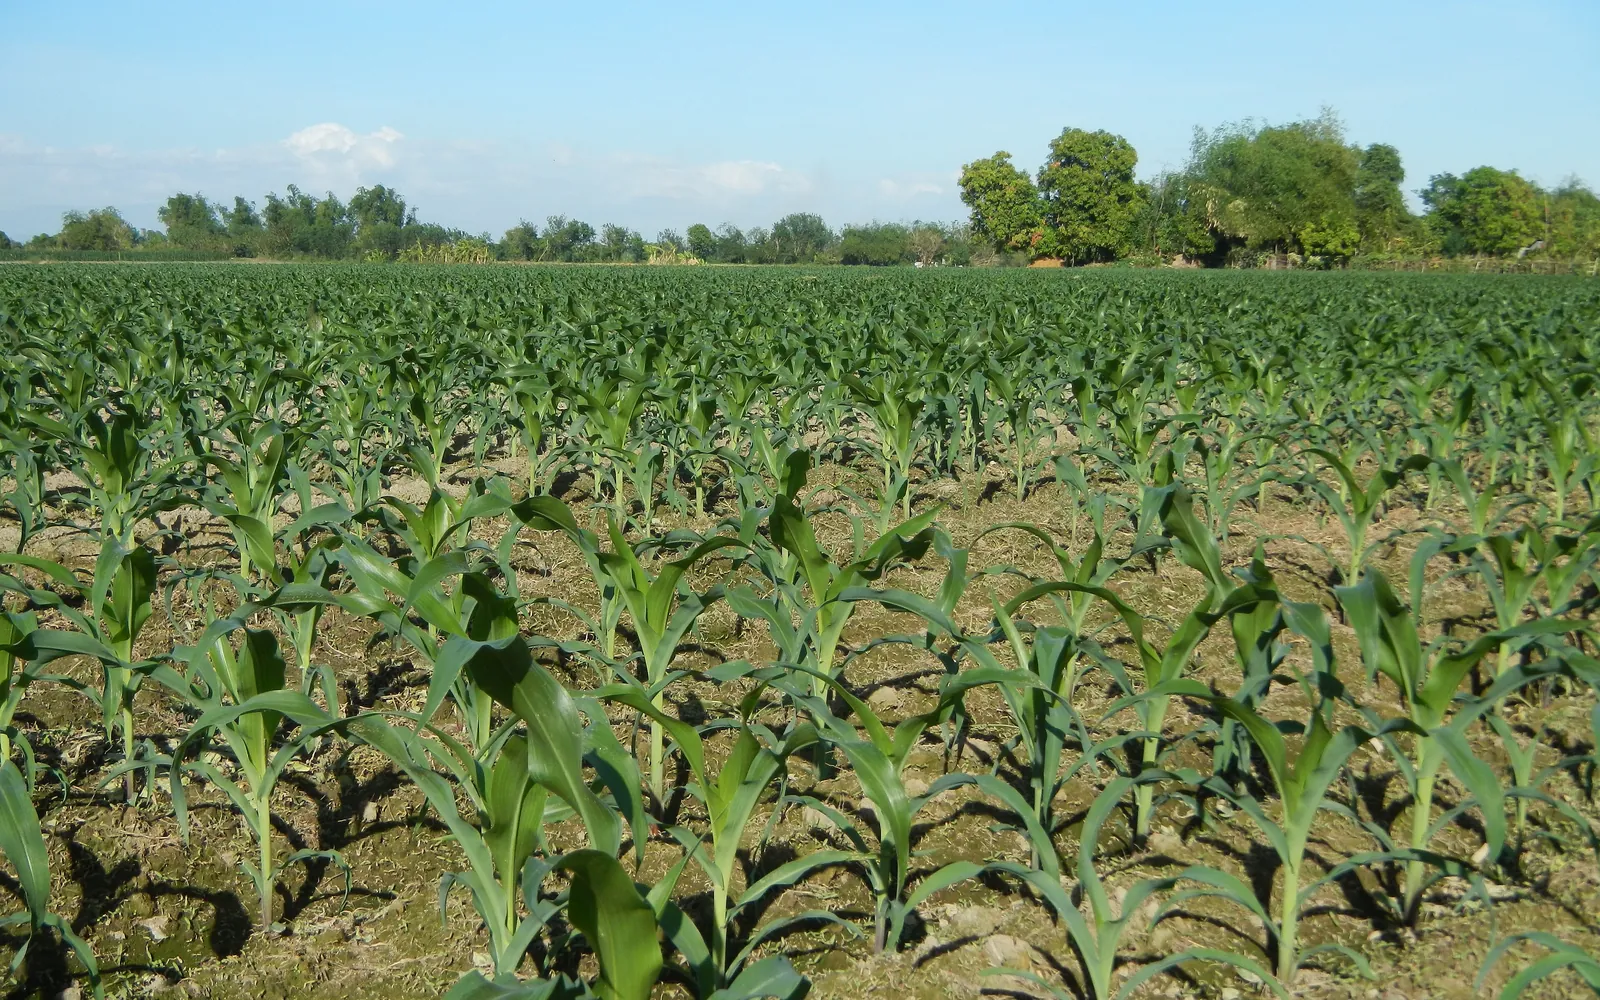
This guide shows how traditional farmers usually plant mais. Use it as a starting point. For a higher yield, update it: plant certified seed or clean planting material, test your soil, and follow the right spacing and fertilizer.
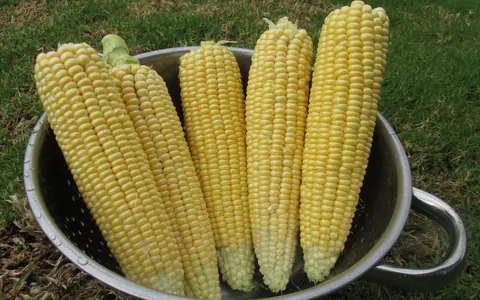
How Filipino farmers plant yellow corn for feed and grain on lowland fields and hillsides, mostly with hybrid seed, using the usual plow, furrow and hill up routine. It ends with the changes that bring a bigger harvest.
Before you plant, get the field ready with our land preparation guide for corn. Then choose your seed or planting material with the mais varieties sold here. If the leaves turn pale later on, the mais nutrient deficiency guide helps you find what is missing. For more on the crop, read pagtatanim ng mais, the full season guide in Tagalog, how to choose corn seeds.
When to plant mais
The first crop goes in when the rains begin, from April to June. A second crop is planted from September to December on the moisture left at the end of the rains, and in Cagayan Valley this late crop is often the bigger one. In much of Mindanao farmers plant twice a year, around March to May and again around August to October.
What you plant
Seed, mostly hybrid bought new every season, since seed saved from a hybrid harvest does not grow true. Some upland farmers still keep seed of open pollinated varieties from the best, fully dried ears. Bought seed comes already treated and is planted dry, straight from the bag.
How to plant corn in the Philippines, step by step
The crop is ready about 110 days after sowing.
Before planting (Bago magtanim)
21 days before sowing: Clear and plow
Cut and clear the old crop or the grass, then plow once when the soil has enough moisture, with a carabao, a tractor or a hand tractor.
10 days before sowing: Harrow twice
Harrow two times, about a week apart, to break the clods and kill the weeds that sprout after plowing.
1 day before sowing: Open the furrows
Open furrows about 75 cm apart with the plow. On slopes, run them across the slope so the rain does not wash the soil away.
Planting day (Pagtatanim)
Sowing day: Fertilizer in the furrow
Drop complete fertilizer (14 14 14) along the bottom of the furrow and rake a little soil over it so the seed does not sit on it.
Sowing day: Drop the seed and cover
Drop one seed every 20 to 25 cm, or two seeds a hill to be thinned later, and cover with about 3 to 5 cm of soil using the foot.
Care while it grows (Pag aalaga)
Day 7: Replant the misses
About a week after planting, replant hills where nothing came up so the stand stays full.
Day 14: Thin to one plant a hill
Where two seeds came up together, pull the weaker one and leave the strongest.
Day 14: Off barring
Run the plow along each row with the soil thrown away from the plants. This cuts the weeds between the rows.
Day 20: Look into the whorls
Check the whorls of young plants for chewed leaves and fresh droppings, the sign of fall armyworm or corn borer. Pull out and burn plants with pale striped leaves, a sign of downy mildew.
Day 27: Side dress urea
Drop urea (46 0 0) about 5 cm from the base of each plant on moist soil.
Day 28: Hill up
Plow again with the soil thrown toward the rows to cover the fertilizer and pile soil at the base of the plants. This buries young weeds and helps the plants stand against wind.
Day 55: Tasseling and silking
The tassels and silks come out at about 50 to 60 days. Keep the field clean of weeds, since a dry spell or weeds now give poorly filled ears.
Harvest (Anihan)
Day 110: Pick the dry ears
Harvest when the husks have turned brown and dry and the kernels are hard, with a dark layer at their base, about 100 to 120 days after planting. In good weather many farmers leave the ears on the stalk a while longer to dry in the field.
Day 110: Keep seed of an open pollinated variety
Farmers who plant an open pollinated variety pick their seed ears from the standing crop before the rest is harvested. Hybrid seed is never kept, since its plants do not grow true.
- Choose the mother plantsWalk the middle of the field, away from the edges where pollen from a neighbor's corn blows in. Pick strong, upright plants with healthy leaves and one big, well filled ear whose husk closes tight over the tip.
- Let the ears dry on the stalkTie a string or a strip of cloth on each chosen plant and leave its ear on the stalk until the husk is brown and dry and the kernels are hard.
- Keep the ears wholePull back the husks, tie the ears in pairs or bunches by their husks and hang them under the roof or above the kitchen fire, where the smoke keeps weevils away. Ears kept whole stay alive longer than shelled seed. Tip: Keep only ears that are dry, clean and free of mold.
- Shell the middle kernels at planting timeA few days before planting, shell the ears and keep only the plump kernels from the middle of each ear. The small kernels at the tip and the odd ones at the base go to the chickens.
- Store shelled seed sealedIf the seed must be shelled early, dry it well in the sun and keep it in a closed bottle, can or jar in a cool, dry corner until planting.
Day 112: Dry, shell and dry again
Sun dry the ears for two to three days, shell them by hand or with a sheller, then dry the grain again to about 14 percent moisture before bagging. Tip: Damp corn in sacks molds fast and becomes unsafe for feed.
- Sort the earsHusk the ears and set aside any that are moldy, rotten or bored by insects so they do not spoil the good ones. Keep those apart for feed or a separate sale.
- Sun dry the ears2 to 3 daysSpread the husked ears on a concrete floor, mats or nets in full sun and turn them a few times a day. Pile and cover them at night and before rain.
- Shell the cornShell by hand, by twisting two ears against each other, or with a hand or motor sheller once the kernels come off easily. Soft, damp kernels get crushed, so dry the ears well first.
- Dry the grain againSpread the shelled grain thinly and turn it often until it is dry enough to keep, about 14 percent moisture. A dry kernel is hard and cracks sharply between the teeth.
- Clean and bagWinnow or sift out bits of cob, silk and broken grain. Fill clean sacks and stack them on pallets in a dry room away from the walls, and check them often for weevils.
Watering mais, stage by stage
Most yellow corn here is never watered at all: farmers plant when the rains start or on the moisture left after the rains, and the crop lives on rain. A few with a shallow well and a pump, or near a canal, run water down the furrows during dry spells, mostly around tasseling. Furrow watering: water from a pump on a shallow well or from a canal is let into the top of each furrow until it reaches the far end, then turned to the next one. Water in the morning or late afternoon so less is lost in the heat.
Tasseling and silking, about day 50 to 65: the soil must not dry, or many kernels never form. Early grain filling, about day 65 to 85: drought now gives small, light grain. Planting: plant into moist soil, since seed sown into dry soil comes up patchy.
| Stage | When | How often | How much |
|---|---|---|---|
| Planting and coming up | Sowing day to day 7 | Plant only into soil that is moist from rain. If it is dry and you have water, run it down the furrows once before or right after planting | Enough to wet the soil around the seed, with no water left standing |
| Young plants | Day 7 to 30 | Usually no watering. In a long dry spell, water when the soil a hand deep feels dry and the leaves roll before noon | One furrow watering, letting the water reach the end of the row and soak in |
| Fast growth, knee high to tasseling | Day 30 to 50 | In dry weeks, water about once a week on sandy soil and every week or two on heavier soil. Water soon after the urea and hilling up if no rain comes | Fill the furrows and let the water soak in, not over the ridges |
| Tasseling and silking | Day 50 to 65 | Keep the soil moist the whole time. If no rain falls for about a week, run water down the furrows | A full furrow watering that wets the soil a hand deep or more |
| Grain filling | Day 65 to 95 | Water in long dry spells until the kernels are firm and dented | A furrow watering when the soil dries |
| Drying down | Day 95 to 110 | Stop watering | No water |
Without irrigation. Plant with the first steady rains so tasseling falls in the wettest weeks, and for the late crop plant early enough that silking comes before the soil dries out. Run the furrows across the slope to hold rain, keep the field weed free so weeds do not drink the moisture, and choose an early variety for the late crop.
In the dry season. A dry season crop after rice lives on the water left in the soil, and where the water table is shallow it may need little watering. Where the water table is deep, water about once a week on sandy soil and every week or two on heavier soil, and never skip the waterings around silking. Water when the leaves roll before noon.
In the rainy season. Corn hates standing water. On flat or low fields make ridges and open a drain at the end of the furrows, since water that stands a day or two around young plants turns them yellow and can kill them. Too much rain also washes away fertilizer, so side dress on moist soil, not before a downpour.
- Too little water: Leaves roll up like onion leaves before noon and turn a dull gray green, the silks come out late after the tassel, and the ears fill only partly with bare tips.
- Too much water: Lower leaves turn yellow, plants stay short and pale or purplish, and roots rot in low spots where water stands.
To water better for a higher yield: If you can water only once or twice, give it at tasseling and silking and again in early grain filling, the waterings that pay back the most grain. Shorter furrows that end in a small drain wet the field evenly and save pump fuel, and rice straw between the rows keeps the soil moist longer.
Spacing, water and fertilizer for mais
Spacing
Rows about 75 cm apart with one plant every 20 to 25 cm, which is about 53,000 to 66,000 plants a hectare. Some farmers plant two seeds a hill and thin to one plant after two weeks.
Water
Mostly rainfed. Farmers time planting so the rains carry the crop through, and the late crop lives on the moisture left in the soil. A few pump water into the furrows during dry spells, mostly around tasseling.
Fertilizer
The usual habit is complete fertilizer (14 14 14) in the furrow at planting, often about three bags a hectare, then urea (46 0 0) beside the plants at about 25 to 30 days, just before hilling up. Some farmers skip the basal feeding and put everything at side dressing, or spread chicken manure during land preparation. To read what a bag really gives, see our guide to fertilizer for this crop.
Care and harvest
Care while it grows
The carabao or tractor plow does most of the weeding: off barring at about two weeks and hilling up at about four weeks, with hand weeding of the rows after that. Misses are replanted in the first week and double hills thinned to one plant. Farmers look into the whorls for fall armyworm and corn borer and pull out plants with downy mildew.
When and how to harvest
Yellow corn is ready when the husks are brown and dry and the kernels are hard and shiny, about 100 to 120 days after planting. Ears are picked by hand, sun dried, shelled and dried again to about 14 percent moisture, then stored in clean sacks off the floor.
Common mistakes when planting mais
- Planting seed saved from a hybrid harvest, which gives uneven plants and a much smaller harvest.
- Planting late after the rains start, so the crop meets a dry spell at tasseling.
- Skipping or delaying hilling up, which lets weeds win and plants fall over in strong wind.
- Leaving urea on the soil surface without covering it, so much of it is lost to the air.
- Storing shelled corn before it is fully dry, which brings mold.
- Spraying for armyworm by habit without first checking the whorls.
How to get a higher yield of mais
The traditional way gets a crop, but small changes add up. These are the first things to change, one season at a time.
- Choose a hybrid or variety suited to your area and season, and buy fresh seed every crop.
- Test the soil and match the fertilizer to it, splitting the nitrogen into two or three feedings and covering it with soil.
- Keep an even stand of about 60,000 plants a hectare with 75 x 20 to 25 cm spacing and early replanting.
- Keep the field free of weeds for the first four to six weeks.
- Scout every week for fall armyworm and act early, while the plants are young.
- Dry the grain quickly to about 14 percent moisture and store it off the floor to keep it free of mold.
anee.io helps with each of these. The NPK Plus calculator checks that your fertilizer plan feeds the yield you want, the pest and disease finders tell you what is on the leaves before you spray, and Anee, the smart farm technician answers your questions in Tagalog or English.
Members open this guide in the How to Plant tool and send every step to the Protocol Builder in one tap, each on its own day. There you can change the seed, the spacing and the fertilizer, then turn it into a cropping calendar for your lots.
Start from the traditional way, make it better, and let anee.io date every task from your own planting day. Free to start.
Start freeQuestions about planting mais
How to plant corn in the Philippines the traditional way?
When do farmers plant mais in the Philippines?
How far apart do you plant mais?
How long before mais can be harvested?
How often do you water mais?
What do you plant to grow mais?
See every step of planting it the traditional way
Register for free to read every step with its day, the spacing, water and fertilizer, the common mistakes and what to change for a higher yield. Then send it to your Protocol Builder in one tap.
Free to register. No credit card. Works on any phone.