Paano Magtanim ng Sorghum: How to Plant Sorghum the Traditional Way
Paano magtanim ng sorghum? Here is how traditional Filipino farmers usually plant batad (sorghum), step by step from getting the field ready to the harvest, with the day of each step and what to change for a higher yield.
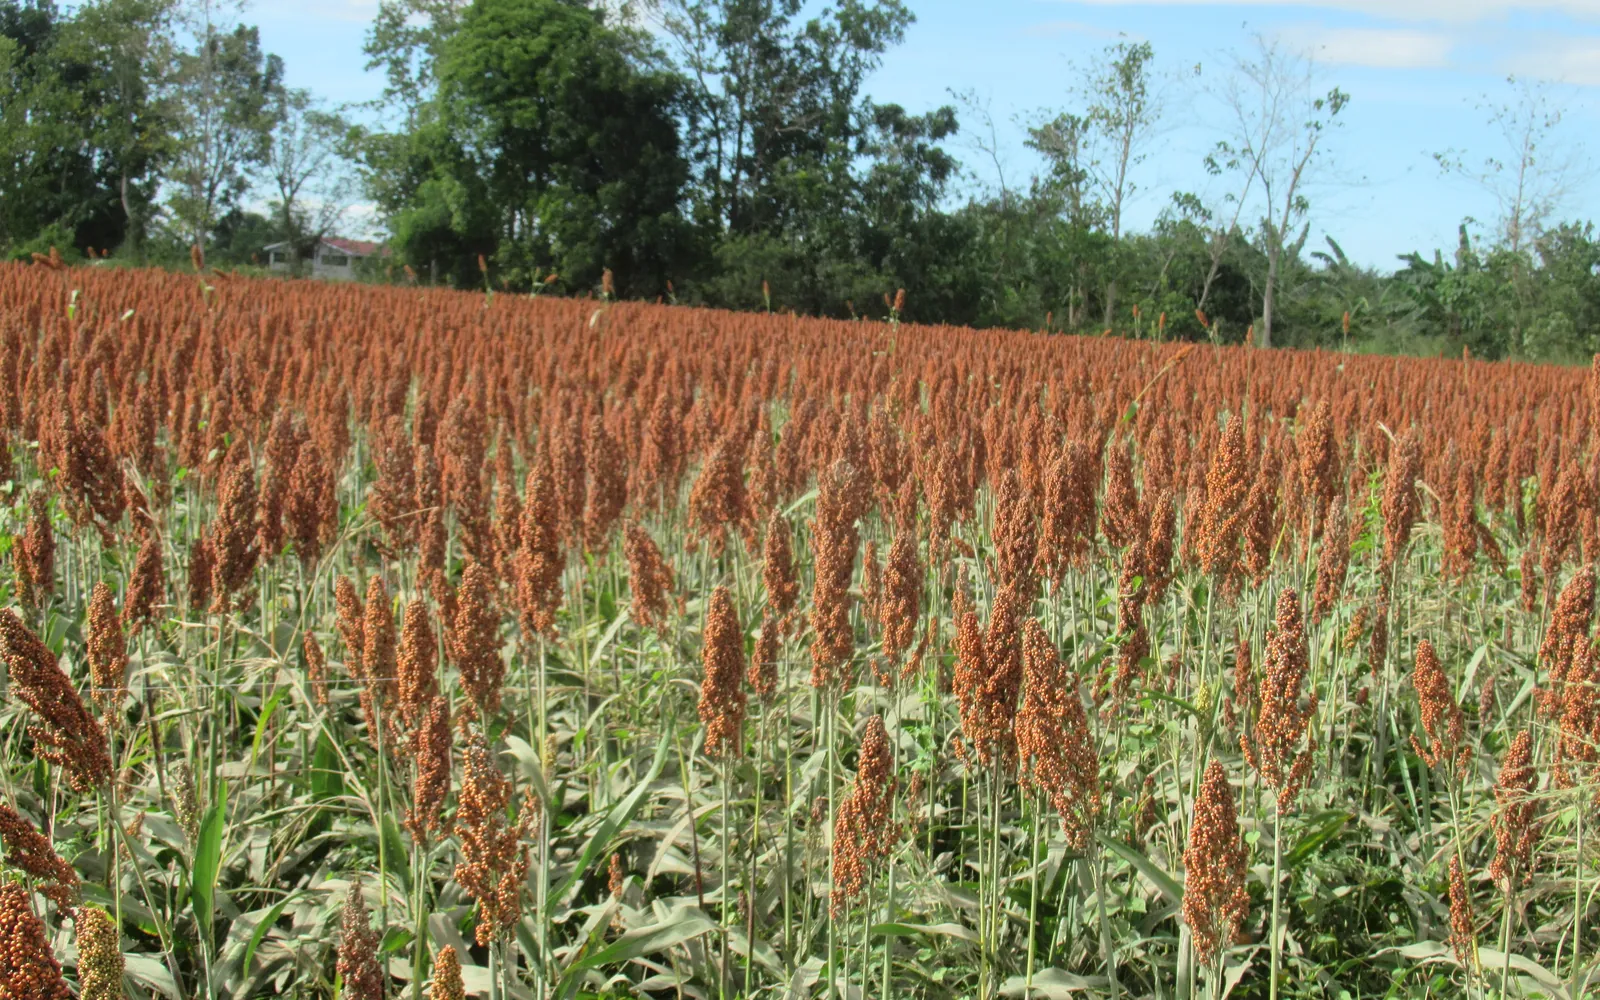
This guide shows how traditional farmers usually plant batad. Use it as a starting point. For a higher yield, update it: plant certified seed or clean planting material, test your soil, and follow the right spacing and fertilizer.
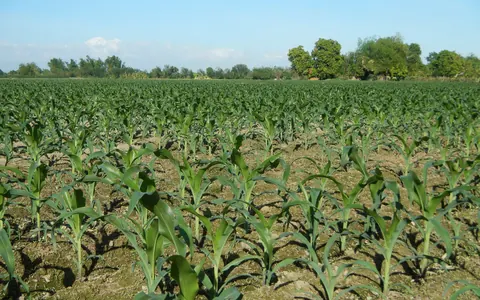
How Filipino farmers grow sorghum for grain and animal feed, a crop known as batad among Maguindanao and Ilocano farmers that takes drought better than corn. It is grown much like corn in furrows, and the stubble can give a second crop.
Before you plant, get the field ready with our land preparation guide for corn. Then choose your seed or planting material with the batad varieties sold here. If the leaves turn pale later on, the batad nutrient deficiency guide helps you find what is missing.
When to plant batad
Planted at the start of the rains, around May to June, or after the rice harvest in the dry season, around November to January, on the moisture left in the field. In Mindanao it is grown in both seasons.
What you plant
Dry seed, bought or saved from the heads of the best plants of open pollinated types. The seed is small, so it is sown shallow and thinly. When drilled in rows, farmers use about 8 to 10 kg of seed a hectare.
Paano magtanim ng sorghum, step by step
The crop is ready about 105 days after sowing.
Before planting (Bago magtanim)
14 days before sowing: Plow the field
Plow once when the soil is moist enough, with a carabao or a tractor.
7 days before sowing: Harrow
Harrow one or two times to get a fine seedbed and kill sprouting weeds. Small sorghum seed needs fine soil to come up well.
1 day before sowing: Open the furrows
Open shallow furrows about 60 to 75 cm apart.
Planting day (Pagtatanim)
Sowing day: Fertilizer in the furrow
Drop complete fertilizer (14 14 14) along the furrow and cover it with a little soil.
Sowing day: Drill the seed
Trickle the seed thinly along the furrow and cover it with only 2 to 3 cm of soil.
Care while it grows (Pag aalaga)
Day 14: Off barring and weeding
Plow along the rows with the soil thrown away from the plants, then hand pull the weeds in the row. Young sorghum grows slowly and loses easily to weeds.
Day 18: Thin the plants
Pull extra seedlings so one plant stands every 10 to 15 cm along the row.
Day 20: Watch the young plants
Check the whorls for armyworm and the leaves for aphids, and pull out sickly plants.
Day 27: Side dress urea
Drop urea (46 0 0) beside the plants on moist soil.
Day 28: Hill up
Plow toward the rows to cover the fertilizer and pile soil at the base of the plants.
Day 75: Guard the heads from birds
Birds go for the grain as it fills. Farmers chase them off in the morning and late afternoon, hang noisy cans and strips, and on small plots tie bags over the heads.
Harvest (Anihan)
Day 105: Cut the heads
Harvest at about 100 to 115 days, when the grains are hard and can no longer be dented with a thumbnail. Cut the heads with a sickle or a knife.
- Bite a grainFrom about a month after flowering, pinch or bite a few grains from the middle of the head. When they are hard and crack instead of squashing, the crop is ready. A dark spot where the grain joins the head is another sign.
- Cut with a long stemCut each head with a sickle or knife about a foot below its base. The long stem makes the heads easy to bundle, hang and beat later.
- Harvest early if you will ratoonabout 30 days after floweringIf you plan a second crop from the stubble, cut the heads a little sooner, at about 30 days after flowering. Plants left to overripen send up a poor ratoon.
Day 106: Dry and thresh
Sun dry the heads for a few days, thresh by beating or with a thresher, then dry the grain again before storing.
- Sun dry the headsa few sunny daysLay the heads on canvas or a concrete floor in the full sun and turn them now and then. Sorghum is harder to thresh than palay, so the heads must be really dry first.
- Beat out the grainPut the dry heads in a sack or on a canvas and beat them with a stick, or feed them through a thresher, until the grain falls free.
- Winnow and dry againWinnow off the chaff and bits of head, then spread the grain in the sun once more until it is hard and dry enough to keep, about 14 percent moisture or less.
- Sack and storePack the grain in clean sacks and pile them in an airy storeroom so the grain does not heat up. Keep seed for the next planting from the best heads of the best plants, apart from the rest.
Day 108: Ratoon the stubble
Cut the old stalks close to the ground, weed and side dress, and the stubble sends up new shoots for a smaller second crop.
- Cut the stalks at ground levelwithin 3 days of harvestWithin three days of harvesting the heads, cut every old stalk right at the ground. The best new shoots come from buds below the soil. Stalks cut high sprout weak, uneven shoots from every node that the wind easily breaks.
- Water right awayIrrigate the field as soon as the stalks are cut. Cut stubble will not sprout without water.
- Fertilize at onceSpread the whole fertilizer dose for the regrowth as soon as the stalks are cut, because it ripens about 10 to 15 days ahead of the first crop.
- Weed and watch it like the first cropKeep the weeds down with shallow cultivation and spot hand weeding, and watch for the same pests and birds as in the first crop.
Watering batad, stage by stage
Sorghum is grown on rain alone. Farmers plant it at the start of the rains or after the rice harvest on the moisture left in the field, because it rides out dry spells better than corn. Rain only on most farms. Where water is close, a furrow watering from a pump or canal, in the morning or late afternoon.
Booting and flowering, about day 60 to 80: the soil must not be bone dry, or the heads fill poorly. Right after cutting for a ratoon: the stubble needs moisture to shoot again.
| Stage | When | How often | How much |
|---|---|---|---|
| Planting and coming up | Sowing day to day 10 | Plant into moist soil. If you have water and the soil is dry, wet the furrows once before planting | Enough to moisten the seed row, with no water left standing |
| Young plants | Day 10 to 30 | Usually no watering | None |
| Fast growth to booting | Day 30 to 60 | Water only in a long dry spell, after the side dressing if the soil is dry | One furrow watering that soaks in |
| Booting and flowering | Day 60 to 80 | If water is at hand and the soil is dry, water once | A full furrow watering |
| Grain filling | Day 80 to 100 | Water once more in a hard drought | A furrow watering |
| Ratoon | Day 105 to 112 | Water right after cutting the stalks for a ratoon, if the soil is dry | A furrow watering along the stubble |
Without irrigation. This is the usual way. Plant at the start of the rains, or soon after the rice harvest while the field is still wet, so flowering comes before the soil dries out. Keep the field weed free so the weeds do not take the moisture.
In the dry season. A crop sown after rice usually needs no watering. In a very dry year, one furrow watering at booting or flowering pays back the most grain.
In the rainy season. Sorghum stands short floods better than corn but not water that stays for days. Keep the furrow ends open, and harvest the heads before long rains mold the grain.
- Too little water: Leaves roll up tight and turn gray green, growth stops, and the heads come out late or stay partly inside the leaf.
- Too much water: Yellow lower leaves, stunted plants in the low spots, and moldy heads after long rain.
To water better for a higher yield: If you can water only once, water at booting or flowering. Water the stubble right after cutting if you want a good ratoon crop.
Spacing, water and fertilizer for batad
Spacing
Rows about 60 to 75 cm apart, with one plant every 10 to 15 cm after thinning.
Water
Rainfed. Sorghum rides out dry spells better than corn, so it is often the crop planted on the leftover moisture after rice.
Fertilizer
Complete fertilizer (14 14 14) in the furrow at planting and urea (46 0 0) at about four weeks before hilling up. Many farmers give it less fertilizer than corn, and the ratoon crop gets another side dressing of urea. To read what a bag really gives, see our guide to fertilizer for this crop.
Care and harvest
Care while it grows
Off barring and hilling up with the plow, hand weeding of the rows, and thinning at two to three weeks. Bird scaring is the big chore once the grain starts to fill.
When and how to harvest
Grain sorghum is ready at about 100 to 115 days, when the grain is hard and the leaves below the head start drying. The heads are cut, sun dried and threshed. For silage, some growers cut the whole plant earlier while the grain is still soft.
Common mistakes when planting batad
- Sowing the small seed too deep, so few seedlings come up.
- Not thinning, so crowded plants give small heads.
- Letting weeds take over in the first month, when young sorghum grows slowly.
- Leaving the ripening heads unguarded, so birds eat a big part of the harvest.
- Storing grain before it is fully dry.
How to get a higher yield of batad
The traditional way gets a crop, but small changes add up. These are the first things to change, one season at a time.
- Use a variety or hybrid suited to your purpose, grain or silage, and your season.
- Prepare a fine seedbed, sow shallow and thin early to an even stand.
- Feed by a soil test and split the nitrogen between planting and four weeks.
- Plant with neighbors at the same time so bird pressure is shared.
- Ratoon only a healthy first crop and feed the ratoon with urea.
anee.io helps with each of these. The NPK Plus calculator checks that your fertilizer plan feeds the yield you want, the pest and disease finders tell you what is on the leaves before you spray, and Anee, the smart farm technician answers your questions in Tagalog or English.
Members open this guide in the How to Plant tool and send every step to the Protocol Builder in one tap, each on its own day. There you can change the seed, the spacing and the fertilizer, then turn it into a cropping calendar for your lots.
Start from the traditional way, make it better, and let anee.io date every task from your own planting day. Free to start.
Start freeQuestions about planting batad
Paano magtanim ng sorghum?
When do farmers plant batad in the Philippines?
How far apart do you plant batad?
How long before batad can be harvested?
How often do you water batad?
What do you plant to grow batad?
See every step of planting it the traditional way
Register for free to read every step with its day, the spacing, water and fertilizer, the common mistakes and what to change for a higher yield. Then send it to your Protocol Builder in one tap.
Free to register. No credit card. Works on any phone.