Paano Magtanim ng Kalabasa: How to Plant Squash the Traditional Way
Paano magtanim ng kalabasa? Here is how traditional Filipino farmers usually plant kalabasa (squash), step by step from getting the field ready to the harvest, with the day of each step and what to change for a higher yield.
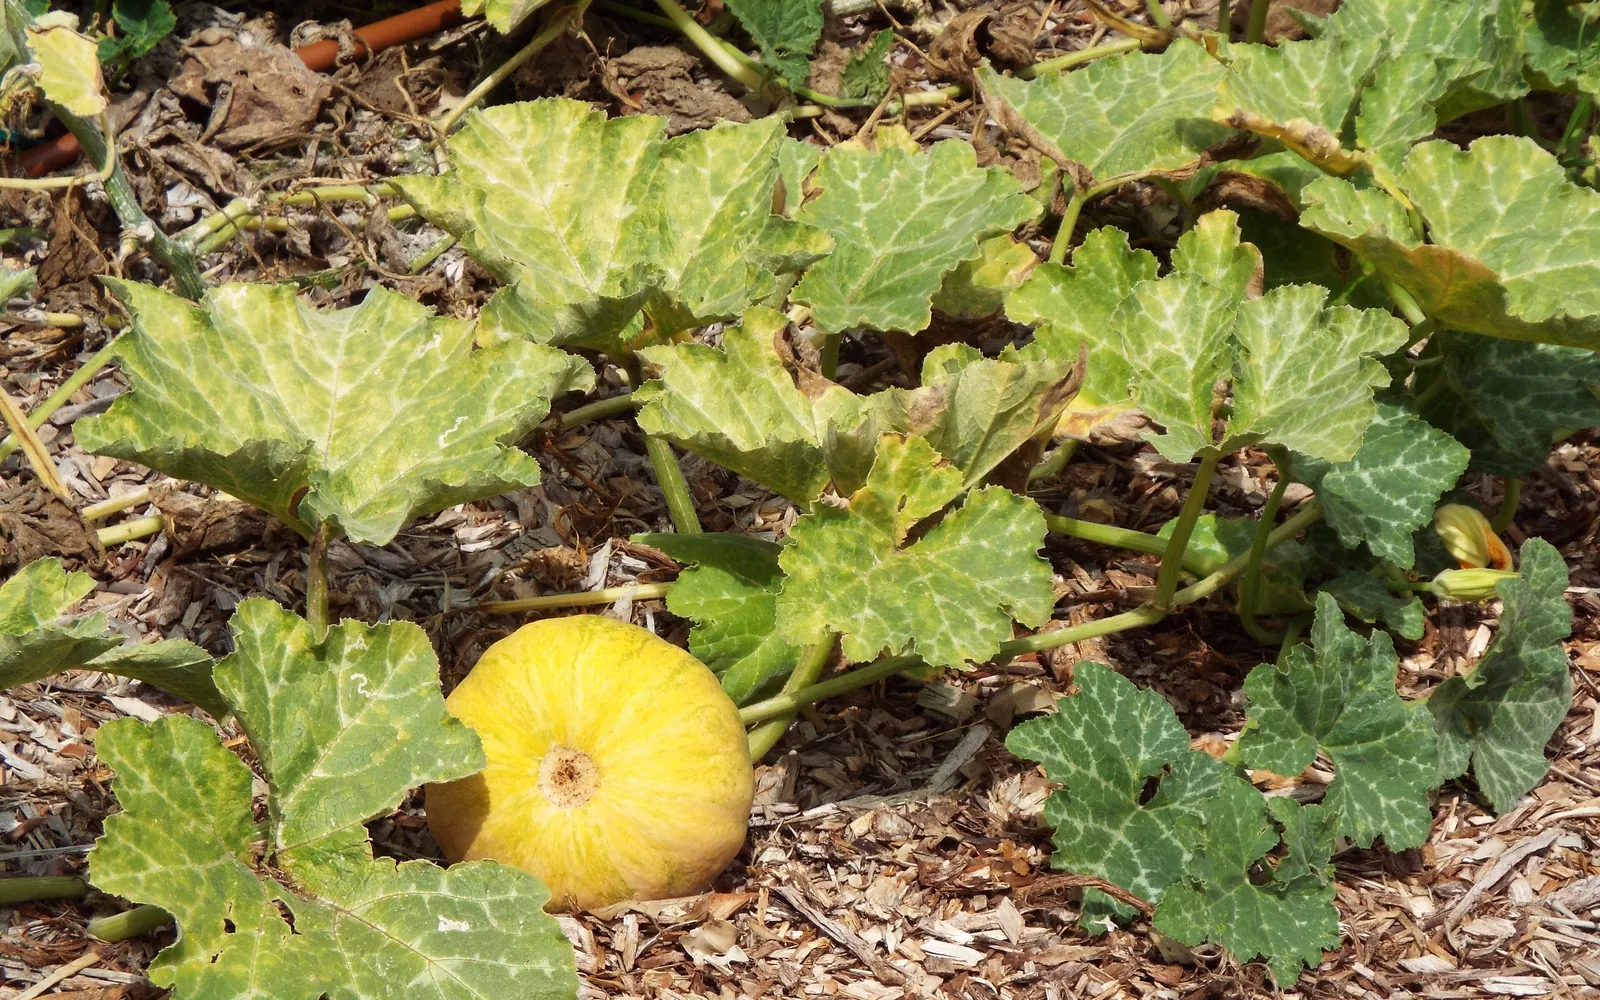
This guide shows how traditional farmers usually plant kalabasa. Use it as a starting point. For a higher yield, update it: plant certified seed or clean planting material, test your soil, and follow the right spacing and fertilizer.
How Filipino farmers grow kalabasa with the vines running on the ground: seed sown in widely spaced hills, often in a field left after rice with little or no plowing, and mature fruits cut for the market. It is for small farms and backyards growing kalabasa for its fruits, flowers and tops.
Before you plant, get the field ready with our land preparation guide for cucurbits. Then choose your seed or planting material with the kalabasa varieties sold here. If the leaves turn pale later on, the kalabasa nutrient deficiency guide helps you find what is missing. For more on the crop, read pagtatanim ng gulay, vegetables in the Philippines.
When to plant kalabasa
Kalabasa wants warm, fairly dry weather when it flowers and sets fruit. In the lowlands it is usually planted from October to December, often in rice fields after the harvest, and in the highlands from May to July. A rainy season crop needs raised hills and drainage canals so the seeds and roots do not rot.
What you plant
Seed, about 2 to 2.5 kg for a hectare. Farmers soak the seed in clean water overnight, wrap it in a damp cloth and keep it in a cool, dark place until the root peeps out, then plant it straight in the hills. Hybrid seed is costly, so many raise it in trays and transplant at 10 to 15 days, and many farmers keep seed from their best ripe fruits of open pollinated kinds.
Paano magtanim ng kalabasa, step by step
Days are to the mature fruit. Young fruits for cooking can be cut about 30 to 40 days after the flower is pollinated, and farmers pick flowers and tops as the vine grows. The crop is ready about 85 days after sowing.
Before planting (Bago magtanim)
14 days before sowing: Clear and prepare the field
Plow 15 to 20 cm deep and harrow two or three times, a week apart, until the soil is fine. In a field after rice many farmers skip plowing: they cut the weeds by hand, dig holes about 10 cm deep and loosen the soil in each hole.
3 days before sowing: Lay out the rows and canals
Open furrows 2 to 3 meters apart. Dig drainage canals around the field, and in the rainy months raise each hill so water drains away.
2 days before sowing: Soak and sprout the seed
Soak the seed overnight in clean water, then wrap it in a damp cloth and keep it in a cool, dark place until the seed coat splits and the root shows.
1 day before sowing: Feed each hill
Mix 1 to 2 kg of well rotted manure or compost into each hill, with about a tablespoon of 14 14 14, and cover it with a little fine soil.
Planting day (Pagtatanim)
Sowing day: Plant the sprouted seed
Plant one or two sprouted seeds a hill, about 1 to 2 cm deep, with hills about 1 meter apart along the furrow. Cover with fine soil and water if the soil is dry.
Care while it grows (Pag aalaga)
Day 7: Fill gaps and thin
Replant hills where nothing came up and keep one or two strong plants in each hill.
Day 7: Water once a week
In the dry season run water down the furrows about once a week, or pour about a liter at each hill every other day in a small garden. Water after every fertilizer dose too.
Day 10: Hand weed around the hills
Pull the weeds around each hill while the plants are small, between about 7 and 14 days after they come up.
Day 18: Off bar
In a plowed field, plow or hoe the soil away from the rows between 15 and 20 days after planting to kill weeds.
Day 28: Hill up
About 10 days after off barring, push the soil back against the rows and pull the weeds left between plants.
Day 30: First side dressing
About a month after planting, or when the vines reach about a meter long, put a tablespoon of urea at each hill and cover it with soil.
Day 30: Prune the low shoots
Pinch off the side shoots and any female buds on the first 8 joints of the main vine so the plant puts its strength into fruits further out. Turn the vine tips back so they stay in their lane.
Day 35: Help the flowers set fruit
Between 6 and 8 in the morning, pick a freshly opened male flower, pull off its petals and touch it to the center of an open female flower, the one with a tiny fruit under it. Do this when few bees visit the field.
Day 40: Scout for pests and virus
Check the leaves for aphids and spotted leaf beetles and for white powder. Pull and burn plants with mottled, curled leaves, since that virus spreads fast.
Day 44: Potash for the fruits
Two weeks after the first side dressing, put a tablespoon of muriate of potash at each hill. Give another tablespoon of urea or potash every 15 days or so if the vines look weak.
Day 45: Thin and cushion the fruits
Cut off crooked or damaged fruits while they are small. Slip 5 to 6 cm of rice straw or rice hull under the good fruits so they do not touch wet soil.
Day 70: Stop watering near harvest
When the fruits reach the mature green stage, stop irrigating, since water late in the season lowers fruit quality.
Harvest (Anihan)
Day 85: Cut the mature fruits
Harvest fruits with a hard rind and a whitish powder on the skin. Cut the stalk with a knife and leave a short piece of it on the fruit.
Day 86: Store in the shade
Keep the fruits with their stalks in a dry, shaded and airy shed, off the ground. Set aside bruised fruits for home use, since they spoil first.
Day 86: Keep seed from the best fruits
Many farmers keep their own seed of open pollinated squash. They take it from fully mature fruits of the best vines, then wash, dry and store it carefully.
- Choose the seed fruitsPick big, well shaped fruits from healthy vines that bore well and are true to the variety.
- Wait for full maturitySeed fruits are cut only when fully mature: the rind is hard, a whitish powder covers the skin and the color has turned yellowish to orange. By then the seed inside is full and ripe.
- Slice, scrape and washSlice the fruit along its length, scrape out the seed with the pulp and wash it in a basin of water until the seed is free of the strings and flesh. The flesh can still be cooked.
- Air dry, then sun dryat least 3 days in the shade, then up to 5 days in the sunSpread the seed on a screen or put it in a net bag and dry it in the shade, where air moves, for at least three days. Then finish it in the sun for up to five days.
- Store it dry and coolKeep the dry seed in sealed plastic bags or glass jars, labeled with the variety and date, in a cool, dry place.
Watering kalabasa, stage by stage
Lowland kalabasa is planted after the rice harvest and watered by furrow about once a week in the dry season, while backyard growers pour about a liter at each hill every other day. Farmers water after each fertilizer dose and stop watering once the fruits reach the mature green stage. Furrow irrigation is the usual way on bigger fields. Backyard growers use a can, a hose or a simple sprinkler at each hill. Water in the early morning or late afternoon, at the base of the plant.
Flowering and fruit setting, when dry soil drops flowers and young fruits. Fruit filling, for heavy fruits with thick flesh. In the rainy months, standing water at the hills rots the seed, seedlings and roots.
| Stage | When | How often | How much |
|---|---|---|---|
| Sprouting the seed | 2 days before sowing to sowing day | Keep the soaked seed wrapped in a damp cloth in a cool, dark place until the root shows | Damp, not dripping |
| Sowing to first leaves | Sowing day to day 7 | Water the hills right after planting if the soil is dry, then by can every day or two until the seedlings are up | Moisten each hill without making mud |
| Vines running | Day 7 to 35 | Furrow water about once a week in the dry season, or about a liter a hill every other day in a small garden. Water after each fertilizer dose | Soak the rows, then drain. About a liter a hill when hand watering |
| Flowering and fruit setting | Day 35 to 50 | Keep to the weekly furrow watering without missing one | A full soaking each time, no water left standing |
| Fruits filling | Day 50 to 70 | Keep watering about once a week and after the potash dose | A full soaking each time, drained off |
| Mature green to harvest | Day 70 to 85 | Stop watering once the fruits reach the mature green stage | No water |
Without irrigation. Plant from October to December in a rice field just harvested, so the vines start on the moisture left in the soil, and lay rice straw under the vines to hold it. Without a canal, carry water to each hill during flowering and fruit setting, when it matters most. A rainy season crop goes on raised hills with drainage canals.
In the dry season. Run water down the furrows about once a week, or pour about a liter at each hill every other day in a small garden, and water after every fertilizer dose. Water when the big leaves stay limp after mid afternoon or the soil a few cm down is dry, and stop at the mature green stage.
In the rainy season. Raise each hill and dig drainage canals around the field so rain runs off. Seeds and seedlings rot in flooded hills, and wet soil and leaves spread leaf diseases and fruit rot, so set the fruits on straw or dry leaves.
- Too little water: Big leaves wilt and stay limp into the late afternoon, flowers and small fruits drop, and the fruits stay small and light.
- Too much water: Leaves yellow, the seedlings or the stem base rot, and fruits sitting on wet soil rot from below.
To water better for a higher yield: Rice straw mulch under the vines keeps the soil moist, cuts the watering and keeps the fruits off the wet ground. Never skip the watering from flowering to fruit filling. That is where most of the harvest is won or lost.
Spacing, water and fertilizer for kalabasa
Spacing
Furrows 2 to 3 meters apart and hills about 1 meter apart along the row, one or two plants a hill. Where the field is not plowed, holes are dug about 3 meters apart each way.
Water
Water matters most at flowering and fruiting. Farmers run water down the furrows about once a week in the dry season, or pour about a liter a hill every other day in a small garden, and water after each fertilizer dose. Watering stops when the fruits reach the mature green stage. In the rainy months drainage canals keep water from standing.
Fertilizer
One to two kilos of well rotted manure or compost and about a tablespoon of 14 14 14 in each hill before planting. A tablespoon of urea a hill about a month after planting, a tablespoon of muriate of potash two weeks later, and more urea or potash every 15 days or so if the crop is weak. To read what a bag really gives, see our guide to fertilizer for this crop.
Care and harvest
Care while it grows
Hand weeding while the plants are small, then off barring at 15 to 20 days and hilling up about 10 days later in plowed fields. Side shoots and female buds on the first 8 joints are removed, the vine tips are turned back into the row, and crooked young fruits are cut off. Rice straw or rice hull goes under the good fruits. Many farmers hand pollinate early in the morning and pull out plants with virus.
When and how to harvest
Young fruits for cooking are cut about 30 to 40 days after pollination. Mature fruits, with a hard rind and a whitish powder on the skin, are cut with a knife leaving part of the stalk, at about 85 days or later for most hybrids. They keep for weeks in a dry, shaded, airy shed, and fruits for seed are left to ripen fully on the vine.
Common mistakes when planting kalabasa
- Planting on flat, low ground in the rainy months, so the seeds rot and flowers drop.
- Letting every side shoot grow, which gives many small fruits instead of a few good ones.
- Leaving fruits on bare wet soil, so the underside rots.
- Keeping virus infected plants in the field, so aphids spread the mosaic to the rest.
- Watering heavily close to harvest, which lowers fruit quality.
- Pulling fruits off by hand and tearing the stalk, so they rot in storage.
How to get a higher yield of kalabasa
The traditional way gets a crop, but small changes add up. These are the first things to change, one season at a time.
- Have the soil tested and feed by the result. Kalabasa does best near pH 5.5 to 6.5.
- Use good seed of a variety tolerant to virus and powdery mildew, and raise costly hybrid seed in trays.
- Keep bees working: do not spray while the flowers are open in the morning, and hand pollinate when bees are few.
- Manage aphids and leaf beetles early with a clean field, yellow sticky traps and quick removal of virus plants.
- Rotate away from other gourds and melons so soil diseases do not build up.
- Split the fertilizer into small doses, with enough potash once fruits start to form.
anee.io helps with each of these. The NPK Plus calculator checks that your fertilizer plan feeds the yield you want, the pest and disease finders tell you what is on the leaves before you spray, and Anee, the smart farm technician answers your questions in Tagalog or English.
Members open this guide in the How to Plant tool and send every step to the Protocol Builder in one tap, each on its own day. There you can change the seed, the spacing and the fertilizer, then turn it into a cropping calendar for your lots.
Start from the traditional way, make it better, and let anee.io date every task from your own planting day. Free to start.
Start freeQuestions about planting kalabasa
Paano magtanim ng kalabasa?
When do farmers plant kalabasa in the Philippines?
How far apart do you plant kalabasa?
How long before kalabasa can be harvested?
How often do you water kalabasa?
What do you plant to grow kalabasa?
See every step of planting it the traditional way
Register for free to read every step with its day, the spacing, water and fertilizer, the common mistakes and what to change for a higher yield. Then send it to your Protocol Builder in one tap.
Free to register. No credit card. Works on any phone.