Paano Magtanim ng Lettuce: How to Plant Lettuce the Traditional Way
Paano magtanim ng lettuce? Here is how traditional Filipino farmers usually plant litsugas (lettuce), step by step from getting the field ready to the harvest, with the day of each step and what to change for a higher yield.
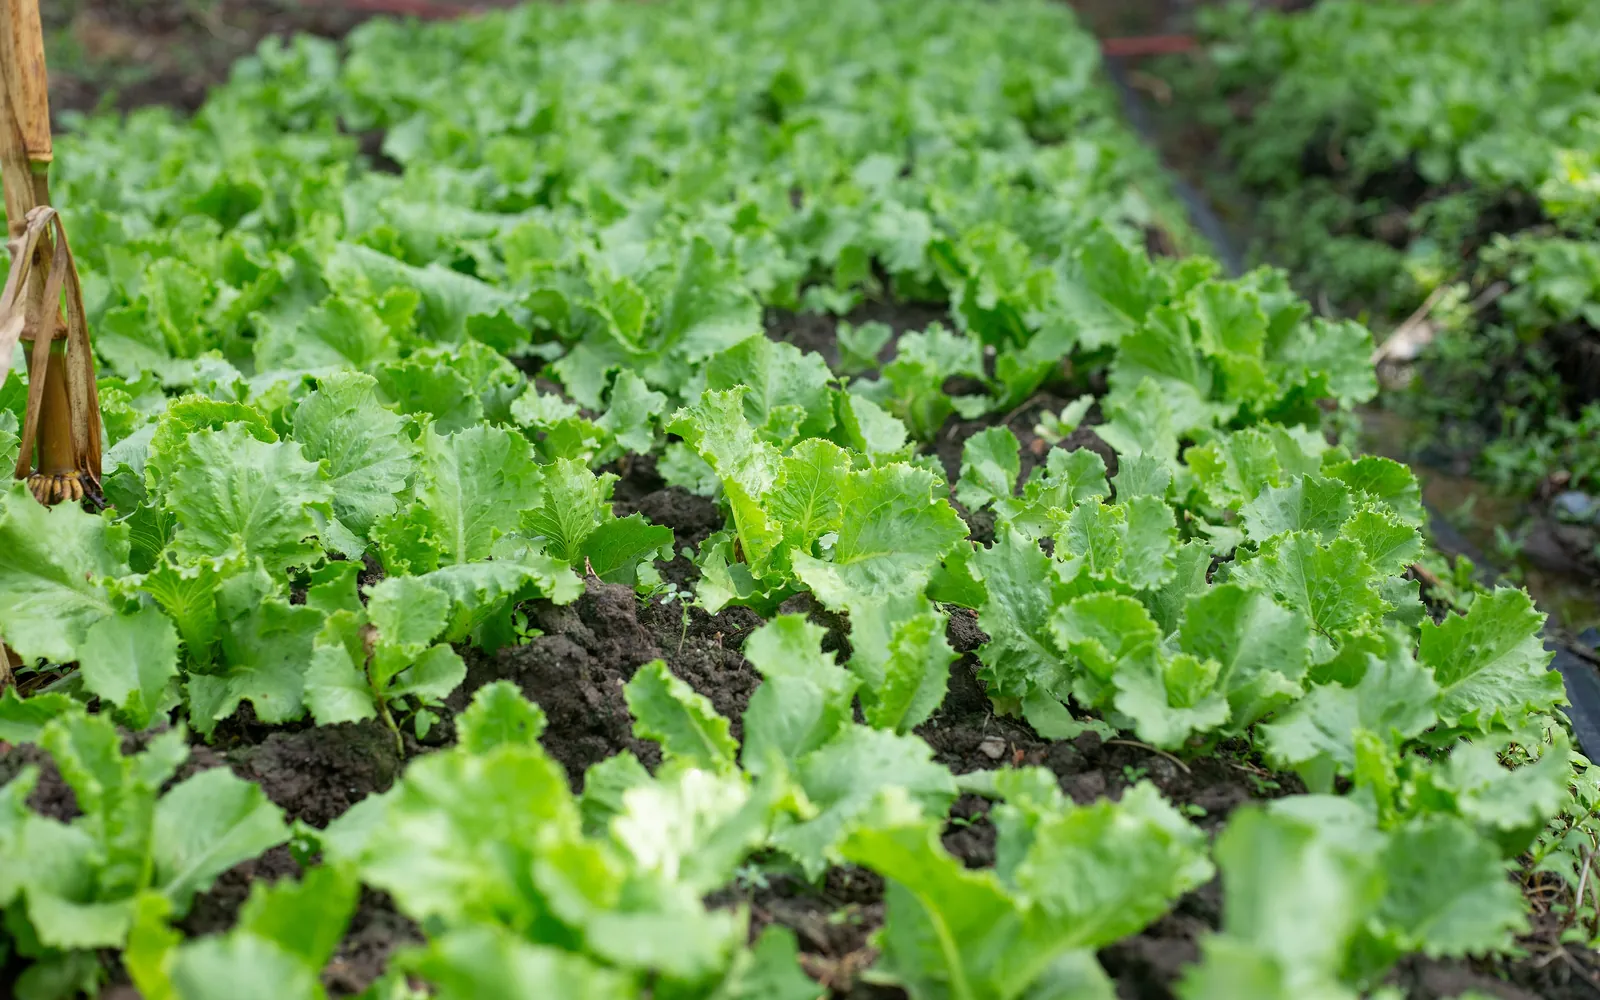
This guide shows how traditional farmers usually plant litsugas. Use it as a starting point. For a higher yield, update it: plant certified seed or clean planting material, test your soil, and follow the right spacing and fertilizer.
How Filipino farmers usually grow litsugas from seedlings on raised, mulched beds, the Benguet way, from sowing in a seedbed to cutting the heads or leaves about two months after transplanting. For highland growers and lowland farmers who plant it in the cool months, with the changes that give cleaner, heavier lettuce.
Before you plant, get the field ready with our land preparation guide for vegetables. Then choose your seed or planting material with the litsugas varieties sold here. If the leaves turn pale later on, the litsugas nutrient deficiency guide helps you find what is missing. For more on the crop, read pagtatanim ng gulay, vegetables in the Philippines.
When to plant litsugas
In the highlands, such as La Trinidad, Atok and Buguias in Benguet, the Bukidnon uplands and the Cebu highlands, lettuce is grown all year, with rain shelters in the wettest months. In the lowlands it is grown in the cool dry months, mostly the loose leaf types, with light shade in hot weather.
What you plant
Seed, only about 150 to 200 g a hectare. Farmers soak the seed in warm water for a few hours, air dry it, and sow it thinly in seedbeds. Seedlings are pricked out once, hardened, and transplanted.
Paano magtanim ng lettuce, step by step
The crop is ready about 50 days after transplanting.
Before planting (Bago magtanim)
14 days before transplanting: Plow and harrow twice
Plow and harrow the field two times until the soil is fine.
3 days before transplanting: Raise and mulch the beds
Form raised beds about 1 m wide with 75 cm paths. Mix rotted chicken manure and carbonized rice hull into the bed, cover it with rice straw or plastic mulch, and punch holes 30 to 40 cm apart: two rows for head types, three rows for leaf types.
The nursery (Punlaan)
36 days before transplanting: Sow in the seedbed
Make seedbeds about 1 by 10 m, mix in rotted chicken manure and carbonized rice hull, wet the bed and draw shallow lines 7 to 10 cm apart. Sow the soaked seed thinly, cover lightly and mulch with rice hull or chopped straw.
- Soak the seed, then air dry ita few hoursSoak the seed in warm water for a few hours so it sprouts quickly and evenly. Spread it on paper or a cloth in the shade to dry a little, so the tiny seeds do not stick together in the hand.
- Ready the bedsFor one hectare of lettuce, about five seedbeds of 1 by 10 m are enough. Crush the soil fine and mix in about 1 kg of rotted chicken manure and 300 grams of carbonized rice hull for every square meter.
- Clean the soil if you canSome growers wet the seedbed with wood vinegar or a homemade microbe mix before sowing to keep down the fungi that kill young seedlings.
- Wet the bed and sow in linesWater the bed first, then draw shallow lines across it about 7 to 10 cm apart. Sprinkle the seed thinly along the lines and cover it with only a light dusting of soil.
- Mulch and water dailyCover the lines thinly with coir fiber, fine rice hull or straw chopped short to keep the top moist, and water every day with a fine sprinkler can.
21 days before transplanting: Prick out the seedlings
At the two leaf stage, about two weeks after sowing, move the seedlings to another bed or to trays so each has room. Give light shade in hot weather and a plastic roof in the rains.
- Wait for two leavesPrick the seedlings when they show their first two leaves, about two weeks after sowing.
- Fill the traysFill nursery trays or another bed with a loose mix that has vermicompost in it. The rich, soft mix helps the moved seedlings recover quickly.
- Move one seedling a cellLift the seedlings with a little soil on the roots, holding them by a leaf, and set one in each tray cell. Firm the mix around it and water gently.
- Shade in the dry months, roof in the rainsabout 3 weeksKeep the trays under light shade in the hot season and under a plastic roof in the rainy season, and water every day. They go to the field about three weeks after pricking.
7 days before transplanting: Harden the seedlings
In the last week, water less often and give the seedlings full sun so they do not wilt after transplanting.
Planting day (Pagtatanim)
Transplanting day: Transplant in the afternoon
Water the holes, put a little complete fertilizer (14 14 14) in each, then set one seedling a hole and press the soil around it. Replace any that die right away.
Care while it grows (Pag aalaga)
Day 1: Keep the beds moist
Water regularly, enough to keep the soil damp but never soggy.
Day 15: First side dressing
Give each plant a small pinch of urea, mixed half and half with muriate of potash (0 0 60) for head lettuce. Leaf lettuce needs only this one urea feeding.
Day 20: Scout for loopers and rot
Look for green loopers and aphids under the leaves and for soft, slimy rot at the base. Remove rotting plants.
Day 30: Second side dressing for head lettuce
Head lettuce gets a second small feeding of urea and potash about a month after transplanting.
Day 50: Sort and pack cool
Sort in the field, pack in boxes with holes, and keep them cool and shaded until they reach the buyer.
Harvest (Anihan)
Day 50: Harvest early in the morning
Cut leaf lettuce when it reaches market size and before it bolts. Head lettuce is cut when the heads are firm, about 45 to 60 days after transplanting. Harvest early so the leaves do not wilt.
Watering litsugas, stage by stage
Lettuce seedlings are watered every day, and in the field growers water right after transplanting and then every day or regularly by sprinkler, hose or furrow, keeping the soil evenly moist. In the highlands many beds are mulched and watered from springs by hose or sprinkler. In the lowlands it is grown in the cool dry months near water. Sprinklers and hoses fed from springs in the highlands, and watering cans, hoses or furrows in the lowlands. Water early in the morning at the base so the leaves dry before night.
The seedbed, where the top soil must never dry. The whole field growth: even a few dry days make bitter leaves and early bolting.
| Stage | When | How often | How much |
|---|---|---|---|
| Seedbed | 36 to 21 days before transplanting | Water the bed before sowing, then every day in the morning | A fine spray that keeps the top soil damp |
| Pricked seedlings | 21 to 7 days before transplanting | Water every day after pricking out, under light shade in hot weather | Light waterings, never soggy |
| Hardening | 7 days before transplanting to transplanting day | Water less often while the seedlings get full sun | Light waterings |
| Transplanting | Transplanting day to day 1 | Water the beds and the planting holes well before setting the seedlings, then water right after | Soak each hole |
| Leaf growth | Day 1 to 30 | Every day in dry weather, by sprinkler, hose or furrow, in the morning | Enough to keep the soil damp but never soggy |
| Heading or full leaf to harvest | Day 30 to 50 | Keep watering daily or every other day. Water at the base and in the morning | Even waterings, no standing water |
Without irrigation. Lettuce is not grown on rain alone: it needs water almost every day. In the wettest highland months growers use rain shelters, and in the lowlands it goes in the cool dry months near a well or canal, with mulch on the beds.
In the dry season. Water every day in dry weather, more on sandy soil and in wind, early in the morning. Water when the top soil under the mulch is dry to the touch or the outer leaves go limp by mid morning.
In the rainy season. Use raised, mulched beds and rain shelters in the wettest months, and skip watering when the beds are wet. Standing water and wet heads bring soft rot and leaf spots.
- Too little water: Outer leaves wilt and their edges brown, the leaves turn tough and bitter, and the plants bolt early.
- Too much water: Lower leaves yellow and rot, heads go soft and slimy at the base, and seedlings fall over at the soil line.
To water better for a higher yield: Mulch the beds with plastic or rice straw to keep the soil evenly moist and the leaves clean of splashed mud. A drip line or a fine sprinkler on a timer gives the steady daily water lettuce needs with less work.
Spacing, water and fertilizer for litsugas
Spacing
Raised beds about 1 m wide with 75 cm paths. Holes 30 to 40 cm apart, two rows a bed for head types and three rows for leaf types. One seedling a hole.
Water
Seedbeds are watered daily. The field by sprinkler, hose or furrow, keeping the soil evenly moist. Mulch keeps the leaves clean and the soil from drying or splashing. Standing water brings rot.
Fertilizer
Beds get rotted chicken manure, about 1 kg a square meter, and carbonized rice hull before transplanting. At transplanting a little 14 14 14 goes in each hole, then urea, with potash for head lettuce, at about 15 and 30 days. Many highland growers also water with manure tea or fermented plant juice. To read what a bag really gives, see our guide to fertilizer for this crop.
Care and harvest
Care while it grows
Pricking and hardening of seedlings, raised beds under straw or plastic mulch, regular watering, one or two small side dressings, and close watch for loopers, aphids and rot.
When and how to harvest
Leaf lettuce is cut from about a month after transplanting, before it bolts. Head lettuce at about 45 to 60 days, when the heads are firm. Farmers cut early in the morning, sort in the field and pack in boxes with holes, kept cool on the way to market.
Common mistakes when planting litsugas
- Transplanting soft seedlings that were never hardened, so many wilt.
- Planting head types in the hot lowland months, so they bolt and turn bitter.
- Leaving the beds bare, so rain splashes soil on the leaves and rot sets in.
- Too much urea late in the crop, which gives soft, quick rotting leaves.
- Harvesting at midday or packing in closed sacks.
How to get a higher yield of litsugas
The traditional way gets a crop, but small changes add up. These are the first things to change, one season at a time.
- Choose varieties for your elevation and season, with heat tolerant leaf types for the lowlands.
- Test the soil and feed by the result, with compost or rotted manure plus small, timed side dressings.
- Raise seedlings under a rain shelter and harden them a week before transplanting.
- Use raised, mulched beds and sun the prepared beds for a week to reduce rot.
- Scout weekly and keep the plants cool from harvest to market.
anee.io helps with each of these. The NPK Plus calculator checks that your fertilizer plan feeds the yield you want, the pest and disease finders tell you what is on the leaves before you spray, and Anee, the smart farm technician answers your questions in Tagalog or English.
Members open this guide in the How to Plant tool and send every step to the Protocol Builder in one tap, each on its own day. There you can change the seed, the spacing and the fertilizer, then turn it into a cropping calendar for your lots.
Start from the traditional way, make it better, and let anee.io date every task from your own planting day. Free to start.
Start freeQuestions about planting litsugas
Paano magtanim ng lettuce?
When do farmers plant litsugas in the Philippines?
How far apart do you plant litsugas?
How long before litsugas can be harvested?
How often do you water litsugas?
What do you plant to grow litsugas?
See every step of planting it the traditional way
Register for free to read every step with its day, the spacing, water and fertilizer, the common mistakes and what to change for a higher yield. Then send it to your Protocol Builder in one tap.
Free to register. No credit card. Works on any phone.