Paano Magtanim ng Patola: How to Plant Sponge Gourd the Traditional Way
Paano magtanim ng patola? Here is how traditional Filipino farmers usually plant patola (sponge gourd), step by step from getting the field ready to the harvest, with the day of each step and what to change for a higher yield.
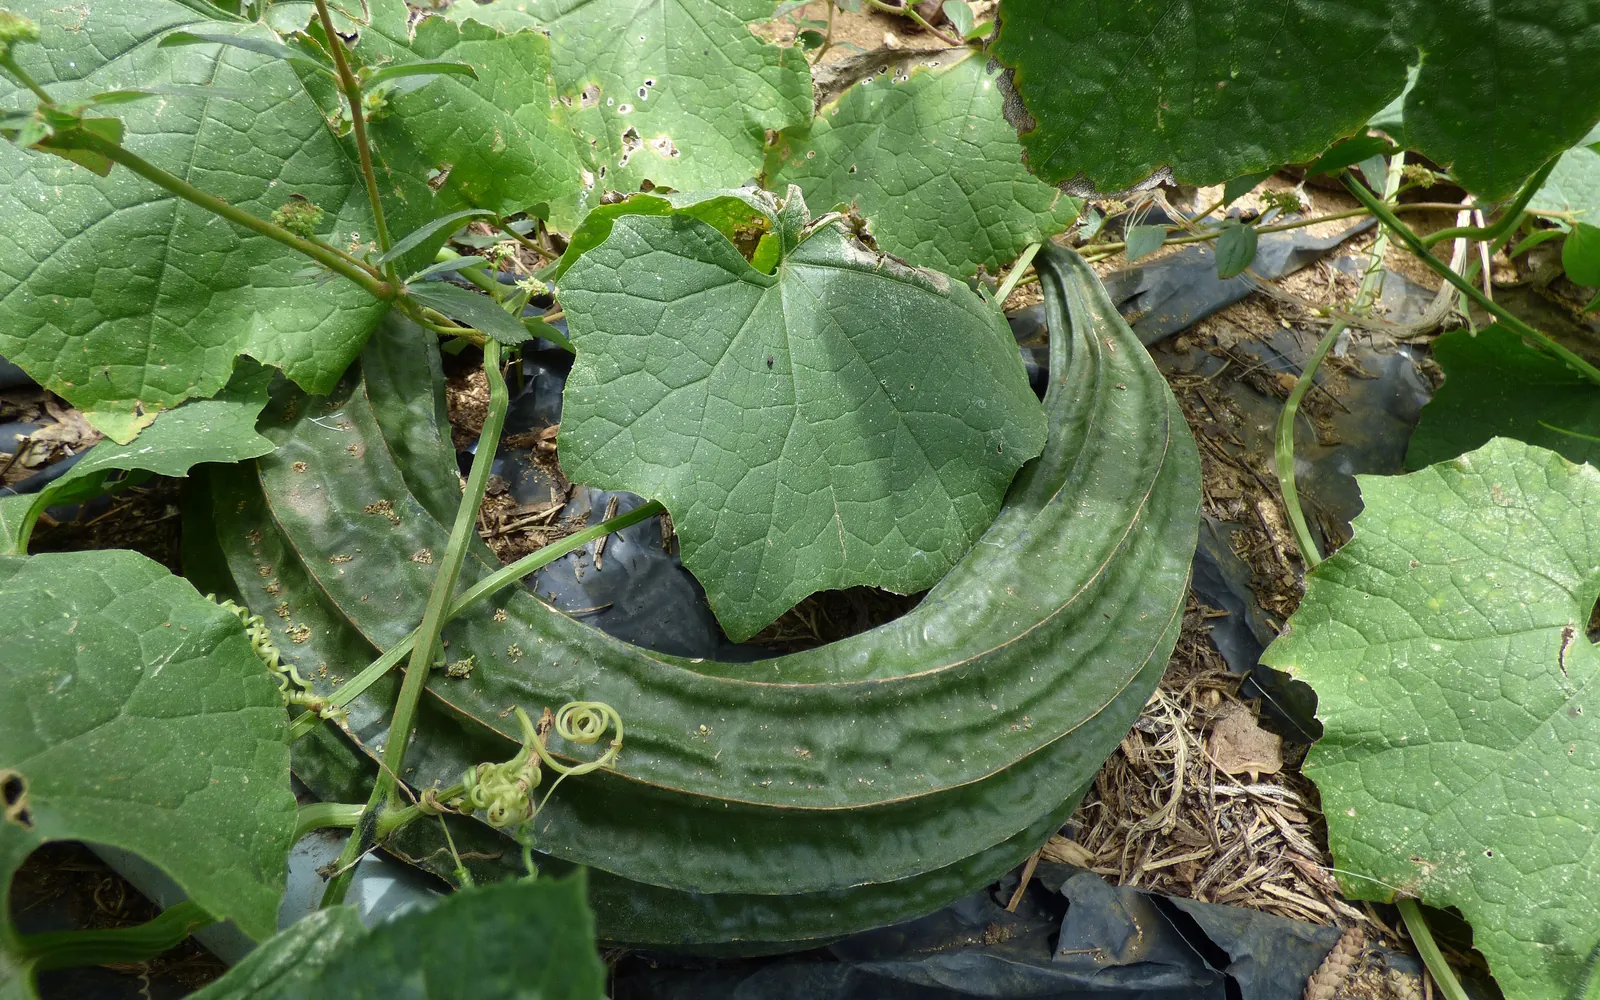
This guide shows how traditional farmers usually plant patola. Use it as a starting point. For a higher yield, update it: plant certified seed or clean planting material, test your soil, and follow the right spacing and fertilizer.
How Filipino farmers grow patola on an overhead trellis, from seed sown in hills to young fruits cut every few days. It covers both the ridged patola and the smooth kind called patolang kastila, for small farms that sell the young fruits as a vegetable.
Before you plant, get the field ready with our land preparation guide for cucurbits. Then choose your seed or planting material with the patola varieties sold here. If the leaves turn pale later on, the patola nutrient deficiency guide helps you find what is missing. For more on the crop, read pagtatanim ng gulay, vegetables in the Philippines.
When to plant patola
Patola grows all year and does well in humid weather. Most farmers plant from June to September in the wet season, and from February to May in the dry season where there is water for irrigation. Low, poorly drained fields give poor crops.
What you plant
Seed, about 1 to 2 kg for a hectare. Farmers soak the seed overnight, wrap it in a damp cloth in a cool, dark place until the root shows, and plant it straight in the hills. Costly hybrid seed is often raised in trays and set out 10 to 15 days after it comes up.
Paano magtanim ng patola, step by step
Many kinds give the first young fruits from about 40 days after planting. Each fruit is cut only a few days after it sets, so picking goes on every few days for months. The crop is ready about 45 days after sowing.
Before planting (Bago magtanim)
21 days before sowing: Plow and harrow the field
Plow 15 to 20 cm deep two or three times, a week apart, harrowing after each pass to break the clods. Plowing early lets the old stubble and weeds rot.
2 days before sowing: Open the furrows
Make furrows 2.5 to 3 meters apart. For a wet season crop, plant on the ridges or on raised beds so water does not stand around the seeds.
1 day before sowing: Soak and sprout the seed
Soak the seed in clean water overnight. Wrap it in a damp cloth and keep it in a cool, dark place until the seed coat splits.
Planting day (Pagtatanim)
Sowing day: Fertilize and plant the hills
Mix about a tablespoon of 14 14 14 into each hill. Plant one or two sprouted seeds a hill in the dry season, two or three on the ridges in the wet season, and cover lightly with soil.
Care while it grows (Pag aalaga)
Day 6: Replant missing hills
Within the first week, replant hills where no seedling came up.
Day 12: Build the overhead trellis
Set ipil ipil or bamboo posts and build a flat roof about 2 meters high over rows 2 to 3 meters wide. Weave tie wire or nylon twine across and along the top, and give each plant its own pole or a ladder of string to climb. Tip: The trellis keeps the fruits straight and off the ground, which matters most in the rainy months.
- Why the roof paysOn an overhead trellis the fruits hang straight and clean. In the rainy season it keeps them off the wet ground, so far fewer rot or come out crooked.
- Set the postsSet ipil ipil or bamboo poles along and between the rows so the roof covers rows about 2 to 3 meters wide and stands about 2 meters high.
- Weave a strong roofRun tie wire or nylon twine across and along the top of the posts, both ways, to make a strong net. It must carry the weight of many hanging fruits.
- A pole or ladder for each plantBeside each hill, set a single upright pole or a small ladder of sticks that reaches up to the roof, so the young vine has something to climb.
Day 19: Start weekly irrigation
About two weeks after the seedlings come up, let water flood the furrows. Repeat about every 7 days through the season when it does not rain.
Day 19: Cut the weeds, do not dig
About two weeks after the seedlings come up, slash the weeds low with a sickle or bolo, and do it again every two weeks. Do not uproot weeds or hoe between the rows, because patola roots are shallow and break easily.
Day 21: Train the vines every week
Tie the stem loosely to its pole or string each week until it reaches the roof. Pinch off side shoots and female buds that grow on the main stem below the roof.
Day 25: Keep one plant a hill
Three to four weeks after the seedlings come up, pull the weak or sick ones and leave one healthy plant in each hill.
Day 33: First side dressing
About four weeks after the seedlings come up, put well rotted manure and about a tablespoon of urea at each hill and cover it lightly.
Day 35: Top the vine at the roof
When the main vine reaches the top of the trellis, cut off its tip so it sends out fruiting branches across the roof. Remove the low side branches too.
Day 40: Watch for fruit fly and mildew
Patola resists most insects but fruit flies sting the young fruits and downy mildew spots the leaves. Pick up and bury stung fruits, remove spotted leaves and keep the field clean.
Day 61: Feed while it bears
About eight weeks after the seedlings come up, and again about two and four weeks later, give each hill a bigger dose of urea and 14 14 14 and cover it lightly.
Harvest (Anihan)
Day 45: Cut the young fruits
Cut the fruits while they are young and tender, about five days after they set, with a sharp knife. Pick at dawn or near sundown, because hot sun dries and darkens the ridges.
Day 46: Pack while fresh
Pack the fruits in plastic bags of about 10 kg and keep them in the shade until they go to market.
Watering patola, stage by stage
Dry season patola gets its first flooding of the furrows about two weeks after the seedlings come up, and then a furrow flooding about every 7 days for as long as it bears, unless it rains. Until that first flooding, many growers water the hills by can a few times a week. Wet season crops on ridges live mostly on the rain. Flooding the furrows between the rows is the usual way in the dry season. Backyard growers water each hill with a can or a hose. Water in the early morning or late afternoon.
Flowering and fruit set, when dry soil drops flowers and young fruits. The picking weeks, when the vine must keep filling new fruits. Wet season sowing: seeds and seedlings rot in hills where water stands.
| Stage | When | How often | How much |
|---|---|---|---|
| Sprouting the seed | 1 day before sowing to sowing day | Keep the soaked seed wrapped in a damp cloth in a cool, dark place until the coat splits | Damp, not dripping |
| Sowing to young vines | Sowing day to day 19 | Plant into moist soil. If no rain falls, water the hills by can about three times a week | Moisten each hill, never make mud |
| Vines climbing the trellis | Day 19 to 35 | First furrow flooding about two weeks after the seedlings come up, then about every 7 days when it does not rain | Let water fill the furrows and soak the rows, then drain what is left |
| Flowering and fruit set | Day 35 to 45 | Keep the 7 day furrow flooding without missing one | A full soaking each time, drained off |
| Picking | Day 45 to 100 | Go on flooding the furrows about every 7 days through the picking. Water after each feeding | A full soaking each time, drained off |
Without irrigation. Plant from June to September with the rains, on ridges or raised beds so water does not stand around the seeds, and the rain does most of the watering. Lay rice straw or cut grass along the rows, and carry water to each hill if a dry spell hits while the vines flower.
In the dry season. Plant from February to May only where there is water: flood the furrows about two weeks after the seedlings come up, then about every 7 days. Water when the leaves droop by mid morning or the soil a few cm down feels dry.
In the rainy season. Plant on the ridges of the furrows or on raised beds, two to three seeds a hill, and keep the canals open. Low, poorly drained fields give poor patola: the seeds and roots rot and the leaves catch mildew in the damp.
- Too little water: Leaves wilt and stay limp into the afternoon, the vine tips stop growing, flowers drop, and the fruits stay thin and tough.
- Too much water: Seeds and seedlings rot, the leaves yellow and show mildew patches, and the vines wilt from rotten roots.
To water better for a higher yield: A drip line or a weekly furrow flooding that is never skipped during flowering and picking gives more and longer fruits. Mulch the base of each plant with rice straw to keep the soil damp and cut the watering.
Spacing, water and fertilizer for patola
Spacing
Furrows 2.5 to 3 meters apart, with hills about 1 meter apart along the row. Some farmers space the hills as wide as 2.5 meters. One plant a hill after thinning.
Water
The first irrigation goes in about two weeks after the seedlings come up, then about every 7 days, by flooding the furrows in the dry season. In the wet season planting on ridges keeps water away from the stems.
Fertilizer
About a tablespoon of 14 14 14 a hill at planting. About four weeks after the seedlings come up, well rotted manure and a tablespoon of urea a hill. While the vines bear, at about 8, 10 and 12 weeks, bigger doses of urea and 14 14 14 a hill. To read what a bag really gives, see our guide to fertilizer for this crop.
Care and harvest
Care while it grows
An overhead trellis about 2 meters high on ipil ipil or bamboo posts, with a wire or twine roof and a pole or string for each plant. Vines are tied weekly, shoots and female buds below the roof are removed, and the vine tip is cut at the roof. Weeds are cut close to the ground every two weeks, never dug out, until the vines shade the ground.
When and how to harvest
Young fruits are cut with a sharp knife a few days after they set, at dawn or near sundown, and packed in plastic bags to stay fresh. Fruits left to mature and dry on the vine give the fiber sponge and the seed for the next crop.
Common mistakes when planting patola
- Hoeing or plowing between the rows after the vines are up, which cuts the shallow roots and lowers the yield.
- Skipping the trellis in the wet season, so the fruits rot and grow crooked on the ground.
- Leaving fruits too long on the vine, so they turn fibrous and cannot be sold as a vegetable.
- Harvesting in the midday sun, which dries the ridges and makes the fruits look old.
- Planting in poorly drained soil, where patola does poorly.
How to get a higher yield of patola
The traditional way gets a crop, but small changes add up. These are the first things to change, one season at a time.
- Have the soil tested and feed by the result in small, regular doses through the picking months.
- Use good seed of a variety suited to your market and tolerant to downy mildew, and raise hybrid seed in trays.
- Hang fruit fly traps and bury stung fruits every week. Bag young fruits when flies are many.
- Mulch the rows with rice straw or plastic so you weed less and do not disturb the roots.
- Rotate away from other gourds and melons so pests and soil diseases do not build up.
- Water by drip or regular furrow irrigation so the vines never dry out while they bear.
anee.io helps with each of these. The NPK Plus calculator checks that your fertilizer plan feeds the yield you want, the pest and disease finders tell you what is on the leaves before you spray, and Anee, the smart farm technician answers your questions in Tagalog or English.
Members open this guide in the How to Plant tool and send every step to the Protocol Builder in one tap, each on its own day. There you can change the seed, the spacing and the fertilizer, then turn it into a cropping calendar for your lots.
Start from the traditional way, make it better, and let anee.io date every task from your own planting day. Free to start.
Start freeQuestions about planting patola
Paano magtanim ng patola?
When do farmers plant patola in the Philippines?
How far apart do you plant patola?
How long before patola can be harvested?
How often do you water patola?
What do you plant to grow patola?
See every step of planting it the traditional way
Register for free to read every step with its day, the spacing, water and fertilizer, the common mistakes and what to change for a higher yield. Then send it to your Protocol Builder in one tap.
Free to register. No credit card. Works on any phone.