Paano Magtanim ng Sibuyas: How to Plant Onion, Bulb the Traditional Way
Paano magtanim ng sibuyas? Here is how traditional Filipino farmers usually plant sibuyas (onion, bulb), step by step from getting the field ready to the harvest, with the day of each step and what to change for a higher yield.
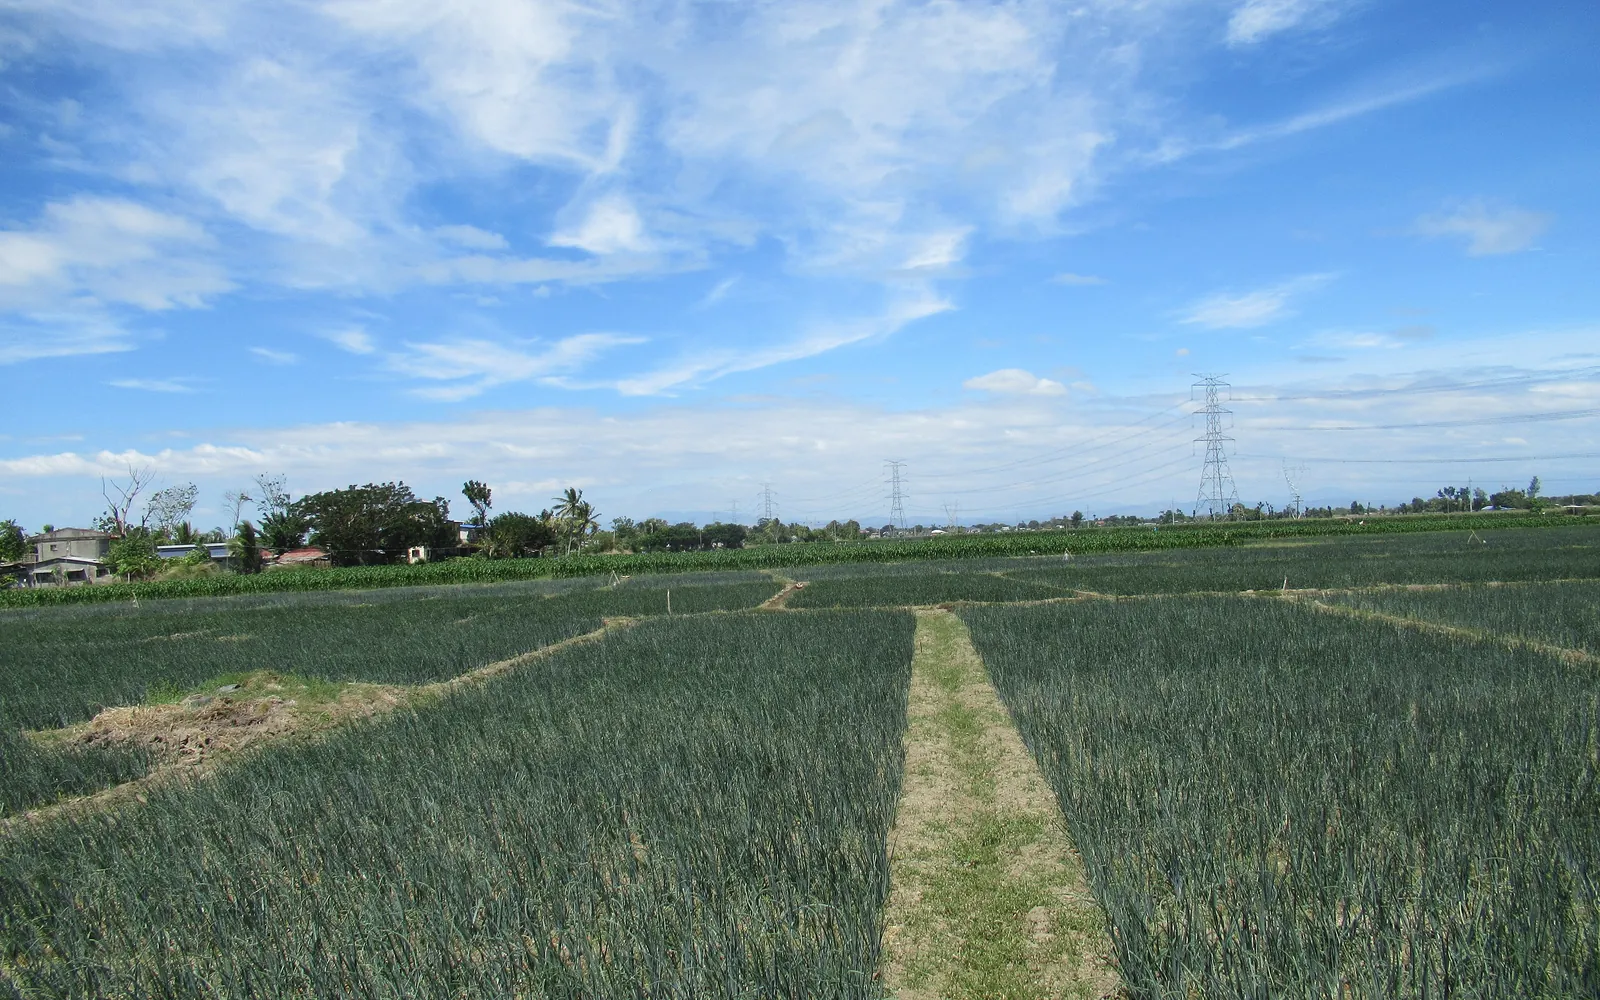
This guide shows how traditional farmers usually plant sibuyas. Use it as a starting point. For a higher yield, update it: plant certified seed or clean planting material, test your soil, and follow the right spacing and fertilizer.
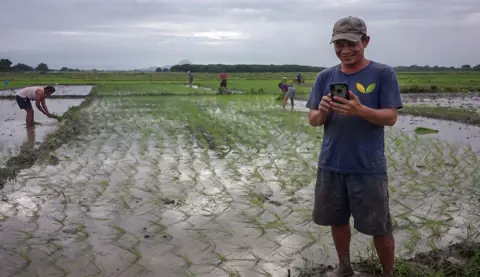
How Filipino farmers grow bulb onions, mostly red onion planted after rice in the dry season, as in Nueva Ecija, Pangasinan and Occidental Mindoro. Seedlings are raised in a seedbed and set out by hand on beds watered from canals.
Before you plant, get the field ready with our land preparation guide for onion and garlic. Then choose your seed or planting material with the sibuyas varieties sold here. If the leaves turn pale later on, the sibuyas nutrient deficiency guide helps you find what is missing.
When to plant sibuyas
Seedbeds are sown mostly in October to November, and the seedlings go into the field from about November to January, after the rice harvest. Bulbs are pulled from about February to April, before the rains. The cool weeks of December and January help the bulbs form, while late planting meets the summer heat and the first rains.
What you plant
Seed, bought fresh each season, mostly of red onion varieties with some yellow types. Onion seed loses its strength within about a year. Seedlings are raised in a seedbed for about 30 to 45 days before transplanting.
Paano magtanim ng sibuyas, step by step
Day 0 is transplanting day. The seedlings are already 30 to 45 days old by then, and most farmers pull the bulbs about 80 to 90 days after transplanting. The crop is ready about 90 days after transplanting.
Before planting (Bago magtanim)
14 days before transplanting: Prepare the field after rice
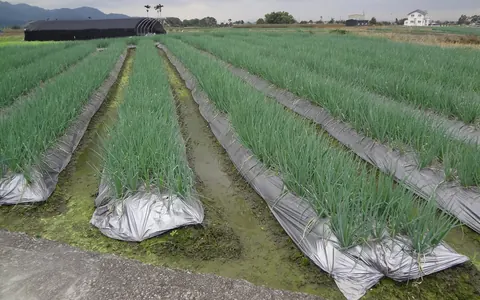
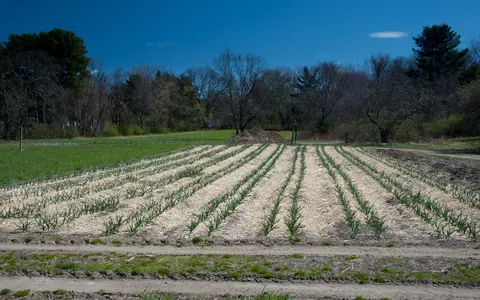
After the rice harvest, clear the stubble, plow and harrow or dig, then form beds about a meter wide with canals between them for watering. Mix in manure or compost.
2 days before transplanting: Basal fertilizer
Spread complete fertilizer (14 14 14) on the beds and rake it in. Some farmers then lay rice straw over the beds to hold moisture and keep weeds down.
The nursery (Punlaan)
40 days before transplanting: Make the seedbed
Make raised beds about a meter wide with fine, loose soil mixed with compost or carbonized rice hull.
40 days before transplanting: Sow the seed
Sow the seed thinly in shallow lines across the bed, cover it lightly with fine soil or rice hull, and lay rice straw on top to keep it moist. Water gently every day.
- Measure the seedFor a hectare of onion, farmers raise seedlings from about 3 to 4 kg of seed. Buy fresh seed for each season, since old onion seed comes up poorly.
- Sow in shallow linesDraw shallow lines across the bed with a stick and trickle the seed thinly along them, so each seedling has room to grow thick.
- Cover and mulchCover the lines lightly with fine soil or rice hull and lay rice straw over the bed to keep it moist and shaded.
- Water through the strawWater gently every morning with a sprinkler can, through the straw, until the seedlings are up.
33 days before transplanting: Uncover the seedlings
Lift the straw once most seedlings are up, and keep watering lightly in the morning.
Planting day (Pagtatanim)
Transplanting day: Pull and transplant
Water the seedbed, then pull seedlings about pencil thick. Many farmers trim the leaf tips and roots a little. Set them 2 to 3 cm deep, about 10 cm apart in rows 10 to 15 cm apart, and press the soil around them.
- Check the seedlings5 to 7 weeks after sowingSeedlings are ready at about five to seven weeks old, when the stems are about as thick as a pencil.
- Wet the seedbed and pullWater the seedbed well so the soil lets go, then pull the seedlings gently, a few at a time, keeping the roots whole.
- Trim the leaves and rootsMany farmers cut back the leaf tips and the longest roots a little. A trimmed seedling loses less water and is easier to set straight.
- Set and firmPlant the same day: make a hole with a finger or a stick, set the seedling 2 to 3 cm deep and press the soil around it so it stands up. Water the beds right after planting.
Care while it grows (Pag aalaga)
Day 1: Water the new plants
Let water into the canals between the beds until it soaks in, then drain the rest.
Day 7: Replace dead seedlings
Fill gaps with spare seedlings from the seedbed in the first week.
Day 14: First weeding
Hand pull the weeds on the beds. Young onions lose easily to weeds.
Day 20: First side dressing
Side dress urea (46 0 0) or ammonium sulfate (21 0 0) between the rows and water it in.
Day 21: Water every few days
Most farmers flood the canals every 3 to 7 days, depending on the soil and the weather.
Day 25: Watch for armyworm and thrips
Look for egg masses and small caterpillars feeding inside the leaves, the onion armyworm (harabas), and pick off egg masses by hand. Silvery streaks on the leaves mean thrips, and purple spots mean leaf blotch.
Day 40: Feed as the bulbs swell
Give a second side dressing of complete fertilizer (14 14 14), often with potash (0 0 60), when the bulbs start to swell.
Day 45: Second weeding
Hand pull the weeds again without hurting the bulbs.
Day 75: Stop watering
Stop watering about two weeks before harvest, when the leaves start to soften, so the bulbs firm up and keep longer.
Harvest (Anihan)
Day 90: Pull the bulbs
Harvest when about half or more of the tops have fallen over and the leaves are yellowing. Pull the plants by hand on a dry morning.
Day 91: Cure in the field
Lay the plants in rows with the leaves covering the bulbs of the row before, so the sun does not scald them, and leave them for two to three days.
- Lay the plants in rows2 to 3 daysLay the pulled plants in rows on the dry bed, the leaves of each row covering the bulbs of the row before, so the sun cannot scald the bulbs.
- Keep them out of the rainIf rain threatens, carry the plants under a roof. Bulbs that get soaked while curing rot at the neck in storage.
- Finish on racksabout a weekMany farmers then set the bulbs on racks of bamboo or wooden slats in an airy, shaded shed to finish curing.
Day 94: Trim, dry and store
Cut the tops leaving a short neck, dry the bulbs further in the shade, sort out damaged ones, and store them in mesh sacks in a cool, airy place or in cold storage.
- Cut the tops and rootsWith a sharp knife or scythe, cut off the roots and the dry leaves, leaving a short neck on each bulb.
- Dry slowly in the shade1 to 2 weeksKeep the trimmed bulbs in a cool, clean, airy place until the necks are tight and dry and the outer skins rustle. Drying them fast in heat and damp brings rot and black mold later.
- Sort before storingTake out bulbs that are soft, bruised, cut, sprouting or thick necked. Only firm, sound bulbs go into storage.
- Store where air movesKeep the bulbs in mesh sacks or crates in a shed with a slatted bamboo floor, with space between them for air. Bulbs for cold storage go in crates or bags stacked with gaps so the cold air reaches every side.
- Or hang them the old waySome farmers tie the dried onions in bundles and hang them on bamboo poles in an airy shade, or above an earthen kitchen stove, where the smoke dries the bulbs further and keeps insects off. Others pack the bulbs in layers of ash on a bed of rice hay. Tip: In a farm trial in the Ilocos, bulbs hung in the smoke kept best over four months of storage.
- Check them twice a monthLook through stored bulbs about twice a month and take out any that are rotting or sprouting before they spoil the rest.
Watering sibuyas, stage by stage
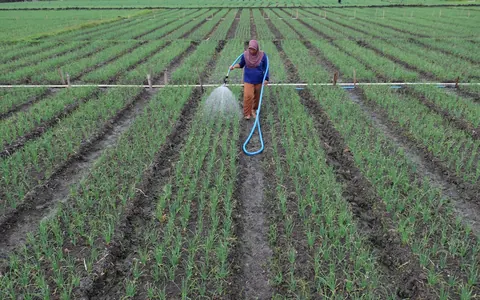
Onion is a dry season crop on rice land, so nearly every grower waters it. Most let water from a canal or a shallow well pump into the small canals between the beds until it soaks up into the beds, then drain the rest, usually every 3 to 7 days and more than ten times in a season. Canal watering: water from a canal or a pump on a shallow well is let into the small canals between the raised beds until it seeps up into them, and the rest is drained off. Seedbeds are watered with a sprinkler can. Water in the morning.
The first two weeks after transplanting: the seedlings die if the beds dry out. Bulb swelling, about day 40 to 75: never let the beds dry, or the bulbs stay small and split.
| Stage | When | How often | How much |
|---|---|---|---|
| Seedbed | 40 to 33 days before transplanting | Water gently every morning, through the straw cover, until most seedlings are up | Enough to wet the bed through, with a fine sprinkler can so the seed is not washed out |
| Seedlings in the bed | 33 days before transplanting to transplanting day | Water lightly every morning, and again late in the afternoon on hot days. Water the bed well the day before or the morning of pulling | Moist but never soggy |
| Transplanting and settling in | Transplanting day to day 14 | Water the day after transplanting, then again whenever the bed surface dries, often every few days, until the seedlings stand up and push new leaves | Let water into the canals until the beds are wet through, then drain the rest |
| Leaf growth | Day 14 to 40 | Every 3 to 7 days, more often on sandy soil and in hot, windy weeks. Water right after each side dressing | Fill the canals until the water soaks up to the top of the beds, then drain |
| Bulb swelling | Day 40 to 75 | Every 3 to 7 days on a steady schedule, never letting the beds dry out | The same canal watering, soaking the beds without leaving water standing on top |
| Ripening | Day 75 to 90 | Stop watering about two weeks before harvest, when the leaves start to soften | No water |
Without irrigation. Bulb onion is not grown on rain alone here, because it grows in the dry months. Growers without a canal sink a shallow well with a small pump, transplant soon after the rice harvest while the soil is still wet, and lay rice straw over the beds so each watering lasts longer.
In the dry season. The whole crop grows in the dry season, so keep to a steady schedule of every 3 to 7 days. Water when the top of the bed is dry to a finger joint deep or the leaves look dull in the morning, and water more often in March and April when it is hottest.
In the rainy season. Late plantings meet the first rains near harvest. Keep the beds raised and the canals open so rain drains away fast, and stop watering early. Standing water rots the roots and bulbs, brings more purple blotch, and bulbs pulled from wet soil rot in storage.
- Too little water: Leaves turn a dull bluish gray, the tips dry and the leaves bend over early, and the bulbs stay small and hard.
- Too much water: Leaves yellow from the tips, roots rot, bulbs turn soft or keep thick green necks, and leaf diseases spread fast.
To water better for a higher yield: Water on a steady schedule rather than a heavy soaking after a long dry spell, which splits the bulbs. Rice straw mulch on the beds cuts the number of waterings and keeps weeds down, and a sprinkler or drip line on sandy soil saves water and pump fuel.
Spacing, water and fertilizer for sibuyas
Spacing
Beds about a meter wide with watering canals between them, seedlings about 10 cm apart in rows 10 to 15 cm apart.
Water
Watered by letting water into the canals between the beds until it soaks in, most often every 3 to 7 days and more than ten times in a season, then stopped about two weeks before harvest.
Fertilizer
Manure or compost while preparing the beds, complete fertilizer (14 14 14) before transplanting, urea (46 0 0) or ammonium sulfate (21 0 0) at about three weeks, and complete fertilizer with potash (0 0 60) when the bulbs start to swell. To read what a bag really gives, see our guide to fertilizer for this crop.
Care and harvest
Care while it grows
Hand weeding two or three times, sometimes rice straw mulch on the beds, and close watch for onion armyworm, thrips and leaf blotch. Many farmers spray often during armyworm season.
When and how to harvest
Ready about 80 to 90 days after transplanting, when the tops fall over and the leaves yellow. Bulbs are pulled, cured in the field for a few days, trimmed, dried in the shade and stored in mesh sacks or cold storage.
Common mistakes when planting sibuyas
- Transplanting late, so the bulbs form in the summer heat and stay small.
- Watering right up to harvest, which gives soft bulbs that rot in storage.
- Spraying the same insecticide again and again for armyworm, so it stops working.
- Storing bulbs before they are cured, or in closed sacks with no air.
- Planting old seed that comes up poorly.
How to get a higher yield of sibuyas
The traditional way gets a crop, but small changes add up. These are the first things to change, one season at a time.
- Buy fresh seed of a variety suited to the season and transplant on time, by December.
- Feed by a soil test and split the nitrogen, with potash at bulbing.
- Fight armyworm early: pick egg masses, use light or pheromone traps, and switch between products of different kinds when spraying is needed.
- Stop watering two weeks before harvest and cure the bulbs well before storing.
- Rotate onion with rice and do not plant onion on the same field every year.
anee.io helps with each of these. The NPK Plus calculator checks that your fertilizer plan feeds the yield you want, the pest and disease finders tell you what is on the leaves before you spray, and Anee, the smart farm technician answers your questions in Tagalog or English.
Members open this guide in the How to Plant tool and send every step to the Protocol Builder in one tap, each on its own day. There you can change the seed, the spacing and the fertilizer, then turn it into a cropping calendar for your lots.
Start from the traditional way, make it better, and let anee.io date every task from your own planting day. Free to start.
Start freeQuestions about planting sibuyas
Paano magtanim ng sibuyas?
When do farmers plant sibuyas in the Philippines?
How far apart do you plant sibuyas?
How long before sibuyas can be harvested?
How often do you water sibuyas?
What do you plant to grow sibuyas?
See every step of planting it the traditional way
Register for free to read every step with its day, the spacing, water and fertilizer, the common mistakes and what to change for a higher yield. Then send it to your Protocol Builder in one tap.
Free to register. No credit card. Works on any phone.