Paano Magtanim ng Bawang: How to Plant Garlic the Traditional Way
Paano magtanim ng bawang? Here is how traditional Filipino farmers usually plant bawang (garlic), step by step from getting the field ready to the harvest, with the day of each step and what to change for a higher yield.
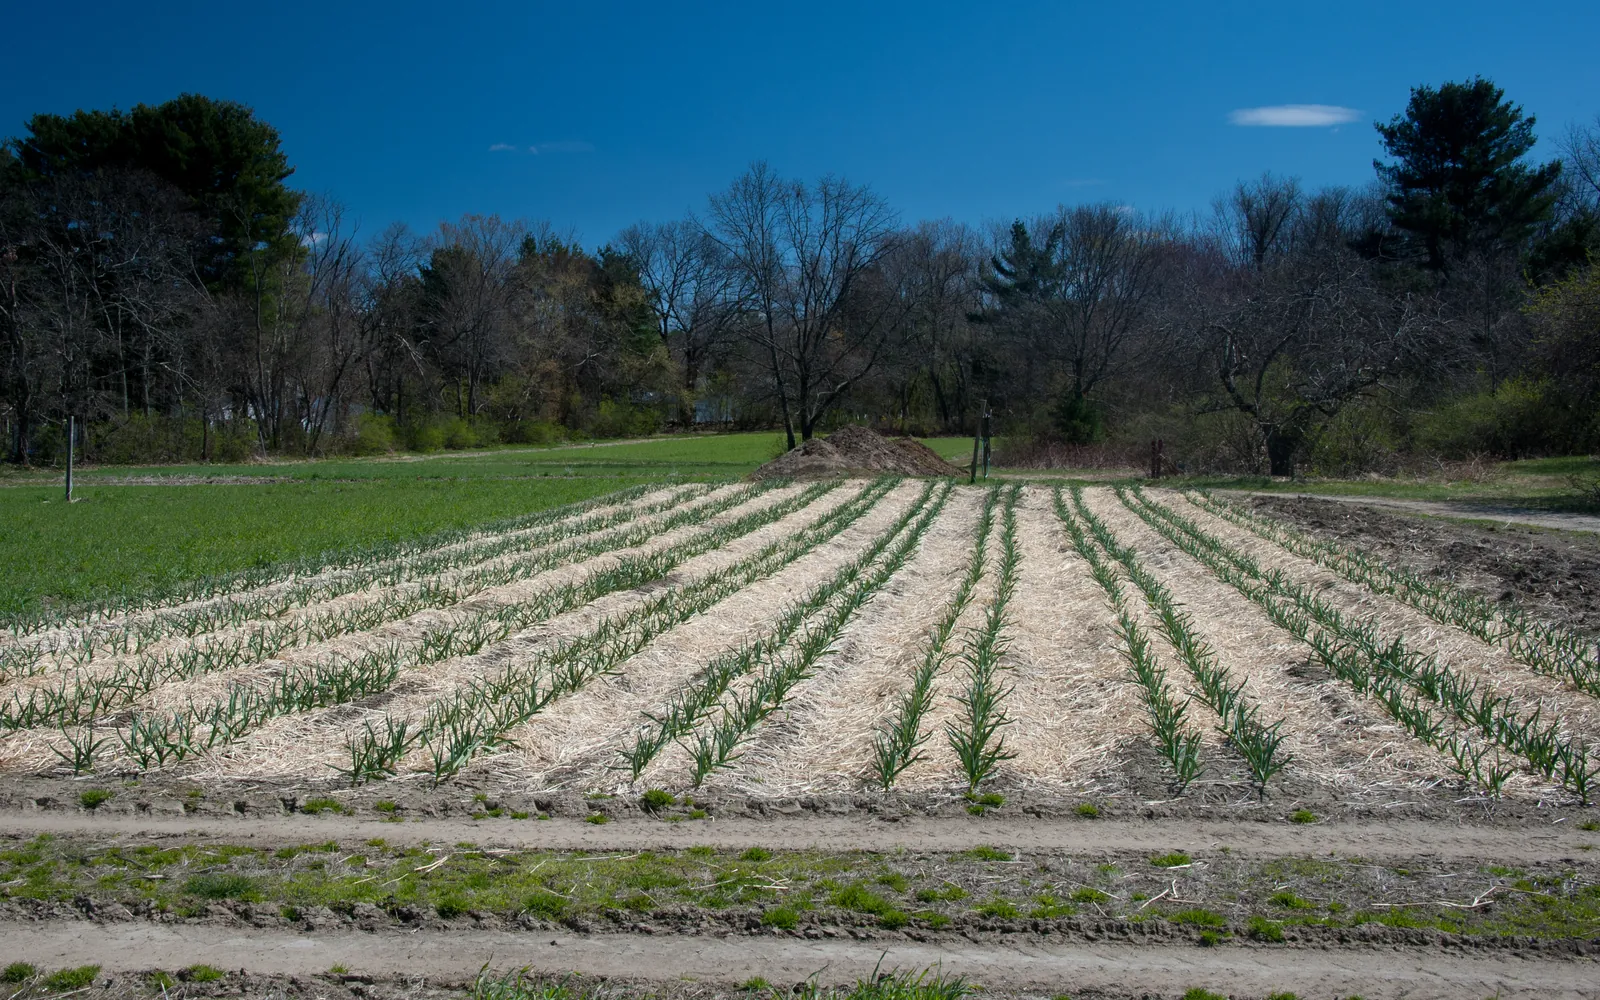
This guide shows how traditional farmers usually plant bawang. Use it as a starting point. For a higher yield, update it: plant certified seed or clean planting material, test your soil, and follow the right spacing and fertilizer.
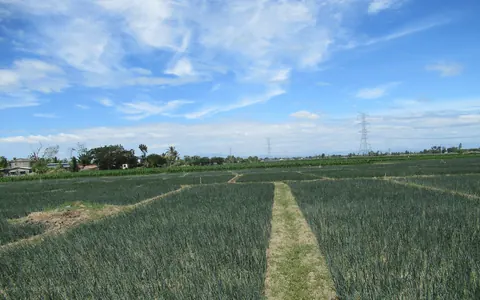
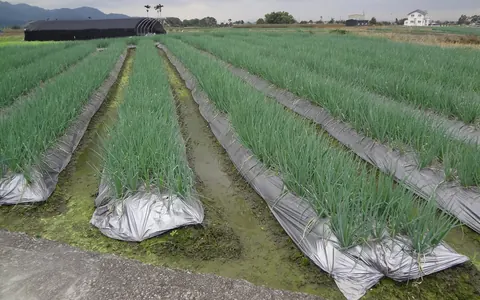
How Ilocano and other Filipino farmers grow native garlic in rice fields right after the harvest, without plowing, under a cover of rice straw. The small native bulbs are strong in flavor and keep for months when cured well.
Before you plant, get the field ready with our land preparation guide for onion and garlic. Then choose your seed or planting material with the bawang varieties sold here. If the leaves turn pale later on, the bawang nutrient deficiency guide helps you find what is missing.
When to plant bawang
Planted from October to November in the Ilocos Region and other lowlands, right after the rice harvest, and pulled about four months later. Planting in December or later usually gives smaller bulbs. Garlic is also grown this way in Mindoro and in a few highland areas in the cool months.
What you plant
Cloves from bulbs kept from the last harvest and hung to dry. Bulbs are broken into cloves only a day or two before planting, and farmers use the big, firm outer cloves and throw out small, soft or damaged ones. Some soak the cloves in water overnight before planting.
Paano magtanim ng bawang, step by step
The crop is ready about 120 days after sowing.
Before planting (Bago magtanim)
3 days before sowing: Cut the stubble
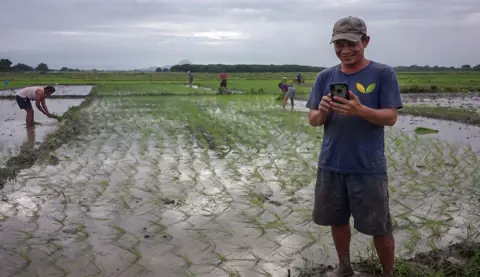
Right after the rice harvest, cut the rice stubble and any weeds down to ground level. The field is not plowed. If the soil is too dry, let water in briefly and drain it so the soil is moist but firm.
1 day before sowing: Prepare the cloves
Break the bulbs into cloves and sort out the big, firm ones. Soak them in water overnight if you follow that habit.
- Take down the seed bulbsTake down the bundles of big, firm bulbs that were set aside and kept hanging since the last harvest. Pass over bulbs that are soft, moldy or already shriveled.
- Break them just before planting1 to 2 days before plantingSeparate the cloves only a day or two before planting, by pressing the bulb apart with the thumbs. Cloves broken apart too early dry out and come up weak.
- Sort the clovesKeep the big, firm outer cloves with their skins on. Set aside the small inner cloves for the kitchen and throw out any that are soft, bruised or moldy.
- Soak them if that is your habitovernightSome farmers soak the sorted cloves in clean water overnight and plant them the next morning, so they root quickly in the moist soil.
Planting day (Pagtatanim)
Sowing day: Fertilizer before planting
Many farmers spread complete fertilizer (14 14 14) over the field before planting.
Sowing day: Push the cloves in
Push each clove, pointed end up, about 2 to 3 cm into the soft soil, about 15 x 15 cm or 20 x 10 cm apart. A string or a marked stick keeps the rows straight.
Sowing day: Cover with rice straw
Cover the whole field with a layer of rice straw about 3 to 5 cm deep. It keeps the soil moist and smothers most weeds.
Care while it grows (Pag aalaga)
Day 2: First watering
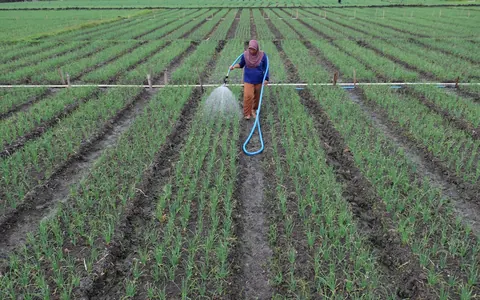
Let water flow into the field from a canal or a pump until the soil is wet, then drain it off quickly. Repeat about every week or two in the dry months, depending on the soil.
Day 30: Side dress
Scatter urea (46 0 0) or ammonium sulfate (21 0 0) over the mulch and water it in. Some farmers add potash (0 0 60) later as the bulbs form.
Day 30: Pull the weeds
Hand pull the weeds that come through the straw.
Day 40: Watch the leaves
Check for thrips (silvery streaks), purple blotch and leaf tip burn, which spread in humid weather, and for caterpillars on the leaves.
Day 100: Stop watering
Stop watering about two to three weeks before harvest so the bulbs mature firm.
Harvest (Anihan)
Day 120: Pull when the leaves yellow
Harvest when most leaves have turned yellow or brown and the stems start to bend, about four months after planting. Pull the plants by hand.
Day 121: Dry in the field
Lay the plants in rows with the leaves covering the bulbs and leave them to dry for a few days.
Day 125: Bundle and hang
Tie the plants in bundles by their leaves and hang them under the house or in an airy shed to cure. Garlic is kept this way until it is sold or planted.
- Tie bundles by the leavesOnce the leaves have dried in the field, gather the plants in handfuls and tie them in bundles by their leaves, bulbs hanging down.
- Hang them in an airy shadeHang the bundles on poles under the house or in a shed where air moves freely, out of the sun and the rain. Garlic keeps best in a warm, dry place, not a damp one.
- Keep the best for plantingSet aside bundles of the biggest, firmest bulbs from the healthiest plants as next season's seed. They stay hanging until planting time.
- Guard the stored bulbs7 to 10 days on the cement floorLook the bundles over now and then and take out bulbs that rot or sprout. Some Ilocos farmers dry the bulbs on a cement floor before storing and lay dried lagundi leaves among them to keep off the small beetles that bore into stored garlic.
- Trim when you sellWhen the garlic goes to market, cut off the roots and the dry leaves, leaving a short neck on each bulb.
Watering bawang, stage by stage
In the Ilocos Region garlic is planted into unplowed rice land under a thick rice straw mulch. Farmers let water from a canal or a pump flow over the field until the soil is wet and drain it off quickly, about every week or two in the dry months, and stop two to three weeks before harvest. Flash flooding: water from a canal or a pump is let over the whole field, under the straw, until the soil is wet, then drained off quickly. Water in the morning or late afternoon.
Sprouting, the first two weeks: the soil must stay moist under the straw, or the cloves come up patchy. Bulbing, about day 60 to 100: a dry spell now gives small bulbs with small cloves.
| Stage | When | How often | How much |
|---|---|---|---|
| Before planting | 3 days before sowing to sowing day | Only if the soil is too dry to push the cloves in | Let water in briefly and drain it, so the soil is moist but firm |
| Sprouting | Sowing day to day 14 | First watering about two days after planting, then again when the soil under the straw starts to dry | Flow water over the field until the soil is wet, then drain it off quickly |
| Leaf growth | Day 14 to 60 | About every week or two in the dry months, more often on sandy soil. Water in the side dressing at about day 30 | Wet the field and drain it within the day, with no water left standing |
| Bulbing | Day 60 to 100 | About every week or two, without letting the soil under the straw dry out | The same quick flooding and draining |
| Ripening | Day 100 to 120 | Stop watering two to three weeks before harvest | No water |
Without irrigation. Garlic is not grown on rain alone here, since it grows in the dry months. Without a canal, plant right after the rice harvest while the field is still wet, lay the rice straw thick, and use a shallow well with a small pump for the few waterings the crop needs.
In the dry season. The crop grows through the dry season, so water about every week or two, more often on sandy soil. Lift the straw and feel the soil: water when it is dry a finger deep, and do not wait for the leaves to wilt.
In the rainy season. Rain near harvest or water left standing rots the cloves and the bulbs and spreads purple blotch and other leaf diseases. Keep the field drains open and never leave water on the field for long.
- Too little water: Leaves turn pale and the tips dry early, the plants stay short, and the bulbs come out small.
- Too much water: Leaves yellow from the base, roots and cloves rot in the soil, and bulbs turn soft and do not keep.
To water better for a higher yield: Keep the rice straw mulch thick, about 3 to 5 cm, so the soil stays moist longer and fewer waterings are needed. Drain each watering quickly and stop watering on time, which gives firmer bulbs that store longer.
Spacing, water and fertilizer for bawang
Spacing
About 15 x 15 cm, or 20 x 10 cm, cloves pushed 2 to 3 cm deep.
Water
Watered by letting water from a canal or a pump flow over the field and draining it off quickly, about every week or two in the dry months, then stopped two to three weeks before harvest.
Fertilizer
Complete fertilizer (14 14 14) spread before planting, then urea (46 0 0) or ammonium sulfate (21 0 0) at about a month, sometimes with potash (0 0 60) as the bulbs form. To read what a bag really gives, see our guide to fertilizer for this crop.
Care and harvest
Care while it grows
The thick rice straw mulch does most of the weeding, and the rest is hand pulled. Farmers watch for thrips and leaf diseases, which are worse in humid weather.
When and how to harvest
Ready about four months after planting, when most leaves have yellowed. Plants are pulled, dried in the field for a few days, then tied in bundles and hung in the shade to cure.
Common mistakes when planting bawang
- Planting late, in December or after, which gives small bulbs.
- Planting small, soft or damaged cloves.
- Leaving water standing in the field, which rots the cloves.
- Watering up to harvest, so bulbs are soft and store poorly.
- Harvesting too early, so the bulbs shrink as they dry.
How to get a higher yield of bawang
The traditional way gets a crop, but small changes add up. These are the first things to change, one season at a time.
- Plant only big, healthy cloves, ideally from a clean field without disease.
- Plant on time, in October to November, right after the rice harvest.
- Test the soil and match the fertilizer to it.
- Keep the straw mulch even, 3 to 5 cm thick, and never let water stand.
- Cure the bulbs well in the shade before storing or selling.
anee.io helps with each of these. The NPK Plus calculator checks that your fertilizer plan feeds the yield you want, the pest and disease finders tell you what is on the leaves before you spray, and Anee, the smart farm technician answers your questions in Tagalog or English.
Members open this guide in the How to Plant tool and send every step to the Protocol Builder in one tap, each on its own day. There you can change the seed, the spacing and the fertilizer, then turn it into a cropping calendar for your lots.
Start from the traditional way, make it better, and let anee.io date every task from your own planting day. Free to start.
Start freeQuestions about planting bawang
Paano magtanim ng bawang?
When do farmers plant bawang in the Philippines?
How far apart do you plant bawang?
How long before bawang can be harvested?
How often do you water bawang?
What do you plant to grow bawang?
See every step of planting it the traditional way
Register for free to read every step with its day, the spacing, water and fertilizer, the common mistakes and what to change for a higher yield. Then send it to your Protocol Builder in one tap.
Free to register. No credit card. Works on any phone.