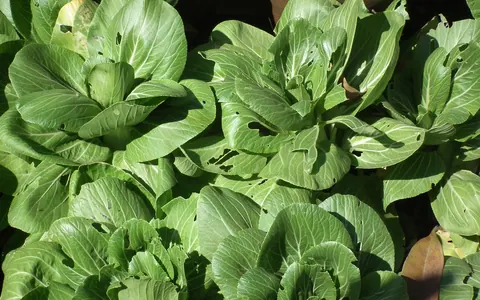
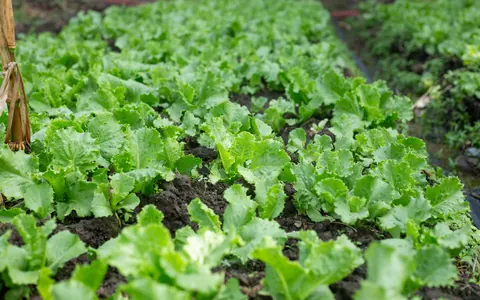
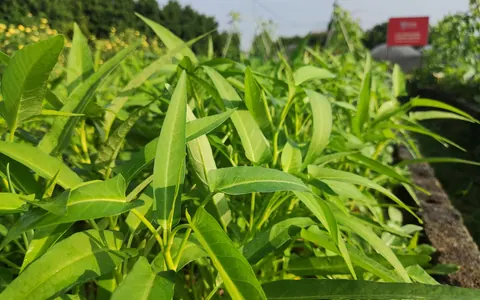
Paano Magtanim ng Alugbati: How to Plant Malabar Spinach the Traditional Way
Paano magtanim ng alugbati? Here is how traditional Filipino farmers usually plant alugbati (malabar spinach), step by step from getting the field ready to the harvest, with the day of each step and what to change for a higher yield.
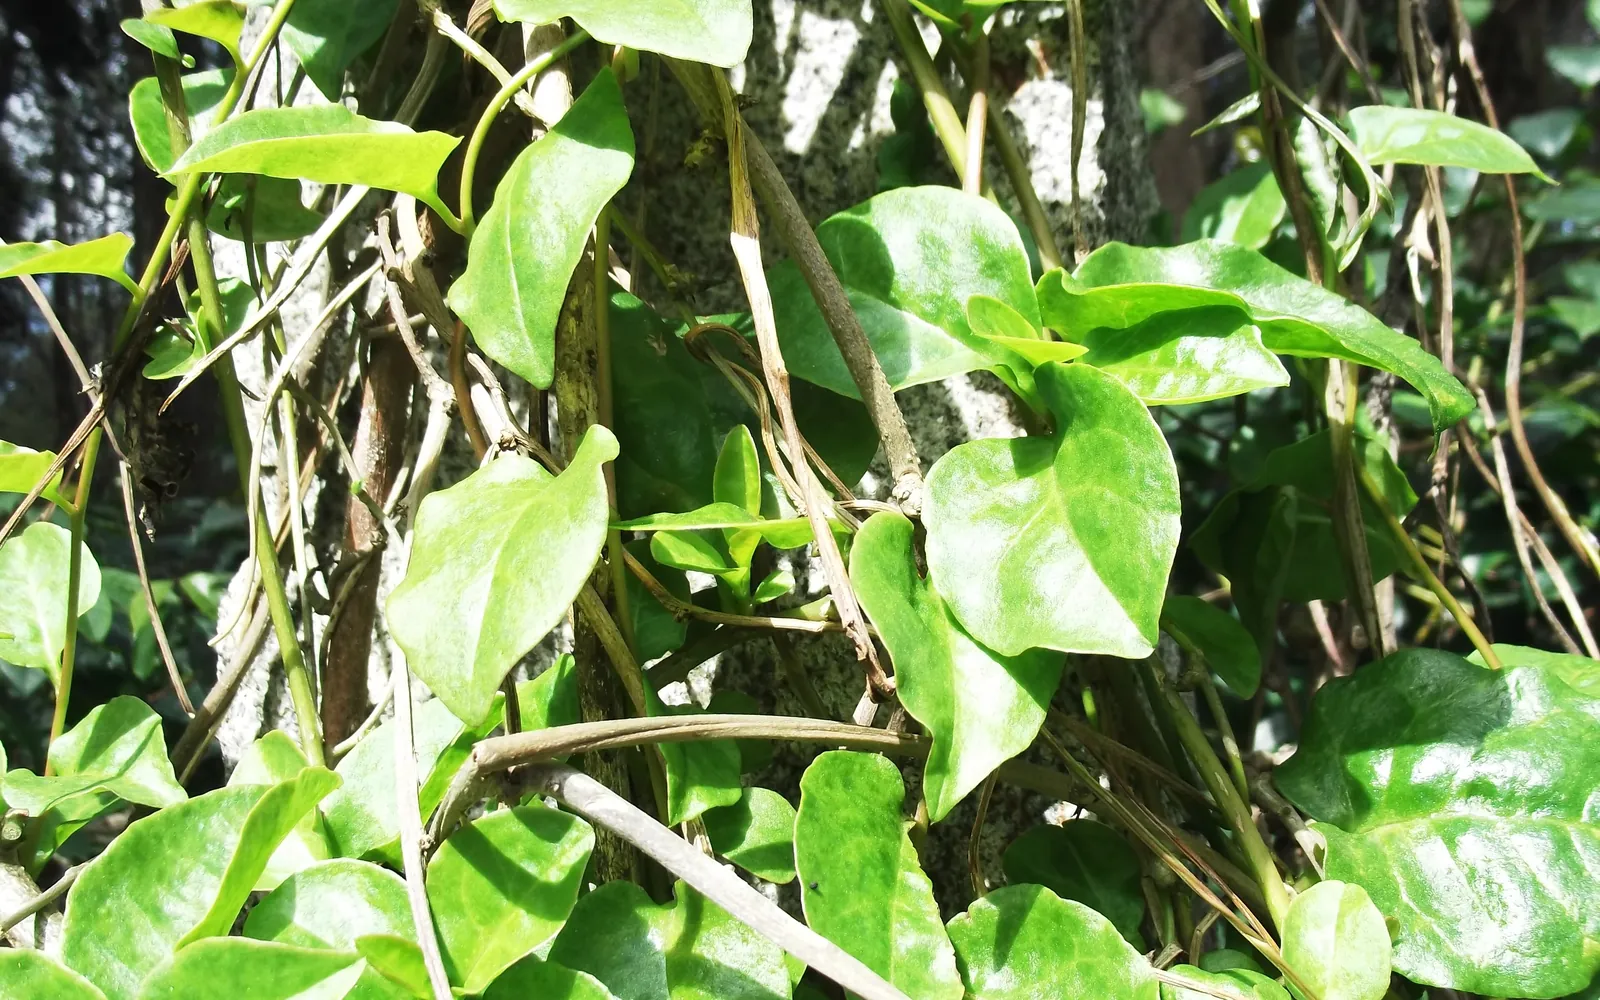
This guide shows how traditional farmers usually plant alugbati. Use it as a starting point. For a higher yield, update it: plant certified seed or clean planting material, test your soil, and follow the right spacing and fertilizer.
How Filipino growers usually raise alugbati from tip cuttings or seed, on the ground in rows for market or on a simple trellis in the backyard, and pick the shoots from about a month after planting. For small farms and home gardens, with the changes that keep the shoots coming week after week.
Before you plant, get the field ready with our land preparation guide for vegetables. Then choose your seed or planting material with the alugbati nutrient deficiency guide. For more on the crop, read pagtatanim ng gulay, vegetables in the Philippines.
When to plant alugbati
Alugbati loves heat and grows all year in the lowlands. It does best from the start of the rains through the warm months. From about November to February the short days push it to flower, and leaf growth slows. In the dry season it needs regular water.
What you plant
Most growers plant fresh, healthy tip cuttings about 20 to 25 cm long with the leaves stripped off, soaked in water overnight or kept in a damp, dark place for a day or two before planting. Seed is also used. Its hard coat is nicked with a knife or rubbed on sandpaper so it sprouts faster.
Paano magtanim ng alugbati, step by step
The crop is ready about 40 days after planting.
Before planting (Bago magtanim)
7 days before planting: Prepare rich, loose plots
Plow or dig the plot and mix in plenty of compost or rotted manure. Alugbati grows best in loose, moist soil full of organic matter.
The nursery (Punlaan)
1 day before planting: Cut and soak the tips
Cut healthy tips 20 to 25 cm long, strip off the leaves, and soak the cuttings in water overnight.
- Cut fresh tipsCut young, healthy tip shoots about 20 to 25 cm long from strong, healthy plants. Fresh tips root far better than old, woody stem.
- Strip the leavesPull off the leaves along the cutting. A bare cutting loses less water while it is making new roots.
- Soak overnight or keep damp and darkovernight, or 1 to 2 daysStand the cuttings in a basin of water overnight, or wrap them in a wet sack and keep them in a dark, damp corner for a day or two. Then plant them right away.
Planting day (Pagtatanim)
Planting day: Plant the cuttings
Plant in rows 20 to 30 cm apart with cuttings about 20 cm apart, or in small hills 15 to 20 cm apart with three or four cuttings a hill. Water right away. Tip: In the backyard, set a slanting or flat trellis of bamboo so the vines climb and save space.
Care while it grows (Pag aalaga)
Day 1: Keep the soil moist
Water often in the first weeks. In the dry season water by furrow every five to seven days or by sprinkler daily, and lay grass clippings or rice straw as mulch.
Day 10: Weed early
Hoe or hand pull weeds while the plants are young so they get a head start.
Day 20: Watch the leaves
Look for leaf miner trails, cutworms and leaf spots. Regular picking keeps most pests down.
Day 41: Feed after picking
Once a month, side dress with compost or rotted manure along the rows, or water with manure tea, so the plants keep sprouting new shoots.
Day 41: Keep the bundles fresh
Tie the shoots in bundles, sprinkle them with water or wrap them in banana leaves, and keep them in the shade. Bundles with roots stay fresh for days standing in a basin of water.
Harvest (Anihan)
Day 40: Pick the shoots
From about 30 to 45 days after planting, cut shoots 15 to 25 cm long, then keep picking every week. For a single harvest, cut the stems near the ground. Pick late in the afternoon.
Watering alugbati, stage by stage
Alugbati needs plenty of water: in the dry season farmers run water down the furrows every five to seven days or sprinkle the plots daily, with grass clippings or rice straw as mulch. In the wet season they dig canals so rain drains fast, because soggy soil and too much watering bring leaf disease. Furrow watering every five to seven days or a daily sprinkler in the dry season. Backyard growers use a watering can or hose. Water in the morning or late afternoon.
The first two weeks after planting, while the cuttings root. The picking months in the dry season, when dry soil gives thin, tough shoots.
| Stage | When | How often | How much |
|---|---|---|---|
| Soaking the cuttings | 1 day before planting to planting day | Leave the stripped cuttings standing in water for one night, or rest them a day in a shaded, damp spot | Cuttings standing in clean water |
| Planting and rooting | Planting day to day 14 | Water right after planting and keep the soil moist, every day by can or sprinkler in dry weather | Moisten the soil around the cuttings, no puddles |
| Vine growth | Day 14 to 40 | In the dry season, furrow water every five to seven days or sprinkle daily. Lay mulch along the rows | Wet the soil to the roots, then let it drain |
| Picking every week | Day 40 to 120 | Keep the same schedule for as long as you pick, and water after each monthly feeding | Even waterings, no standing water |
Without irrigation. Plant at the start of the rains so the cuttings root on the rain and the plants grow through the warm, wet months. Mulch the rows to hold moisture between rains, and keep a small patch near the house or well for the dry months.
In the dry season. Run water down the furrows every five to seven days, or sprinkle the plots daily, and keep a mulch of grass clippings or rice straw. Water when the leaves go limp by mid morning or the soil a finger deep is dry.
In the rainy season. Dig canals so rain water drains fast after heavy rains, and do not water when the plots are wet. Over watering and soggy soil bring leaf spots and wash the plant food out of the soil.
- Too little water: Leaves wilt and turn small and dull, the shoots grow thin and tough, and the plants flower early.
- Too much water: Leaves show brown or purple spots and yellow, and the stems rot at the base in soggy plots.
To water better for a higher yield: Mulch with grass clippings or rice straw to keep the soil moist and cut the watering. Water the soil, not the leaves, and avoid soaking the plots, to keep leaf spots down.
Spacing, water and fertilizer for alugbati
Spacing
Rows 20 to 30 cm apart with cuttings about 20 cm apart, or small hills 15 to 20 cm apart with three or four cuttings each. Market growers plant on the ground without a trellis. Backyard growers often use a trellis.
Water
Needs plenty of water. In the dry season farmers water by furrow every five to seven days or by sprinkler daily, with mulch to hold moisture. In the wet season they dig canals so rain water drains fast, since soggy soil and too much watering bring leaf disease.
Fertilizer
Mostly organic: about 3 to 5 tons of compost or manure a hectare worked in before planting, then a side dressing of manure or compost about once a month. Many growers also use manure tea or fermented plant juice. To read what a bag really gives, see our guide to fertilizer for this crop.
Care and harvest
Care while it grows
Early weeding, mulching, regular picking, monthly feeding and enough water. Alugbati has few serious pests. Leaf miners and cutworms are kept down by frequent harvest, and rotating with corn or planting marigold helps against root knot nematodes.
When and how to harvest
Ready about 30 to 45 days after planting. Growers either cut the whole plant once, or pick 15 to 25 cm shoots every week for months. Shoots wilt fast, so they are picked late in the day, bundled, sprinkled or wrapped in banana leaves and sold quickly.
Common mistakes when planting alugbati
- Letting the soil dry out, which makes the plants flower and the leaves bitter.
- Planting in soil poor in organic matter and never feeding after picking.
- Overwatering or poor drainage in the rainy months, which brings leaf spots and rot.
- Planting alugbati on the same plot for years, so root knot nematodes build up.
- Picking at midday and leaving bundles in the sun.
How to get a higher yield of alugbati
The traditional way gets a crop, but small changes add up. These are the first things to change, one season at a time.
- Start from healthy, vigorous cuttings of a good green or red type that your buyers like.
- Test the soil and add compost and balanced fertilizer by the result, feeding lightly after picking rounds.
- Keep water steady with mulch in the dry months and good drainage in the wet months.
- Rotate with corn or other crops and plant marigold to cut root knot nematodes.
- Pick on a regular weekly schedule and keep the shoots cool and moist to market.
anee.io helps with each of these. The NPK Plus calculator checks that your fertilizer plan feeds the yield you want, the pest and disease finders tell you what is on the leaves before you spray, and Anee, the smart farm technician answers your questions in Tagalog or English.
Members open this guide in the How to Plant tool and send every step to the Protocol Builder in one tap, each on its own day. There you can change the seed, the spacing and the fertilizer, then turn it into a cropping calendar for your lots.
Start from the traditional way, make it better, and let anee.io date every task from your own planting day. Free to start.
Start freeQuestions about planting alugbati
Paano magtanim ng alugbati?
When do farmers plant alugbati in the Philippines?
How far apart do you plant alugbati?
How long before alugbati can be harvested?
How often do you water alugbati?
What do you plant to grow alugbati?
See every step of planting it the traditional way
Register for free to read every step with its day, the spacing, water and fertilizer, the common mistakes and what to change for a higher yield. Then send it to your Protocol Builder in one tap.
Free to register. No credit card. Works on any phone.