Paano Magtanim ng Atsal: How to Plant Bell Pepper the Traditional Way
Paano magtanim ng atsal? Here is how traditional Filipino farmers usually plant atsal (bell pepper), step by step from getting the field ready to the harvest, with the day of each step and what to change for a higher yield.
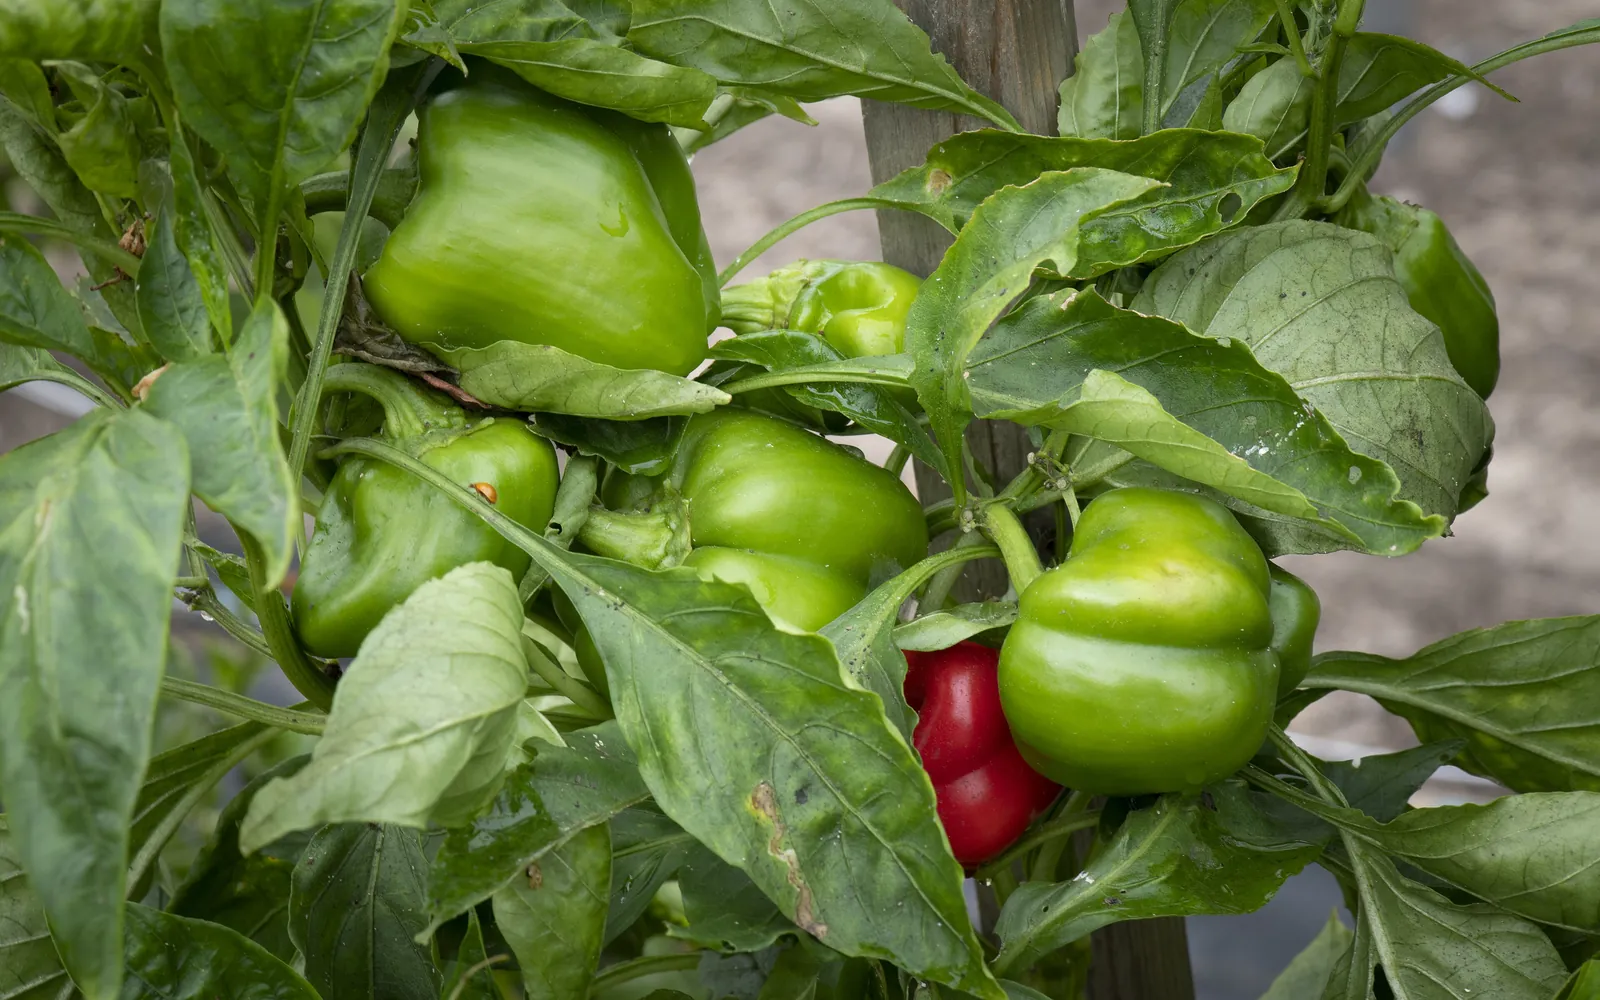
This guide shows how traditional farmers usually plant atsal. Use it as a starting point. For a higher yield, update it: plant certified seed or clean planting material, test your soil, and follow the right spacing and fertilizer.
How Filipino farmers grow atsal: seedlings raised for three to four weeks, set out in double rows on mulched beds, fed every two weeks, and the whole fruit cut when it is full sized and firm. It is for small farms in the lowlands during the cool months and in the uplands most of the year.
Before you plant, get the field ready with our land preparation guide for vegetables. Then choose your seed or planting material with the atsal varieties sold here. If the leaves turn pale later on, the atsal nutrient deficiency guide helps you find what is missing. For more on the crop, read pagtatanim ng gulay, vegetables in the Philippines.
When to plant atsal
Atsal needs cool weather for good fruits. In the lowlands farmers plant from about October to December, and at mid and high elevations it can be planted in any month.
What you plant
Seed, about 100 to 200 grams for a hectare. Farmers sow it in a raised nursery bed or trays and move the seedlings to the field three to four weeks after sowing, after hardening them for about a week.
Paano magtanim ng atsal, step by step
Picking starts about 80 to 100 days after transplanting, or 3 to 6 weeks after the flowers open, depending on the variety and the color wanted. The crop is ready about 85 days after transplanting.
Before planting (Bago magtanim)
21 days before transplanting: Plow and harrow the field
Plow and harrow until the soil is fine and free of clods and weeds.
3 days before transplanting: Make beds, manure and mulch
Make beds 70 cm to 1 meter wide for two rows of plants. Work in 5 to 10 tons of animal manure and 5 to 7 bags of 14 14 14 for a hectare. Cover the beds with rice hull, rice straw or plastic mulch, tucking the plastic edges under soil.
The nursery (Punlaan)
30 days before transplanting: Prepare the nursery bed
Make a raised bed about 1 meter wide. For every square meter mix in 2 to 4 kg of animal manure and 1 to 2 kg of burnt rice hull, then water the bed.
28 days before transplanting: Sow the seed
Draw lines 7 to 10 cm apart across the bed and sow the seed thinly along them, or one seed a cell in trays. Cover lightly with fine soil and water gently.
- Soak overnight, then air dryovernightSoak the seed in clean water overnight so it sprouts sooner. Spread it on a cloth or paper in the shade until it no longer sticks together in the fingers.
- Roast the soil for the traysFor trays or small pots, roast the garden soil over a fire, stirring it, to kill the fungi, insects and weed seed in it. Let it cool, then a day later mix it with equal parts of compost and burnt rice hull.
- Fill the traysFill the cells of a tray with 100 or 104 holes with the mix and press it down lightly. Ready mixed seedling media from farm stores work too.
- Sow one seed a cell, or in linesIn trays, drop one seed in each cell about 1 cm deep, cover with fine soil and sprinkle with water. On a seedbed, water the bed first, mark shallow lines across it with a stick, drop the seed evenly along them and cover with fine soil.
- Water in the morning, not too muchGive water early in the day and only enough that the soil stays damp. Too much water brings damping off and thin, weak seedlings.
- Put up a slanted shadeBuild a simple roof of cogon, talahib, coconut leaves or old plastic sacks over the beds or trays. Make the east posts taller, about 120 cm, and the west posts about half that, around 60 cm, so the morning sun reaches the seedlings but the hot afternoon sun and hard rain do not.
7 days before transplanting: Harden the seedlings
A week before planting, give the seedlings more sun each day and water them less, so they are not shocked by the field.
- Start with the morning sunOn the first day of the last week before planting, take the shade off and let the seedlings stand in the sun until about ten in the morning, then cover them again.
- Add more sun each dayabout a weekLeave the cover off a little longer every day, until the seedlings can take the sun the whole day.
- Give less waterAt the same time, water a little less and less often. Seedlings that are not soaked every day grow tougher stems and roots.
- Do not let them wilt hardA little drooping at noon is normal. If the seedlings wilt badly, shade them and water them, then go on more slowly.
Planting day (Pagtatanim)
Transplanting day: Transplant in two rows
Set the seedlings 30 to 50 cm apart in two rows on each bed, through holes in the plastic if used, late in the afternoon. Water them right away.
Care while it grows (Pag aalaga)
Day 5: Replant missing hills
Replace seedlings that died or wilted badly with spares from the nursery within the first week.
Day 7: Water every week
Water or irrigate the beds about once a week, more often in hot, dry spells, without leaving water standing.
Day 14: Urea every two weeks
Every two weeks, give each plant about 5 to 10 grams of urea, more for weak plants and less for strong ones. Place it a few cm from the stem and water it in.
Day 20: Weed the beds
Pull or hoe the weeds two to three times while the plants grow, mainly where there is no mulch.
Day 25: Scout for pests
Check under the leaves for aphids, thrips and mites, and look for holes in the fruits. Many farmers plant garlic or marigold among the rows to keep insects down, and pull wilted plants.
Day 45: Feed for the fruits
Once the plants start to fruit, switch the two weekly dose to an equal mix of urea and muriate of potash.
Harvest (Anihan)
Day 85: Cut full sized fruits
Cut whole fruits that are full sized, firm and glossy, either green or after they turn the color your buyer wants. Use a knife or scissors so the branch does not break.
Day 86: Sort and pack
Sort by size and color, set aside damaged fruits, and pack the rest in boxes or crates in the shade.
Watering atsal, stage by stage
Atsal on mulched beds is watered or furrow irrigated about once a week, more often in hot, dry spells, with the beds kept draining so no water stands. In the highlands many growers water with sprinklers or hoses, and in the lowlands it is grown in the cooler months with a canal or pump nearby. Furrow irrigation between mulched beds in the lowlands, and sprinklers or hoses in the highlands. Small growers use a watering can at the base of each plant. Water in the morning so the leaves dry early.
The first week after transplanting. Flowering and fruit set: dry soil drops flowers, and uneven water rots the fruit bottoms. All season: bell pepper wilts and dies fast in waterlogged beds.
| Stage | When | How often | How much |
|---|---|---|---|
| Nursery bed | 30 to 21 days before transplanting | Water the bed before sowing, water gently after, then each morning | Just enough to keep the soil damp |
| Growing seedlings | 21 to 7 days before transplanting | Water each morning or when the top soil dries | Light sprinkles |
| Hardening | 7 days before transplanting to transplanting day | Water less often while the seedlings get more sun | Light waterings. Water at once if they wilt hard |
| Transplanting and settling | Transplanting day to day 7 | Water right after transplanting in the late afternoon, then every day or two if no rain falls until new leaves show | Soak the soil around each plant |
| Leafy growth | Day 7 to 40 | Water or furrow irrigate about once a week, more often in hot, dry spells. Water in the urea every two weeks | Wet the bed through, never leave water standing |
| Flowering and fruit set | Day 40 to 85 | Keep the weekly watering steady and never let the bed dry out | Even waterings, no soaking after a dry spell |
| Picking | Day 85 to 130 | Go on watering about once a week through the picking | Even waterings, drained off |
Without irrigation. Lowland atsal is planted from about October to December so it grows through the cool months on the moisture left after the rains, with mulch to hold it. Without a pump, keep the beds close to a well or creek and water each plant by can about once a week.
In the dry season. Water or furrow irrigate about once a week, more often in hot, dry spells and on sandy soil. Water when the leaves droop by mid morning or the soil a few cm down feels dry, and keep the mulch on.
In the rainy season. Use raised, well drained beds with mulch, keep the canals open and do not water when the beds are wet. Soaked roots rot and the plants wilt suddenly, and wet weather spreads fruit rot.
- Too little water: Leaves droop and curl at midday, flowers and small fruits drop, and the fruits stay small with thin walls or rot at the bottom.
- Too much water: Plants wilt while the soil is wet, the lower leaves yellow and fall, and the stem base turns dark and soft.
To water better for a higher yield: Plastic or rice straw mulch keeps the beds evenly moist, which is the best guard against rotten fruit bottoms. A drip line under the mulch gives steady water through months of picking with less work and less leaf disease.
Spacing, water and fertilizer for atsal
Spacing
Beds 70 cm to 1 meter wide with two rows of plants, the plants 30 to 50 cm apart. On plastic mulch, holes about 50 by 50 cm.
Water
Water or irrigation about once a week, more in hot, dry spells, with mulch to keep the beds moist. The beds must drain well.
Fertilizer
Five to 10 tons of animal manure and 5 to 7 bags of 14 14 14 a hectare worked into the beds before planting. Urea every two weeks, about 5 to 10 grams a plant, then an equal mix of urea and muriate of potash once the plants fruit. The nursery bed gets manure and burnt rice hull. To read what a bag really gives, see our guide to fertilizer for this crop.
Care and harvest
Care while it grows
Mulch of rice hull, rice straw or plastic on the beds, weeding two to three times, and garlic or marigold planted among the rows to keep insects down. Wilted plants are pulled out early.
When and how to harvest
Picking starts about 80 to 100 days after transplanting, or 3 to 6 weeks after flowering. Whole fruits are cut with a knife or scissors when full sized, firm and glossy, green or colored as the buyer wants, then sorted and packed in the shade.
Common mistakes when planting atsal
- Planting atsal in the hot lowland months, so flowers drop and fruits stay small.
- Planting it where tomato, eggplant or chili just grew, so wilt builds up in the soil.
- Pulling fruits off by hand, which breaks the brittle branches.
- Feeding only urea through the fruiting weeks, which gives leafy plants and soft fruits.
- Letting water stand on the beds after heavy rain, which rots the roots.
How to get a higher yield of atsal
The traditional way gets a crop, but small changes add up. These are the first things to change, one season at a time.
- Have the soil tested and keep the pH near 5.5 to 6.5, liming acid soil.
- Use good hybrid seed suited to your elevation and season, raised in trays with a clean mix.
- Use silver plastic mulch and drip irrigation on raised beds for steady moisture and fewer weeds.
- Stake tall plants so the heavy fruits do not snap the branches.
- Scout weekly and use integrated pest management for thrips, mites and aphids.
- Rotate with rice, corn or beans, not with tomato family crops.
anee.io helps with each of these. The NPK Plus calculator checks that your fertilizer plan feeds the yield you want, the pest and disease finders tell you what is on the leaves before you spray, and Anee, the smart farm technician answers your questions in Tagalog or English.
Members open this guide in the How to Plant tool and send every step to the Protocol Builder in one tap, each on its own day. There you can change the seed, the spacing and the fertilizer, then turn it into a cropping calendar for your lots.
Start from the traditional way, make it better, and let anee.io date every task from your own planting day. Free to start.
Start freeQuestions about planting atsal
Paano magtanim ng atsal?
When do farmers plant atsal in the Philippines?
How far apart do you plant atsal?
How long before atsal can be harvested?
How often do you water atsal?
What do you plant to grow atsal?
See every step of planting it the traditional way
Register for free to read every step with its day, the spacing, water and fertilizer, the common mistakes and what to change for a higher yield. Then send it to your Protocol Builder in one tap.
Free to register. No credit card. Works on any phone.